 When people are looking to heal their digestion, the first place they tend to look is food. Don't get me wrong, I believe that nutrient-dense, traditional foods are one of the keys to achieving and maintaining gut health. However, it is just as essential to understand that there are so many other ways to help your gut that are not centered around nutrition, and that these areas must be addressed when we look to start on a gut-healing protocol. This holistic understanding of the gut-healing process can be a relief to many who find this journey to be an uphill battle with food. While healing diets and changing our food choices can help our microbiome and other digestive health factors, this excessive focus on what we do or don’t eat can often make us too focused on or even afraid of food. Elimination diets, though very useful, can also limit our dietary choices so much that we can end up with nutrient deficiencies or an overly-restrictive, unenjoyable diet, continuing this negative cycle. Also, we often find that just changing the diet--even to a seemingly “perfect” one--doesn’t quite get the job done when it comes to gut healing. There is hope offered, then, as well look at ourselves in a zoomed-out, whole-person way; as we look to heal our gut, we can find comfort in the fact that, in addition to a wonderfully healing diet, there are other ways we can help ourselves to improve digestive function, microbiome diversity, and more. I encourage you to look through my past writing to dig deeper into foods and supplements that can help with healing digestion, but I’m here today to offer some simple ways that you can start sending your gut a little love today, no special diet or even supplements required. These are all things you can do at-home with little to no extra tools required, helping to empower you in taking charge of your gut health. Here are my top 10 (Non-Food, Non-Supplement) Tips |


Instead of...
| Switch to...
|

Other Factors to Support Decreasing Dependence on Tech
Some measures we have used to increase our privacy online include: Turn off location services, microphones and cameras (or even cover the camera lens) on your computers/devices when not using them; ditch Google and use Smart Page or Duck Duck Go for search engines; switch to Brave Brower over Chrome or Edge for your web browser; use Linux as an operating system over Microsoft; and my husband insists on using ProtonMail over Gmail for email purposes, but I am still working on transitioning to this myself.
Removal of unnecessary devices also helps re-train you to communicate and interact more for real: make phone calls, play games with your family, do more physical activity (can you get up to turn on the light, or do you really need a smart lightbulb??), and get out more in nature, without so much assistance from and distraction by technology.
I am not necessarily against all technology—hello, I am typing this on a computer right now--but I encourage us to view it as a tool and not as a measure of status or progress that must continue to expand into more areas of our lives and become more advanced. I like to try and compartmentalize it as best I can: use it for work when necessary and for entertainment in moderation, choosing devices and appliances that decrease my electromagnetic load.

Want to Learn More?
The Weston A. Price Foundation has a great series of podcasts diving into EMF information and effects, which you can check out here: https://www.westonaprice.org/podcast-category/emfs-5g/
There are also several great blog posts and articles on these sites: Children's Health Defense Fund, EMF Empowerment, and EMF Academy if you want to learn more about news, products, and steps to take to protect your health.
The goal here is not to be perfection or piety; the goal I am proposing is simply the commitment to better health through decreasing our electromagnetic load, in addition to nutrition, movement and more. The process of untangling from wireless technology may be slow I, but is necessary to support gut health and overall wellbeing—and our household is proof that it can be done!
Start with one step, a few or even all of them, doing what you can to gradually move away from incessant technology use and bombardment with harmful radiation. What steps have you and your family taken to help decrease your EMF load? Let me know in the comments!
What Is SIBO?
An Introduction to Small Intestinal Bacterial Overgrowth
In a healthy, normal digestive tract, there is a robust and diverse population of these beneficial microbes, nourished by a healthy mucous membrane, which help to digest and absorb food in the small intestine.
However, in the case of SIBO, there is not enough of these "good" microbes in the gut and unwanted bacteria take over. This can be caused by multiple factors, such as a nutrient-poor, industrialized diet, chronic use of antibiotics or other medications, history of certain types of infections, poor gut motility, low stomach acid, hypothyroidism, and even chronic stress.
When the gut doesn't function properly, food doesn't get adequately digested and move through the GI tract as it should, allowing undigested food to remain longer in the small intestines This is where opportunistic, pathogenic bacteria can thrive and take over.
Certainly, everyone has some of these "bad" microbes in the gut at various times. However, when their population grows and there aren't enough commensal, or beneficial, microbes to keep them at bay, they encroach into parts of the gut where they don't belong. The beneficial microbes are then able to do their jobs, and problems in the gut will arise.

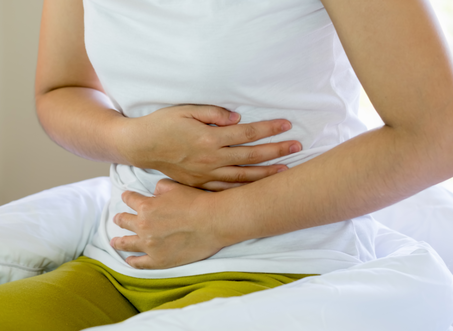
Symptoms of SIBO
SIBO is becoming more prevalent due to poor diets and all of the industrial chemicals in our world, as well as our increased stress and disconnection from nature (a great source of beneficial microbes!). There is growing evidence that SIBO is connected, if not the underlying cause of, other digestive issues, including irritable bowel syndrome (IBS), with one study showing between 30-85% of patients with IBS also having a SIBO diagnosis.
The overlap of IBS patients and SIBO diagnoses demonstrates the strong connection between dysbiosis and inflammation in the gut. When bacterial overgrowth occurs, it can lead to inflammation and damage in the gut lining, with a lack of healthy mucosa (mucous membrane) for protection, which can then cause dysfunction and increased permeability in the gut, such as in the case of IBS or leaky gut syndrome.
Many of the SIBO symptoms can also be symptoms of other digestive issues and diseases, so getting tested to ensure you pursue the right course of treatment for your body's needs is important.
Diagnosing and Treating SIBO
These gasses would normally only be produced by large intestinal bacteria in a healthy gut, which would not show up in a breath test. If there is overgrowth of bacteria in the small intestines, they will produce these gasses and these will be then measurable in a breath test. The best testing protocols look for both hydrogen and methane, as different bacteria will have different metabolites and only testing for one of these may not give an accurate diagnosis.
Other testing, such as stool tests, are great to have in conjunction with the breath tests, to see if other pathogens are contributing to symptoms, such as SIFO (fungal overgrowth) or H. pylori, as well as seeing if there is a low population of beneficial microbes, which is all helpful information for making a treatment plan with a provider.
Conventional treatment for SIBO typically uses antibiotics, sometimes accompanied by diet changes and/or probiotic recommendations. The antibiotic Rifaximin has been shown to be the most effective antibiotic treatment for SIBO, with some other antibiotics being used with less consistent results. However, this prescription medication can be expensive, is not always covered by insurance, and can come with side effects as well.
Plus, overuse of antibiotics can be counterproductive to creating a healthy microbiome and often plays a role in how many arrive at SIBO in the first place.
Herbal Remedies Shown to Help with SIBO
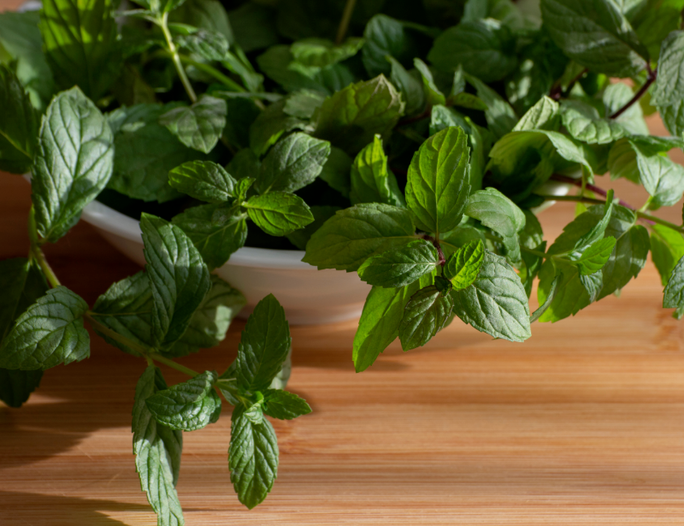
To accompany this traditional wisdom, several anti-microbial herbs have actually proven in studies to be as effective as Rifaximin in the treatment of SIBO. Science is finally able to prove what herbalists and traditional healers have known for a very long time. These alternatives are not only more cost-effective, but are often safer to use with fewer side effects and are remedies given to us by nature. Below is a list of some of my favorites.
- peppermint oil
- oregano oil
- other aromatic essential oils: tarragon, rosemary and thyme oils
- berberine-containing herbs: barberry, Oregon grape root, coptis, and goldenseal
- olive leaf extract
- garlic (especially helpful for methane-dominant SIBO; available as allicin extract for low FODMAP individuals)
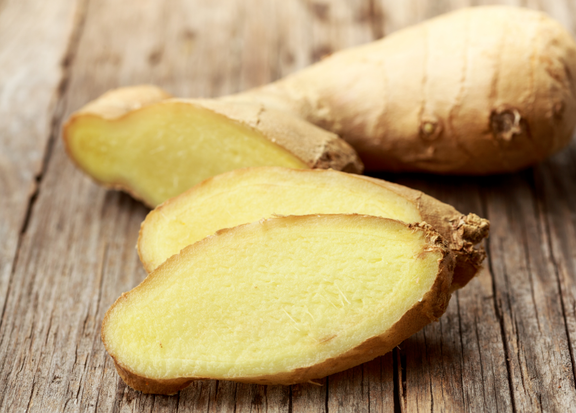
- ginger
- horsetail
- horse chestnut
- neem
- cinnamon
- wormwood
- licorice root
- chamomile
- lemon balm
Many of these herbs not only act as anti-microbials for SIBO, but have other digestion-promoting properties as well, making them helpful in a gut healing regimen. For example, oregano oil and garlic also act as anti-fungals; wormwood also acts as an anti-parasite and it, along with ginger and chamomile, have bitter compounds to stimulate digestion; chamomile and lemon balm help soothe the nervous system; licorice supports adrenal health and is a demulcent to support healthy mucosa, along with chamomile. Ginger is not only anti-microbial, but it also is anti-inflammatory, anti-nausea, and promotes gut motility by acting as an herbal prokinetic...this is just an all around dynamite herb for digestion!
This is not necessarily an exhaustive list, but is a good start if you are looking to add herbs to your SIBO protocol. Plus, all of these have been shown in studies to be effective at treating SIBO; many more exist with clinical and/or anecdotal support behind them.
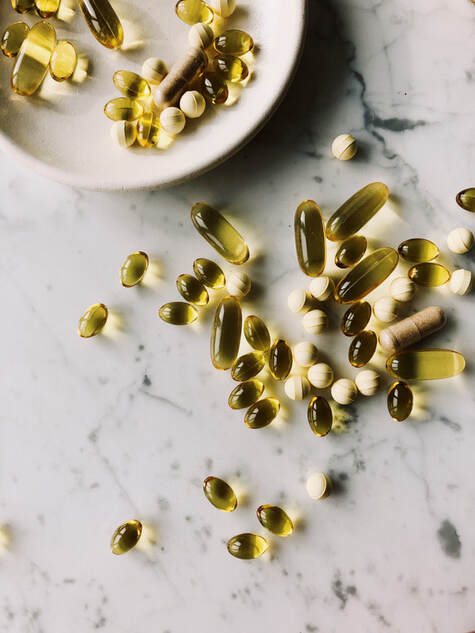
These herbs can be taken as tinctures or capsules, and some in tea form as well. I like to use enteric-coated capsules to ensure they reach the small intestine when using encapsulated herbs, especially in those formulas with essential oils, as they can be irritating to the stomach in sensitive individuals. Some work well in tincture form, such as the more bitter herbs, whereas a tea may be quite unpleasant to drink, but tasting the herbs does provide some benefit in stimulating digestion, as this process starts in the mouth.
Typically, I like to do a combination of these herbs as part of a SIBO protocol, in order to offer the best defense and account for individual differences amongst clients. Combining enteric-coated essential oils with other anti-microbial herbs can be very beneficial. There are some brands and products on the market aimed at SIBO and related issues, that include a combination of many of the above herbs, so you and a provider can decide what is right for your body and price point.
Here are a few of my favorite products out there with SIBO-fighting herbs (I have no affiliation with these brands, I just like their combination of herbs for SIBO) : Atranil, Dysbiocide and FC-Cidal from Biotics Reserach, Candibactin AR and Candibactin BR from Metagenics, Microdefense wth Oregano from Pure Encapsulations, Oregano Oil Complex and Peppermint Oil GI from Protocol for Life Balance, Thorne, Peppermint-Oregano Oil Complex from Natural Factors, Peppermint Soothe from Nature's Way, and Iberogast (which itself has evidence as a SIBO treatment).
Some practitioners will also recommend taking herbs or supplements that disrupt the biofilm, or protective layer, emitted by these pathogens, to improve the efficacy of the anti-microbial herbs on these bacteria. Beneficial microbes use biofilm to protect themselves as well, so this is an important mechanism that plays a role in a healthy microbiome; however, it can inhibit the efficacy of antimicrobial herbs in a treatment regimen.
Examples of natural biofilm disruptors include: nattokinase, curcumin (from turmeric), linoleic acid (an omega 6 fatty acid), and berberine. Use of these additional remedies may be considered if an antimicrobial treatment does not seem effective or infections recur.
Other herbs may be used as well that can relieve symptoms of SIBO until it is resolved, including carminatives for gas and bloating, anti-spasmodics and astringents for diarrhea, laxative herbs for constipation, bitter herbs for stimulation and motility (and many other symptoms), as well as nervines and adaptogens to support the stress response and the nervous system, as we know the strong connection between stress and gut health.
These, of course, are not health care recommendations, but are examples of products with proven anti-SIBO herbs in them. Always consult your own health care provider before using supplements and I highly encourage you to work with a practitioner to get the right treatment rather than taking shots in the dark in hopes of treating yourself.
Other Considerations for the Treatment of SIBO:
Stress, Diet and Lifestyle Practices and Associated Health Conditions
Treating the microbial overgrowth associated with SIBO is an initial, important step in getting your digestive system back on track and symptoms under control. But, it is important to remember that SIBO itself is a symptom. There is a reason that these pathogenic microbes were allowed to run rampant, and it is essential to address these when considering how to resolve the dysbiosis and dysfunction in the gut--taking anti-microbials to control SIBO is not a stand-alone protocol.
Anti-microbial herbs are not to be taken indefinitely, as they can be counter-productive for the beneficial microbes as well if taken for too long. Getting their population low enough to decrease inflammation and symptoms, while allowing beneficial microbes to thrive and help repair the gut is the goal. A practitioner can help not only select the right herb combination, but also with appropriate duration of the treatment, as well as other important approaches like the addressing the diet.
Dietary changes, both a short-term healing protocol as well as lifelong improvement in the diet, cannot be overlooked in improving gut health. You may consider a dietary approach such as the low FODMAP or GAPS/SCD diets after herbal treatment to provide further healing and relief, working with a practitioner to find the right course of action for you and to ensure elimination diets are followed properly to prevent nutrient deficiencies and unhealthy relationships with food.
Other areas to address for SIBO, IBS and related conditions include:
- Oral health and oral microbiome, presence of mercury fillings
- Inadequate stomach acid or other upper GI issues like GERD and H.pylori infections
- Digestive enzymes and pancreatic/liver/gall bladder function
- Impaired gut motility (this is huge with SIBO!)
- Low thyroid function
- Stress and mental health, mindfulness and counseling (this absolutely must be addressed with SIBO or other GI conditions!)
- Ileocecal valve function
- Inflammation and allergies
- Exercise and movement
- Body work, acupuncture, and abdominal massage
- How we eat (not just what we eat)--chewing, meal timing, fasting, etc.
- Environmental toxin exposure, such as pesticides and antibiotics in food, plastic use, etc.
- Time spent in nature--we get some of our microbiome from earth, natural water, air, plants, and animals!
- Nutrient deficiencies--including B vitamins, copper, zinc, iron, vitamins A and D
- Methylation and MTHFR mutations
- Support and repair of the intestinal lining and mucosa with bone broth (collagen, L-glutamine), demulcent herbs, anti-inflammatory herbs, and prebiotics when tolerated
What about probiotics?
There is a need to repopulate with the gut with beneficial microbes after antimicrobial treatment and elimination diets. Of course, dysbiosis is not just presence of unwanted microbes, but even more so, lack of beneficial microbes. However, this is not typically the first line of treatment, as many with SIBO and IBS do not actually tolerate probiotic supplements and foods at first, because of the inflammation, dysbiosis, histamines and other reasons.
Once you are ready to add probiotics in, however, it is important to select species/strains proven to support SIBO/IBS, including supplements that include: b.clausii s. bouldarii, b. infantis, s. thermophilus l. reuteri, l. rhamanous, l. acidophilous, l. platarum, b. coagulans, b.subtillus, b. breve, b.longum, b.lactis; many of these have been shown to help with IBS symptoms and may be beneficial to include to improve the gut biome.
I like to use supplements that provide a combination of lactobacillus, bifidus, and bacillus (SBO, or spore-forming) species, as well as fermented foods when tolerated (these also provide postbiotics and prebiotics--the total package!)
Remember that SIBO is rarely one-and-done with herbal treatment, where one round of herbal antimicrobials makes all signs of SIBO disappear. Consider if these additional, whole-person approaches can offer long-term healing once antimicrobial treatment is finished. The gut is so complex and is affected by so many parts of our life--the goal is not just to kill of anything potentially harmful, but to heal and rebuild with a healthy, robust microbiome.

Want some guidance on your gut healing journey?
Reach out to me by clicking the "Work with Me" tab at the top of the page or click here, where you can purchase a health coaching package or schedule a FREE 15 minute discovery call to see if working together is right for you!
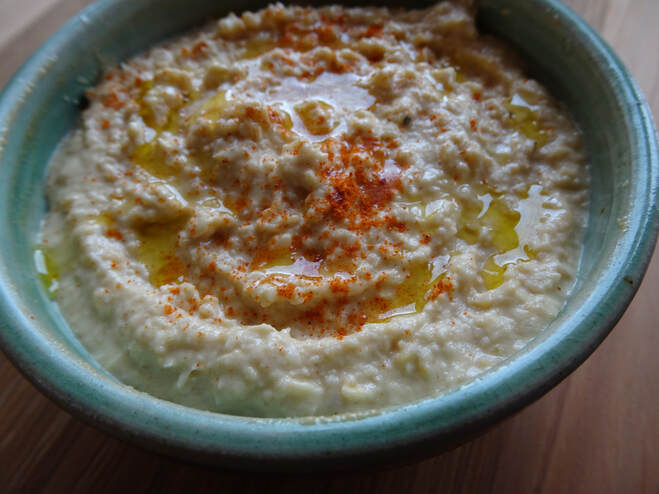
Chickpeas: A Pantry Staple for a Healthy Gut
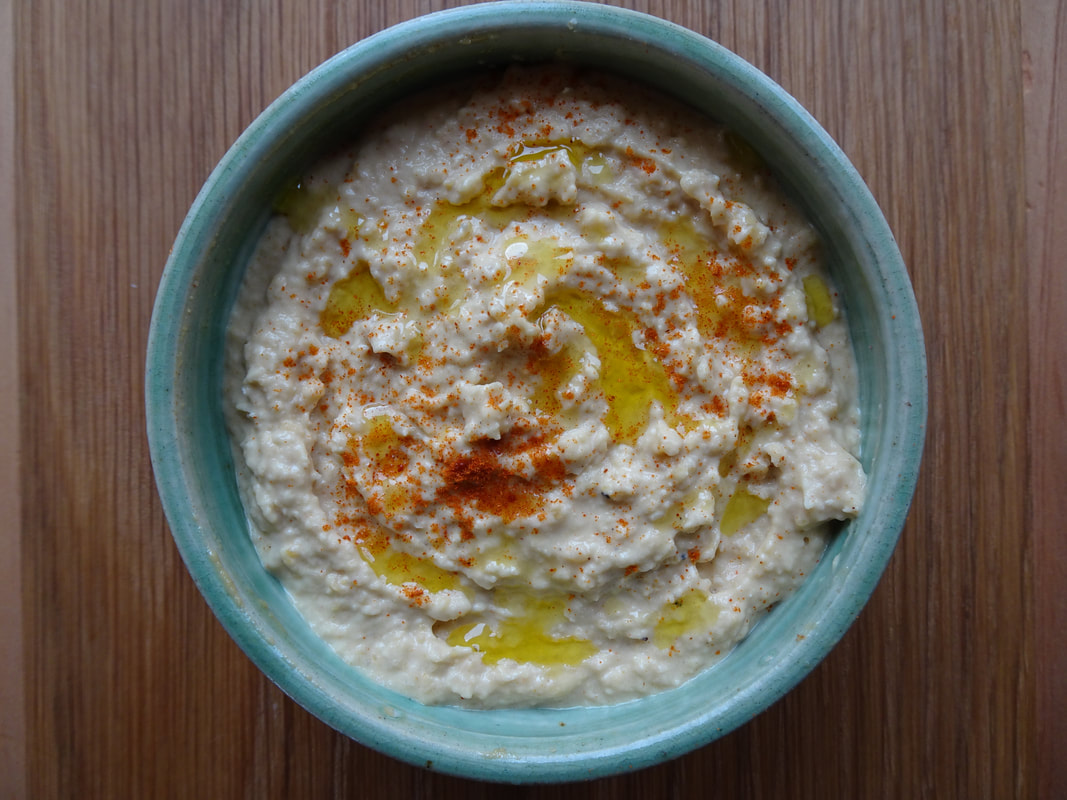
There are so many different versions of hummus out there--such as the multitude of beautiful hummus recipes from Middle Eastern food icons Yotam Ottolenghi and Sami Tamimi, who have written some of my favorite cookbooks--but my version keeps it simple. My recipe stands out, especially from the store-bought stuff, because it emphasizes properly-prepared chickpeas as the base, turning the chickpea from low-cost pantry staple to nutritional superstar.
Why Should You Soak Your Beans Before Cooking?
If you have ever eaten beans, either cooked yourself or from a can, and experienced digestive distress afterward, then soaking your beans before cooking will likely benefit you. The process of soaking in water before cooking--also called germination--helps break down the starches in beans to increase digestibility and lower the glycemic index. Preparation methods like soaking actually lower the FODMAP content of the beans as well, making them easier on the GI tract and less likely to cause gas, bloating or discomfort after eating for those that are FODMAP-sensitive.
Besides soaking, other forms of prepping beans or other seed foods before cooking include souring and sprouting, all which help to improve digestibility and bioavailability of these nutritious plant foods. Cooking itself actually decreases the content of some anti-nutrients as well, but I still like to take the extra steps before cooking to decrease them even further. The tahini in hummus is made from sesame seeds, which contain some of the same anti-nutrients as the chickpeas; for this reason, and for a richer flavor, I like to use a tahini made from roasted sesame seeds and do not recommend raw tahini here. You could go the extra steps of making your own tahini by soaking, toasting and grinding sesame seeds into a paste, if you want a gold star for super-soaked hummus!
Does this mean that no un-soaked or un-sprouted bean or grain should ever touch your lips? Definitely not. But it does mean that, if you are striving to have the most nutrient-dense diet possible, have digestive issues or are needing more vitamins and minerals in your diet, then preparing your beans before cooking is something to seriously consider. If you do your best to soak, sprout, or sour most of your seed foods before consuming, then you will be making big strides toward better nutrition.

How to Soak Beans Before Cooking
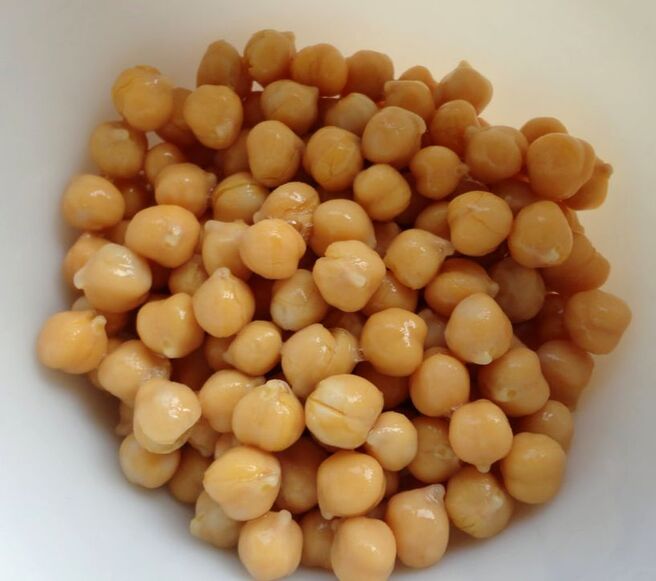
To soak your chickpeas for making hummus--or any bean prior to using in a recipe--simply check your beans for rocks or hardened beans to discard and rinse. Place in a bowl and cover with water; you should use enough water to leave plenty of room for expansion as the beans soak, which is typically several inches above the top of the beans. Add a big pinch of salt to the water and leave at room temperature to soak for at least 1 day, up to 2-3 days. While they soak, you may see some bubbles or signs of fermentation beginning in your beans. I typically strain and rinse my beans every 24 hours while soaking to keep my soaking water clear. Smaller beans, like lentils, will take less time, while larger beans will take longer, both for soaking and cooking times.
Once you are ready to cook the beans, drain and rinse from the soaking water. Add to your pot and cover with double the volume in water that you have in beans, and season with another big pinch of salt. Bring to a boil and let them cook for about 1-2 hours (depending on the bean) until extremely tender. If you are cooking beans in a recipe rather than alone, avoid putting anything acidic in the pot, which will toughen the beans and slow down cook time. Instead, add any acidic ingredients after the beans are cooked. If you want, beans can be cooked them for about one full day in the slow cooker rather than the stove top, if you want a more hands-off approach.
Once tender, drain off the cooking water and use beans according to your recipe. Or, if you like to meal prep, make a big batch and let them cool, then store in the fridge to use throughout the week in various recipes. This is a great way to have beans to throw into any meal to make meal prep quick and easy, especially since these are a bit labor intensive.
 |  |
Finally, Onto the Hummus (No more excuses for store-bought!)
Soaked Chickpea Hummus
Makes 1 quart
Prep time: 1-2 days for soaking; 1-2 hours for cooking beans; 15 minutes for hummus
For the chickpeas:
2 cups dried chickpeas
Sea salt
For the hummus:
3 cups cooked and slightly cooled chickpeas (from the soaked and cooked chickpeas above)
1/2 cup tahini
1/4 cup good quality olive oil
1/4-1/2 cup water (amount needed will vary based on thickness desired)
2 Tbs lemon juice
4 cloves garlic, chopped
1/2 tsp sea salt
1/4 tsp paprika
1/4 tsp cumin
Pinch pinch ground black pepper
Directions:
1. To soak the chickpeas: First, rinse the dried chickpeas and cover with water, leaving room for expansion. Add a pinch of salt to the water. Let sit at room temperature, covered with a cloth for at least 1 day to soak. If letting your beans soak for an extra day or two, drain and refresh the soaking water daily.
2. To cook the chickpeas: Once soaked, drain and rinse the soaking water. Add to a stock pot and cover with double the volume of water as you have beans. Add a pinch of salt. Bring to a boil and let cook for at least 1 hour, stirring often and adding more water as needed if too much boils off--there should always be plenty of water in your cooking pot. Once cooked until very tender, drain the beans and set aside to cool--they can still be warm when making your hummus, but they should not be extremely hot.
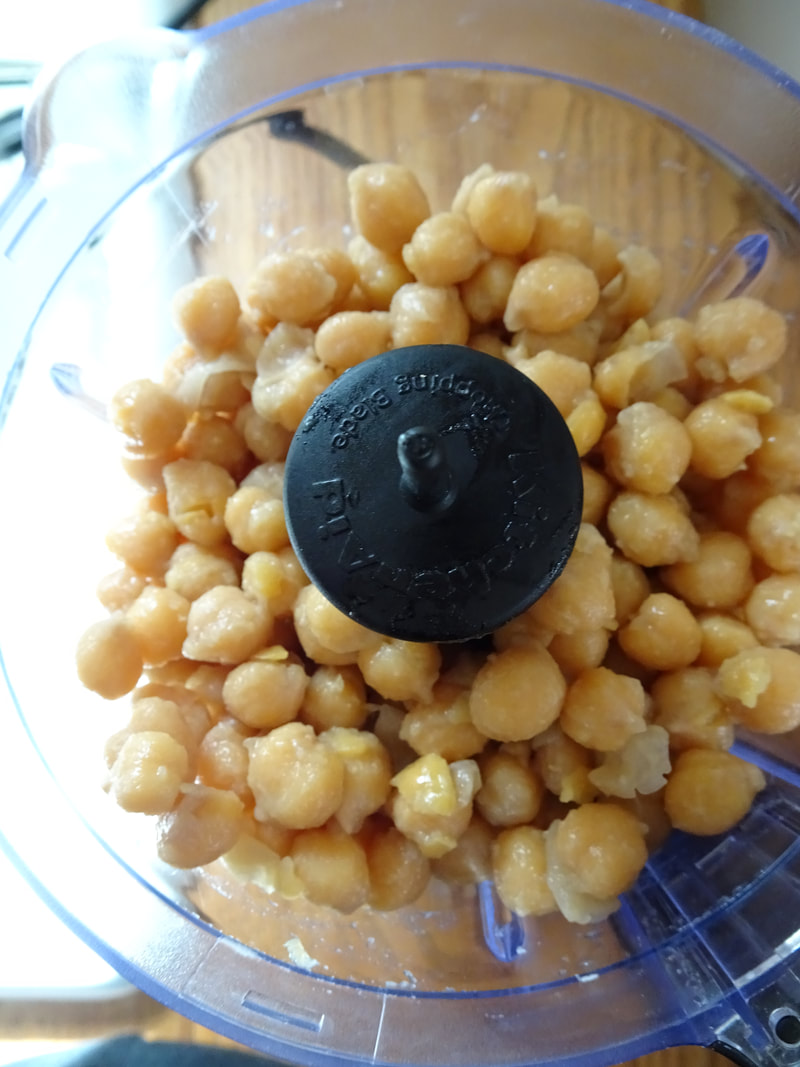
3. To make the hummus: In a food processor, place all of the ingredients except for the water. Pulse several times to break up the large pieces.
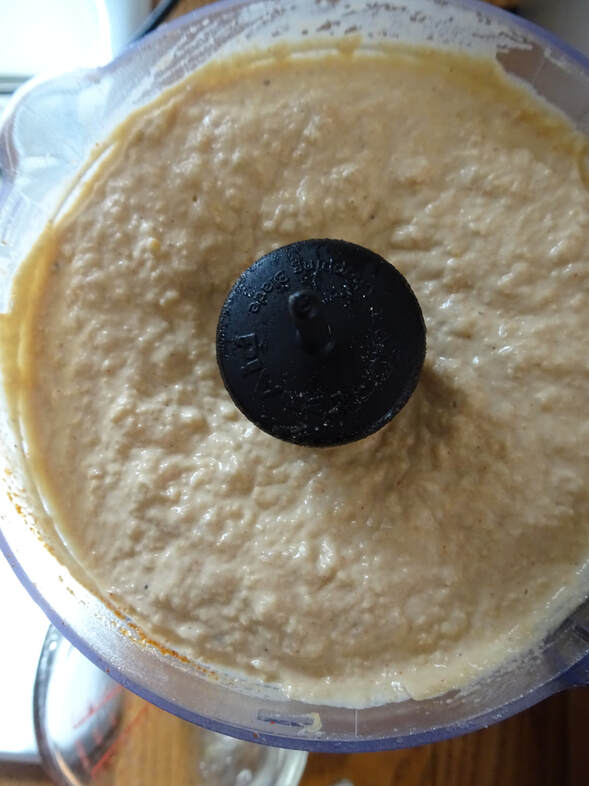
4. Begin to puree for a few seconds then add in 1/4 cup of the water as the food processor is running. Let the hummus blend until it becomes smooth, adding more water (up to the full 1/2 cup) if you like a thinner hummus. If you like a thicker hummus, feel free to leave it at just 1/4 cup water.
5. Taste and adjust seasoning as needed. Distribute into storage containers, where it will keep for 1-2 weeks in the fridge or a month or two in the freezer (you can totally make a big batch of hummus to freeze for later use!).
Bitter Medicine for Good Digestion
The increase in processed foods over the past century or so, paired with a decreased intake of wild plant foods, has made the consumption of bitter foods today extremely low compared to traditional diets. Our ancestors had robust, diverse palates and bitter-tasting plant foods were commonplace and even desirable to them for their health benefits. By contrast, most people today are so limited in what foods and flavors they seek, that now bitter foods are not as appealing. Modern eaters are mostly seeking out sweet and savory flavors above all, leaving bitter behind. There are a few areas in which bitter has not only remained in the modern diet, but has even thrived in recent years: alcohol (think hoppy IPA's or bitter liqueurs for cocktails), chocolate (love that 80% dark chocolate!), and coffee (Starbucks is doing just fine). The acceptance of these foods, even if they shouldn't be staples in the diet, does give me hope that people may be ready to enjoy more bitter foods again.
Why is this change in bitter food consumption important? This shift matters because foods that offer these bitter flavors, and even the bitter taste itself, are important in supporting gut health. So many people struggle with poor digestion now, because of the assault on our bodies from modern foods, stress, pollution, and more, and we need to look to traditional wisdom to turn this trend around. I like to emphasize adding in what is missing in the modern diet in order to promote better digestive, and overall, health, rather than focus too much on elimination. Along with probiotic-rich fermented foods and collagen-rich bone broths, adding in more bitter foods is the perfect way to add balance to the modern diet and get us back to our wild food roots.
What Are Bitters? How Do They Benefit Digestion?
These compounds work by signaling stimulation, increasing efficiency in metabolic processes and detoxification. By challenging the body, especially the liver, bitters increase resilience against toxins and other assaults from the outside world. The bitter taste is heralded for promoting digestion, helping to decrease bloating, gas, nausea, and heartburn, improve liver detoxification, balance the microbiome, and promote regular bowel movements. Besides its benefit to digestion, the bitter flavor has also been associated with regulating blood sugar and increasing satiety after meals, which can help promote weight management.
The bitter taste can be incorporated into the diet either through foods, beverages, or herbs. These can range from mildly bitter, such as ginger, chamomile or fennel, to strongly bitter, such as radicchio, orange peel or dandelion root. The peels of many fruits and vegetables offer bitterness, so leaving these on whenever possible is an easy way to add more bitter to the diet. Both in cooking and herbal remedies, the bitter taste is often balanced with other flavors--such as sweet, acidic, or aromatic-to increase palatability but also to provide other benefits these different herbs may offer.
What Are Digestive Bitters and How Do You Make Them?
While there are many great store-bought bitters out there, such as the brand Urban Moonshine, I am all about DIY herbal medicine. Making your own tincture from dried herbs is really easy and can be done with many herbal remedies, not just bitters. If you follow a basic formula, you can make extracts from a variety of herbs, empowering yourself to improve and protect your own health.
I use a basic tincture formula for my bitters, which I learned from various sources, including Richo Cech's book "Making Plant Medicine." There are other methods out there, such as the "folk method," which doesn't use exact measurements, but I prefer the method I will outline below that uses weight and volume measurements for more precision. The formula I use to make tinctures from dried herbs is this: weigh out dried, cut and sifted herbs (not powders, fresh herbs or large pieces of dried herbs) in grams; use a ratio of 1 part dried herbs (in grams) to 5 parts alcohol (in mL) to figure out how much alcohol you need for extraction; measure your alcohol by volume in milliliters; cover your herbs with the alcohol in a jar, shake regularly to macerate and let sit to extract for about 1 month; once extracted, strain the herbs and use the tincture.
I use a simple kitchen scale to weigh my herbs and, other than some dropper bottles for storing the prepared tincture, that is about the only special equipment you really need. For the alcohol menstruum (extracting liquid), you can use good quality vodka or a 50/50 blend of high-proof grain alcohol (around 190 proof alcohol such as Everclear). Alcohol, and not just water, is necessary to use for the menstruum, as many of the bitter compounds are fat-soluble, and must be extracted using alcohol.
Some of my other favorite herbs to use in bitters formulas (other than the ones in my recipe below) include:
- Dandelion root
- Burdock root
- Angelica root
- Chamomile
- Coffee bean
- Cocoa nibs
- Yellow Dock root
- Fennel seed
- Lemon peel
- Ginger root
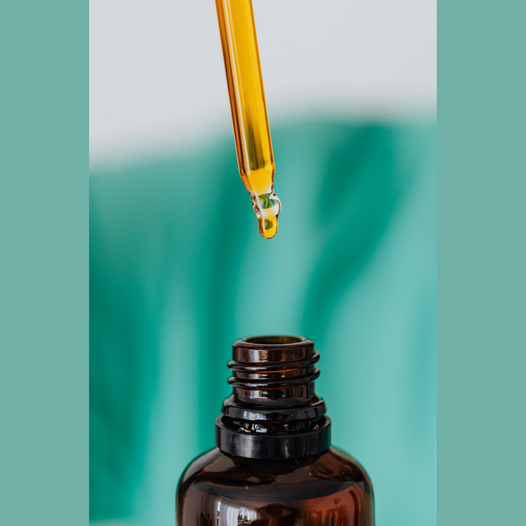
How to Make Cardamom-Black Pepper Digestive Bitters
To use these bitters medicinally (or as otherwise advised by herbalist or healthcare provider), take 10-30 drops directly on the tongue or dissolved in a few ounces of water. To add to a beverage, add 1/2-1 dropper-full of bitters to a cocktail or other beverage for a bitter flavor bomb.
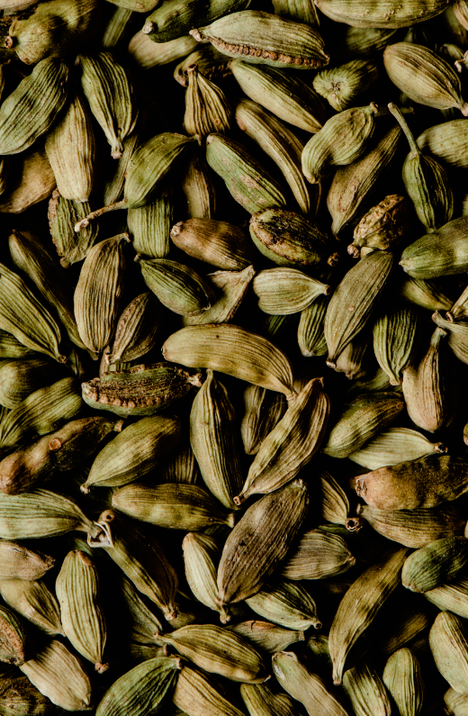
Recipe: Cardamom-Black Pepper Digestive Bitters
Makes about 1 quart of tincture
Herbs:
28 grams whole cardamom pods, crushed
28 grams whole black peppercorns
28 grams dried orange peel
28 grams Oregon grape root
28 grams gentian root
28 grams cinnamon bark (can be in chips or whole sticks)
28 grams yarrow, aerial parts not roots
Menstruum (alcohol-based extracting liquid):
980 milliliters vodka (or 490 mL each 190-proof grain alcohol and water for a 50/50 blend)
Directions:
1. Place the dried herbs in a half gallon-sized glass jar.
2. Pour the alcohol or alcohol/water mixture over the herbs. Tightly screw on the jar lid.
Shake the mixture for several minutes to combine and macerate. Label with the ingredients and date, then set on the counter or in a cabinet, away from direct sunlight.
3. Shake the container daily (or at least every couple of days, whenever you remember to do it!) for a few minutes, to macerate and infuse your liquid with the herbal constituents. Let the herbs infuse, shaking daily, for at least 1 month. You can let it sit longer if you prefer.
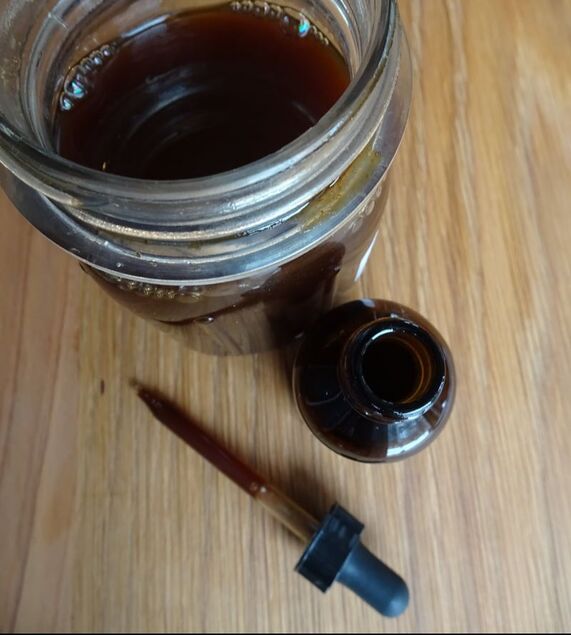
4. When ready to strain and use, shake vigorously one last time. Pour the mixture through a mesh strainer to collect the liquid and separate out the used herbs. Use a gloved hand to gently squeeze the herbs, releasing any liquid they may have stored in them. Discard the herbs (compost, etc.) after pressing.
5. Cover the jar of liquid (your tincture) and let sit overnight. Then, pour this mixture through a coffee filter, tea towel you don't mind staining, or fine mesh strainer; this removes any more solids or "sludge" that may have settled. This step is not totally necessary, but will result in a tincture with very little solid residue left behind and a nice, clear liquid.
6. This final tincture can be stored in a glass jar or decanted into individual amber dropper bottles, making it easy to use whenever needed. Clearly label your vessels, whichever you choose to use for storage, with the contents and date. Tinctures made in this way will keep for several years.
Want to Dig Deeper?
If you are wanting to nerd out more about bitters and herbal medicine, I highly suggest the work of Guido Mase. His books "The Wild Medicine Solution" and "DIY Bitters" (the latter written with herbalist Jovial King) both go in-depth into the science of bitters, characteristics of various bitter herbs and offer many recipes for making your own bitters at home.
Here's a toast to both the bitter and the sweet that life (and foods) have to offer!
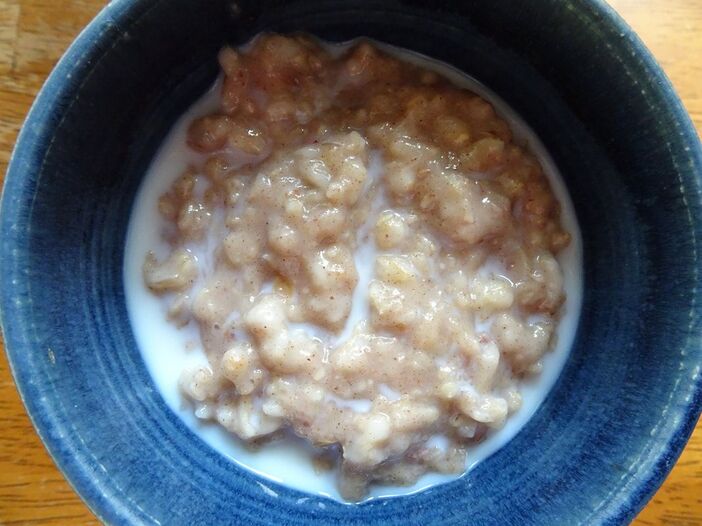
Commercial oatmeal is made with quick-cooking oats, usually destined for the microwave, and is typically packed with way too much sugar. All of these are big no-no's in my kitchen, so I like to make oatmeal my own way, adding as much nutrition as possible. In my version, I use thick-cut rolled oats that are soaked overnight before cooking for improved digestibility and then "supercharge" the oatmeal by adding gelatin for collagen-based protein, natural sweeteners and healthy fats. I typically add fruit like apples or raisins, along with some soaked and toasted nuts for some extra flavor, texture, and nutrients as well.
Despite adding gelatin and nuts for a protein boost, I do still like to serve a side dish of something really protein-rich such as sausage, scrambled eggs or Greek yogurt to create a nicely-balanced breakfast that will keep you full and satisfied for hours.

Don't forget, oatmeal, sweet or savory, does not have to just be a breakfast food! Use herb-y, cheesy oatmeal as a side dish with dinner instead of rice or potatoes, or treat yourself to a little breakfast-for-dinner with a bowl of lightly sweetened, spiced, fruity oatmeal with some crispy bacon on the side.
Try different add-ins, spices or even different types of fats to make this your own unique oatmeal using whatever you have on hand, or even be so bold as to serve your oatmeal plain with just a pinch of salt and pat of butter. Go nuts--the world is your oatmeal! I mean, oyster. (Which you could totally put in savory oatmeal. Ok, I'm done.)


Serves 4-6
For soaking:
2 cups thick-cut rolled oats (not instant and not steel-cut)
Water for soaking
Pinch of sea salt
1 Tbs plain yogurt or kefir
For cooking:
3 cups water
1/2 tsp sea salt
1 Tbs gelatin powder (such as Great Lakes brand) plus 1/4 cup water
2 Tbs coconut oil or butter
2 Tbs maple syrup or sweetener of your choice
1 tsp cinnamon
1/4 tsp allspice or other warm, sweet spice such as ginger or nutmeg
1/2 cup raisins or other dried fruit
1/4 cup toasted nuts or seeds, such as pumpkin seeds or walnuts
Milk or heavy cream for serving
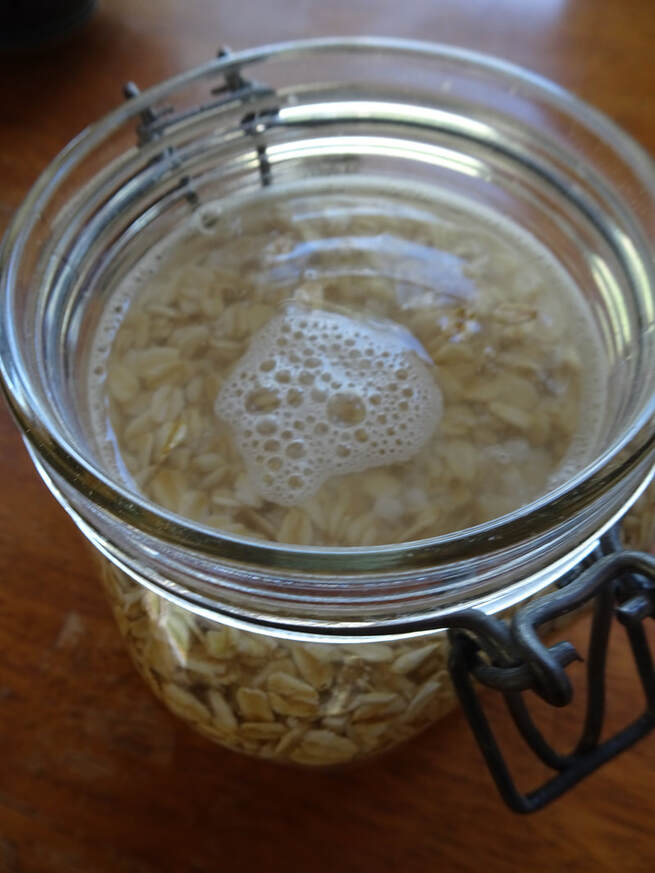
The night before you make your oatmeal, prepare it by soaking. Put the oats in a bowl and add enough water to cover the oats, with a few extra inches of water covering them to allow for expansion while soaking. Add the salt and kefir/yogurt, stirring to dissolve. Cover with a cloth and let sit on the counter overnight.
In the morning, drain the oats through a fine mesh strainer and discard the soaking water.
Add the oats to a medium-sized saucepan. Add the water and salt, and bring to a boil over medium heat. While this comes to a boil, dissolve the gelatin powder in the 1/4 cup water in a small bowl, setting aside to bloom.
Once boiling, reduce the oats to low heat and add the oil/butter, sweetener, spices, and dissolved gelatin. Let cook for about 15 minutes, until the liquid has reduced and the oatmeal has thickened to your liking--if you like it thinner, let it cook for less time and more time for a thicker oatmeal.
Add in the fruit and nuts, letting it cook another 5 minutes or so to soften and warm the add-ins.
Serve the oatmeal topped with a bit of cream or milk if desired.


Vitamin D plays a number of physiological roles, often acting as hormone to influence various systems and cellular functions in the body. Vitamin D is probably best known for its impact on bone health, as it is needed for proper absorption of calcium and balancing calcium and phosphorus levels. Besides supporting healthy bones and teeth, it also has been linked to heart health, improved immune function and resistance to cancer, blood sugar regulation and thyroid function, as well as mood and mental health (including Seasonal Affective Disorder). With all of these roles it can play in the body, it is easy to see why we must address the high rate of deficiency in this vitamin.
Having sub-optimal vitamin D levels over a long period of time can lead to issues and disruptions in all of the systems mentioned above. Vitamin D deficiency also increases mortality, as an independent risk factor, so addressing deficiency is clearly important to address long-term health, but deserves attention in the short-term as well. If vitamin D is extremely low, especially during periods of growth such as childhood, one could develop conditions such as tetany or rickets. Tetany causes muscle twitching and spasms, while rickets causes softening and weakening of the bones, which can lead to problems with growth and even walking. Rickets is rarely seen in the developed world, as most milk is now fortified with it. However, inadequate intakes that are enough to prevent rickets, but not enough to promote optimal health, are very common. Getting too much vitamin D, on the other hand, can also cause health problems such as soft tissue calcification or excess calcium in the blood. Excessive vitamin D would typically be caused by over-supplementing, however, not from sunbathing too much.
Vitamin D has gotten its nickname as "the sunshine vitamin" due to the fact that we can get a significant amount from sun exposure, as our bodies convert the UV light into this vitamin when it comes into contact with our skin. But it is just that easy? A little bit of sun and you get all the vitamin D you need? Well, it is a bit more complicated than that.
There are some special considerations when determining if you are able to get adequate vitamin D through sun exposure or if you may need to amend the sunshine with food and supplements. One of these is the timing and quality of sun exposure. For the optimal amount of sun for vitamin D synthesis, you would want as much skin exposed to the sun as possible during midday (around the noon hour). This would mean that if you were mostly clothed or if your sun exposure was early in the morning or later in the afternoon, you may not be optimizing your sun exposure for vitamin D. The amount of sun needed for optimal vitamin D synthesis depends on your skin tone and sun tolerance.
Those with lighter skin tones need less sunshine to synthesize vitamin D, while darker skin tones need more, as the melanin in the skin inhibits the conversion of UV rays to vitamin D. Lighter-skinned people can get adequate sun for vitamin D if they sunbathe or have some skin exposed, just up until they begin to turn pink. If you start to burn, you have overdone it, and in fact, have maxed out how much vitamin D you can make at that point. This could be 10-30 minutes, depending on how sun tolerant someone is. For darker-skinned people, they would likely need a much longer stint in direct sunlight, which could even be up to an hour or more, to synthesize adequate amounts of vitamin D in the skin.
One kicker with sun exposure, no matter the melanin content of the skin, is that time of year and latitude will affect the quality of sunlight for making vitamin D. For example, those in Northern climates during the winter time will absorb less vitamin D from the sun, even if they do get out in the sunshine midday, as the UVB rays are not as strong during the winter. Also, if you are in a colder climate, more of your body will be covered due to the weather, so less skin is exposed overall, decreasing the vitamin D synthesis potential at that time as well.
Besides melanin and clothing--especially dark clothing-- other barriers that block UV rays, thus preventing vitamin D synthesis in the skin, include: sunblock, shade, clouds, air pollution, and windows. So, if you had any hopes of throwing on sunblock and hitting the beach to soak up some vitamin D, you will need a new strategy. To balance the need for direct sunlight on the skin with the need to not burn, get your midday sun for a shorter amount of time, stopping before you start to get pink. Then, you can use some sort of sun protection such as shade, clothing, or a chemical-free sunblock to prevent burning if you would like to continue to enjoy the outdoors midday. Sitting in the window on a sunny day or sunbathing on a cloudy day won't cut it, either; finding other ways to get your vitamin D needs met may be necessary if you have limited access to midday sun on a regular basis, burn easily, or if you live in a Northern climate during the winter.
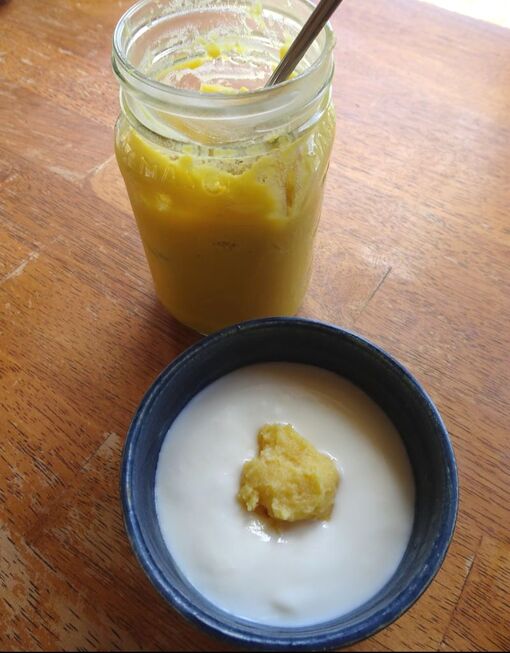
If those of us in Norther climates can't get enough sunlight in the colder months for adequate vitamin D synthesis, then what do we do? We would take a lesson from those who have lived in these areas for centuries, and turn to food. There are a few food sources of vitamin D3 (the more bioavailable form of vitamin D), which are all ancestral, animal-based foods. Having adequate fat in the diet is necessary for proper vitamin D absorption from food sources, so consuming a diet rich in unprocessed fats is a good place to start.
Animal foods have provided vitamin D to those in Northern, colder climates well before there were capsules available to buy at the store and it is time to consider these the superfoods that they really are.
Some of the best food sources of vitamin D3 include:
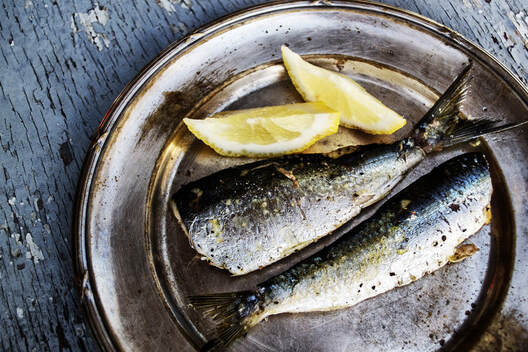
- Wild-caught fish, such as sardines or salmon
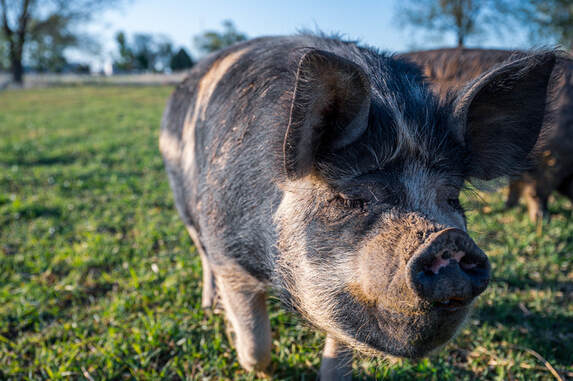
- Pastured pork, especially the lard and fattier cuts
- Liver
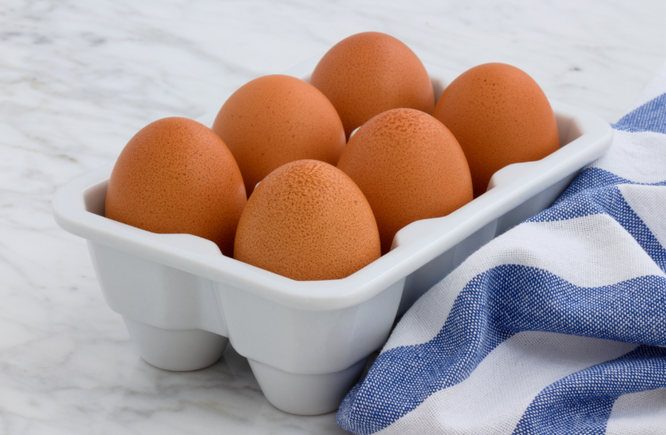
- Pastured egg yolks
It is important to remember that the animals must be raised outdoors, with plenty of sun exposure themselves, for the food they provide to have adequate amounts of vitamin D. There are many foods that are enriched with vitamin D, such as almost all milk sold in the U.S., but obtaining as much of your vitamin D intake from food sources as you can is ideal.
As discussed above, there are huge amounts of the world's population that are deficient or insufficient in this essential vitamin. Though we can synthesize vitamin D from the sun and have multiple food sources available, this continues to be worldwide health issue, which some refer to as "pandemic" level. Some populations are more at-risk for this deficiency, however. Because the sun is once of our best sources, those with limited sun exposure are at a very high risk of deficiency, as well as those who would be unable to get adequate amounts from the diet, such as those consuming a modernized diet.
Here are some of those groups most at-risk:
- Those living in colder climates during the winter
- Those who work indoors or have a generally "indoor" lifestyle
- Those with darker skin tones or those with lighter skin tones who regularly wear sunblock
- Elderly people
- Infants
- Pregnant and/or breastfeeding women
- Those in religions who require covering the body, such as some Muslim populations (this is usually women, but not always)
- Those with food allergies or dietary restrictions that exclude the vitamin D-rich foods, such as vegans and vegetarians
- Those with digestive issues or liver disease that prevent absorption and storage of vitamin D
- Low income and/or malnourished populations

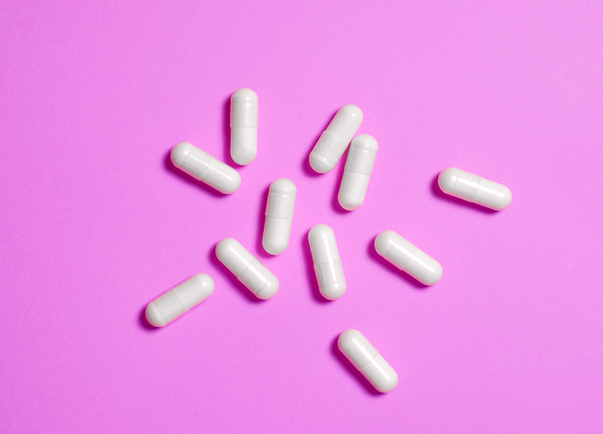
For those in any of the high-risk groups listed above, supplementation of vitamin D is often needed to have adequate levels in the body. With indoor lifestyles, diets rich in processed foods, and chronic health conditions afflicting so many, the modern way of living does not make it easy for almost anyone to get enough vitamin D through sun or food. Though supplements are frequently necessary, I do encourage starting with lifestyle modifications as much as possible and then supplementing if needed.
If you feel you are at-risk for low vitamin D, it is definitely worth getting labs drawn to determine your exact vitamin D status and supplementing as needed after that. The most common test for this is the 25(OH)D test (calcidiol), which optimally would fall between 30-50 ng/mL. There are other tests that can help determine your vitamin D status, and other factors that could cause an altered 25(OH)D result besides insufficient sun or dietary intake (such as chronic inflammation or inadequate calcium intake), but getting this drawn is a good place to start. Getting further assistance from your healthcare provider is, of course, part of the equation here as I am not giving you healthcare advice, just general information.
If you are deficient, as proven by labs, then supplementing may be necessary for you, as lifestyle and diet have likely not met your body's needs. When choosing a vitamin D supplement, no matter the dose, look for those labeled vitamin D3 for the best absorption. Choose those that come from natural sources, such as lanolin or cod liver, rather than synthetic sources. A vitamin D3 supplement with vitamin K2 added will also help with absorption, and these are becoming increasingly easy to find. Cod liver oil, either in liquid or capsules, also provides vitamin D in a food source, along with vitamin A and omega 3 fatty acids. Though this is a good choice for all of these reasons, the amount of vitamin D provided may vary by brand and processing method, so do some research before purchasing, especially if you need a higher dose of D3 due to a deficiency. If you are looking to consume a high dose of vitamin D3 (over 2000 IU) for whatever reason, then you should be getting your labs checked regularly by your doctor to avoid excessive vitamin D intake.

Brine & Broth
Laura A. Poe, RD
I am a gut health-focused nutritionist and online health coach based in Southwest Wisconsin. My recipes and philosophies center around traditional, nutrient-dense foods that support robust gut health.
My goal is to provide you with simple and delicious recipes that fit into real life, and information for choosing healthful real foods. Enjoy!
Copyright 2022 Laura Mathes, RD
All rights reserved.
See "About" for Terms and Conditions.
Archives
May 2022
January 2022
October 2021
September 2021
August 2021
July 2021
May 2021
April 2021
March 2021
February 2021
January 2021
November 2020
October 2020
September 2020
July 2020
June 2020
May 2020
April 2020
March 2020
February 2020
January 2020
February 2019
June 2018
May 2018
April 2018
March 2018
February 2018
January 2018
December 2017
November 2017
October 2017
August 2017
July 2017
June 2017
May 2017
April 2017
January 2017
February 2016
January 2016
 RSS Feed
