 Chickpeas: A Pantry Staple for a Healthy Gut There is just something crave-able about hummus...it's creamy, savory, and I can hardly find anything I wouldn't dip in it. A staple of Middle Eastern cuisine, hummus is chickpea- and tahini-based puree that is an all-around perfect spread. My recipe, which I have been riffing off of since college, is basic but totally hits the spot and I always like to keep a batch in the fridge for a quick lunch or snack. There are so many different versions of hummus out there--such as the multitude of beautiful hummus recipes from Middle Eastern food icons Yotam Ottolenghi and Sami Tamimi, who have written some of my favorite cookbooks--but my version keeps it simple. My recipe stands out, especially from the store-bought stuff, because it emphasizes properly-prepared chickpeas as the base, turning the chickpea from low-cost pantry staple to nutritional superstar. 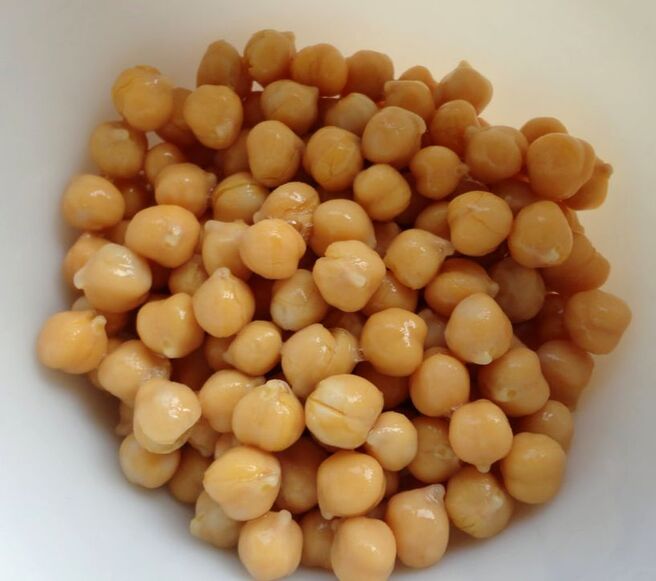 Why Should You Soak Your Beans Before Cooking?Beans, like most plant foods--and especially the seeds of plants (think beans, grains, nuts, and seeds)--contain anti-nutrients. Anti-nutrients are compounds found in plants to protect them from predators, but they also bind the nutrients in beans so they are not well-absorbed in our bodies. The main offenders in chickpeas and other beans are phytic acid and lectins. Many people actually avoid beans because of these anti-nutrients, but that may not be necessary. Proper preparation of beans (and other seed foods) before cooking helps decrease the content of these anti-nutrients, increasing the bioavailability of minerals like zinc and magnesium, while also making the beans more digestible. If you have ever eaten beans, either cooked yourself or from a can, and experienced digestive distress afterward, then soaking your beans before cooking will likely benefit you. The process of soaking in water before cooking--also called germination--helps break down the starches in beans to increase digestibility and lower the glycemic index. Preparation methods like soaking actually lower the FODMAP content of the beans as well, making them easier on the GI tract and less likely to cause gas, bloating or discomfort after eating for those that are FODMAP-sensitive. Besides soaking, other forms of prepping beans or other seed foods before cooking include souring and sprouting, all which help to improve digestibility and bioavailability of these nutritious plant foods. Cooking itself actually decreases the content of some anti-nutrients as well, but I still like to take the extra steps before cooking to decrease them even further. The tahini in hummus is made from sesame seeds, which contain some of the same anti-nutrients as the chickpeas; for this reason, and for a richer flavor, I like to use a tahini made from roasted sesame seeds and do not recommend raw tahini here. You could go the extra steps of making your own tahini by soaking, toasting and grinding sesame seeds into a paste, if you want a gold star for super-soaked hummus! Does this mean that no un-soaked or un-sprouted bean or grain should ever touch your lips? Definitely not. But it does mean that, if you are striving to have the most nutrient-dense diet possible, have digestive issues or are needing more vitamins and minerals in your diet, then preparing your beans before cooking is something to seriously consider. If you do your best to soak, sprout, or sour most of your seed foods before consuming, then you will be making big strides toward better nutrition.  How to Soak Beans Before Cooking Even though it is an extra step, soaking beans is super easy, so don't let it deter you. Sure, it takes some planning, as you need an extra couple of days, but it is worth it for all of the nutritional reasons--and less gas!--as mentioned above. To soak your chickpeas for making hummus--or any bean prior to using in a recipe--simply check your beans for rocks or hardened beans to discard and rinse. Place in a bowl and cover with water; you should use enough water to leave plenty of room for expansion as the beans soak, which is typically several inches above the top of the beans. Add a big pinch of salt to the water and leave at room temperature to soak for at least 1 day, up to 2-3 days. While they soak, you may see some bubbles or signs of fermentation beginning in your beans. I typically strain and rinse my beans every 24 hours while soaking to keep my soaking water clear. Smaller beans, like lentils, will take less time, while larger beans will take longer, both for soaking and cooking times. Once you are ready to cook the beans, drain and rinse from the soaking water. Add to your pot and cover with double the volume in water that you have in beans, and season with another big pinch of salt. Bring to a boil and let them cook for about 1-2 hours (depending on the bean) until extremely tender. If you are cooking beans in a recipe rather than alone, avoid putting anything acidic in the pot, which will toughen the beans and slow down cook time. Instead, add any acidic ingredients after the beans are cooked. If you want, beans can be cooked them for about one full day in the slow cooker rather than the stove top, if you want a more hands-off approach. Once tender, drain off the cooking water and use beans according to your recipe. Or, if you like to meal prep, make a big batch and let them cool, then store in the fridge to use throughout the week in various recipes. This is a great way to have beans to throw into any meal to make meal prep quick and easy, especially since these are a bit labor intensive.
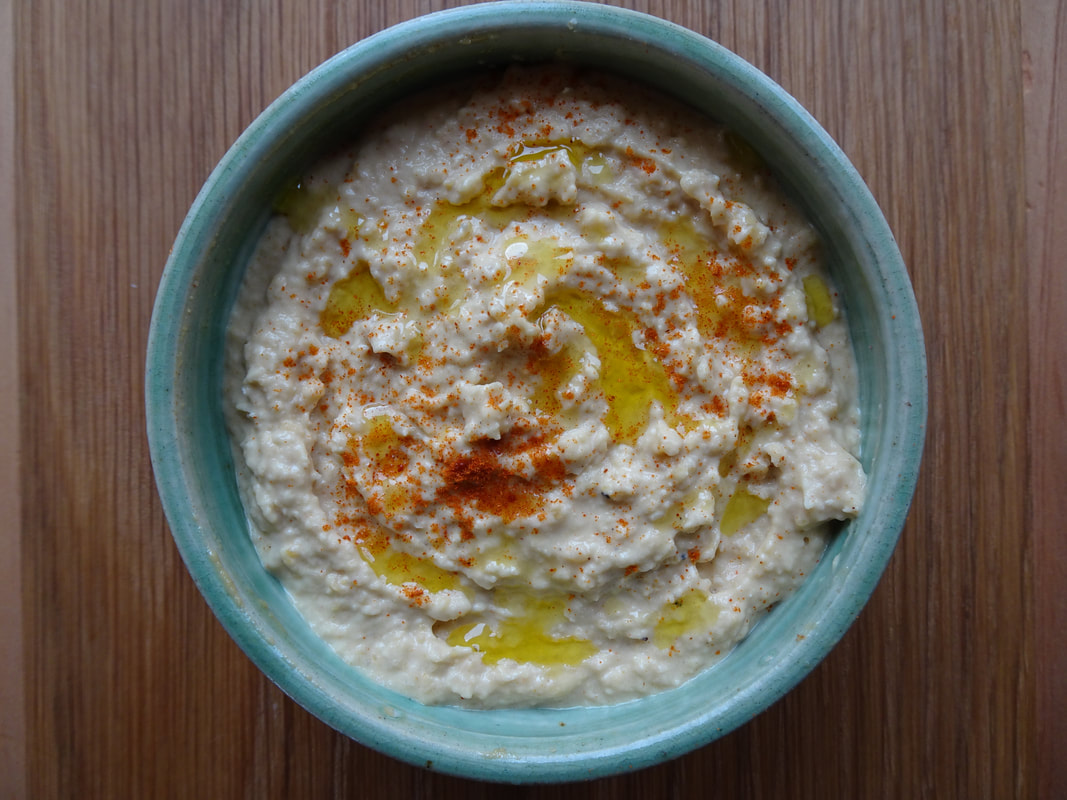
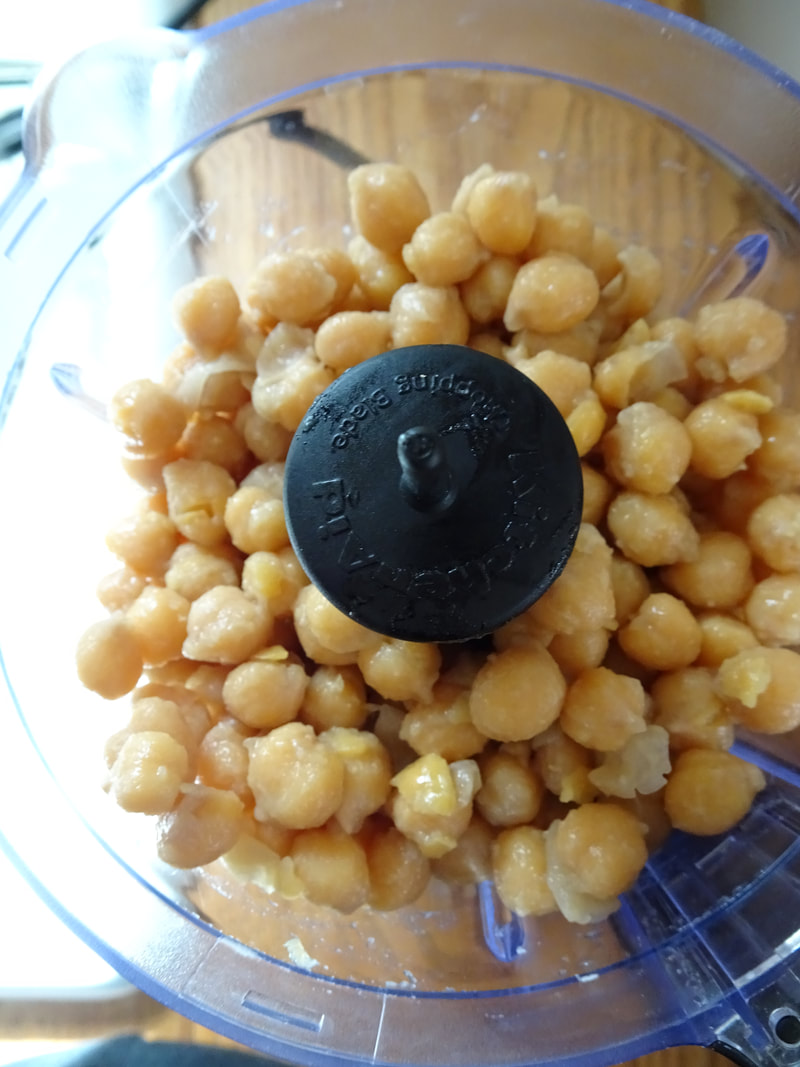
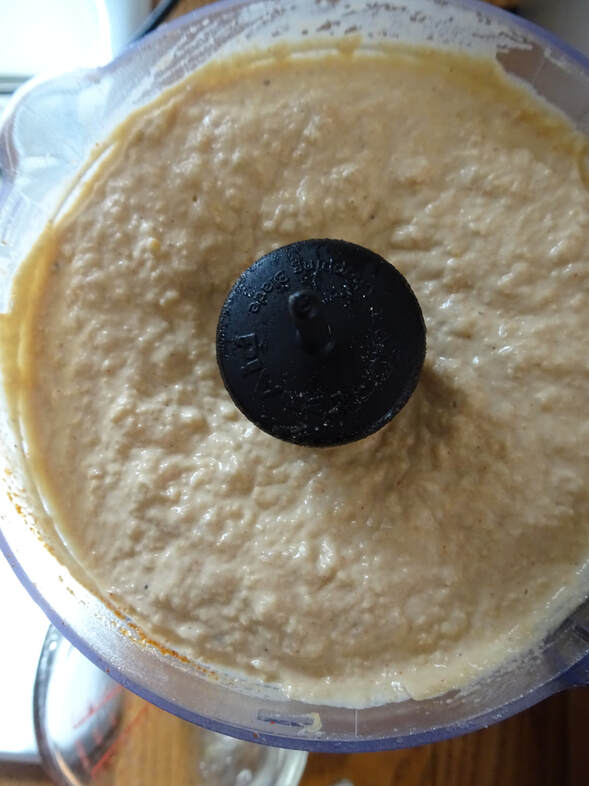
Finally, Onto the Hummus (No more excuses for store-bought!) Use your tasty Soaked Chickpea Hummus as a dip for veggies, sprouted grain crackers, avocado oil chips, as a spread on a sandwich or as a bed to top with roasted meats and veggies--anywhere you want to add a pop of flavor, creamy texture, and a boost of nutrition! Soaked Chickpea Hummus Makes 1 quart Prep time: 1-2 days for soaking; 1-2 hours for cooking beans; 15 minutes for hummus For the chickpeas: 2 cups dried chickpeas Sea salt For the hummus: 3 cups cooked and slightly cooled chickpeas (from the soaked and cooked chickpeas above) 1/2 cup tahini 1/4 cup good quality olive oil 1/4-1/2 cup water (amount needed will vary based on thickness desired) 2 Tbs lemon juice 4 cloves garlic, chopped 1/2 tsp sea salt 1/4 tsp paprika 1/4 tsp cumin Pinch pinch ground black pepper Directions: 1. To soak the chickpeas: First, rinse the dried chickpeas and cover with water, leaving room for expansion. Add a pinch of salt to the water. Let sit at room temperature, covered with a cloth for at least 1 day to soak. If letting your beans soak for an extra day or two, drain and refresh the soaking water daily. 2. To cook the chickpeas: Once soaked, drain and rinse the soaking water. Add to a stock pot and cover with double the volume of water as you have beans. Add a pinch of salt. Bring to a boil and let cook for at least 1 hour, stirring often and adding more water as needed if too much boils off--there should always be plenty of water in your cooking pot. Once cooked until very tender, drain the beans and set aside to cool--they can still be warm when making your hummus, but they should not be extremely hot. 3. To make the hummus: In a food processor, place all of the ingredients except for the water. Pulse several times to break up the large pieces. 4. Begin to puree for a few seconds then add in 1/4 cup of the water as the food processor is running. Let the hummus blend until it becomes smooth, adding more water (up to the full 1/2 cup) if you like a thinner hummus. If you like a thicker hummus, feel free to leave it at just 1/4 cup water. 5. Taste and adjust seasoning as needed. Distribute into storage containers, where it will keep for 1-2 weeks in the fridge or a month or two in the freezer (you can totally make a big batch of hummus to freeze for later use!). 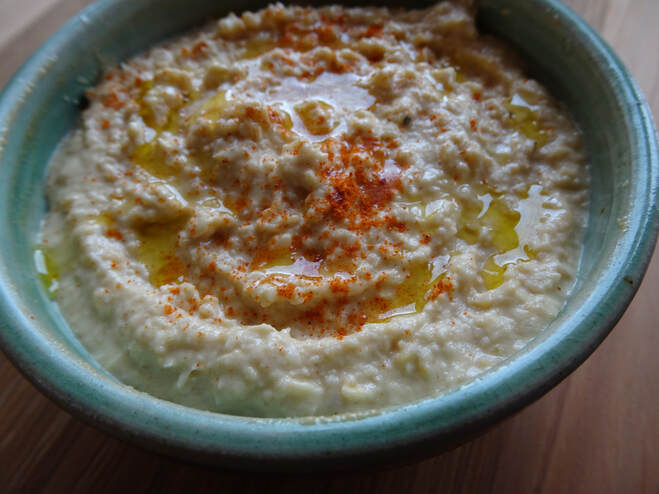
0 Comments
Leave a Reply. |

Brine & Broth
I am a gut health-focused nutritionist and online health coach based in Southwest Wisconsin. My recipes and philosophies center around traditional, nutrient-dense foods that support robust gut health. Archives
May 2022
Categories |
 RSS Feed
