|
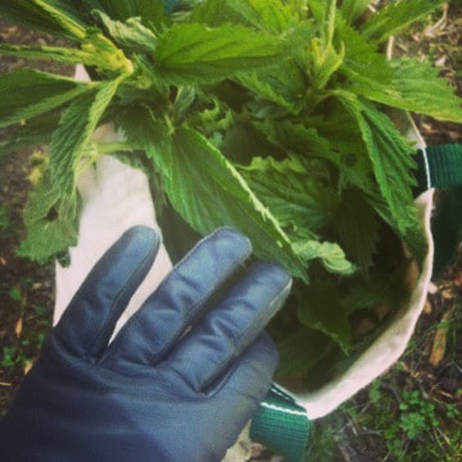
I love using seasonal ingredients to make my ferments. This is a special time of year because it is the only time garlic scapes are available and they are the perfect veggie to pickle. Full of flavor and also beautiful, they lend themselves well to being lacto-fermented and put into your favorite dishes, like on a pizza or in a bloody mary. I call them 'pickled' because they are preserved in a brine, but there is no vinegar added, as the lacto-fermentation process is what preserves them. Just a nice salt brine and some spices, and you are ready to ferment your scapes! This is the basic brine that would be used in pickling cucumbers, so it is higher in salt than brine used for some other vegetables, but less than that used in kim chi. I got the ratio for the brine from the great book Fermented Vegetables by Kirsten and Christopher Shockey, which is one of my go-to books when I am looking to try a new vegetable ferment. If you are interested in fermenting at all, this is a must buy! I mixed up the spice mixture to make it my own, which you could do as well if you want to try different flavor combinations or just leave them plain and let the scape flavor speak for itself. Pickled Garlic Scapes
Makes 1 quart For the brine (ratio of 3/4 cup salt to 1 gallon water): 1 quart water 3 Tbs salt 10-20 garlic scapes, depending on size, enough to pack in a quart jar 2 tsp mustard seeds 1 tsp black peppercorns 1/2 Tbs dried dill, or 2 Tbs fresh dill Optional: 1/2-1 tsp red pepper flakes Dissolve the salt in warm water, and let cool to room temperature. Trim the woody ends off of the scapes, as well as any tops that have large flower bulbs on them. Pack whole into a quart-sized glass jar. Add spices. Fill the jar with the brine, leaving 1/2" headspace at the top. Ensure that the scapes and spices stay submerged in the brine to prevent mold. Let ferment for 5-7 days, then transfer to the fridge for storage.
1 Comment
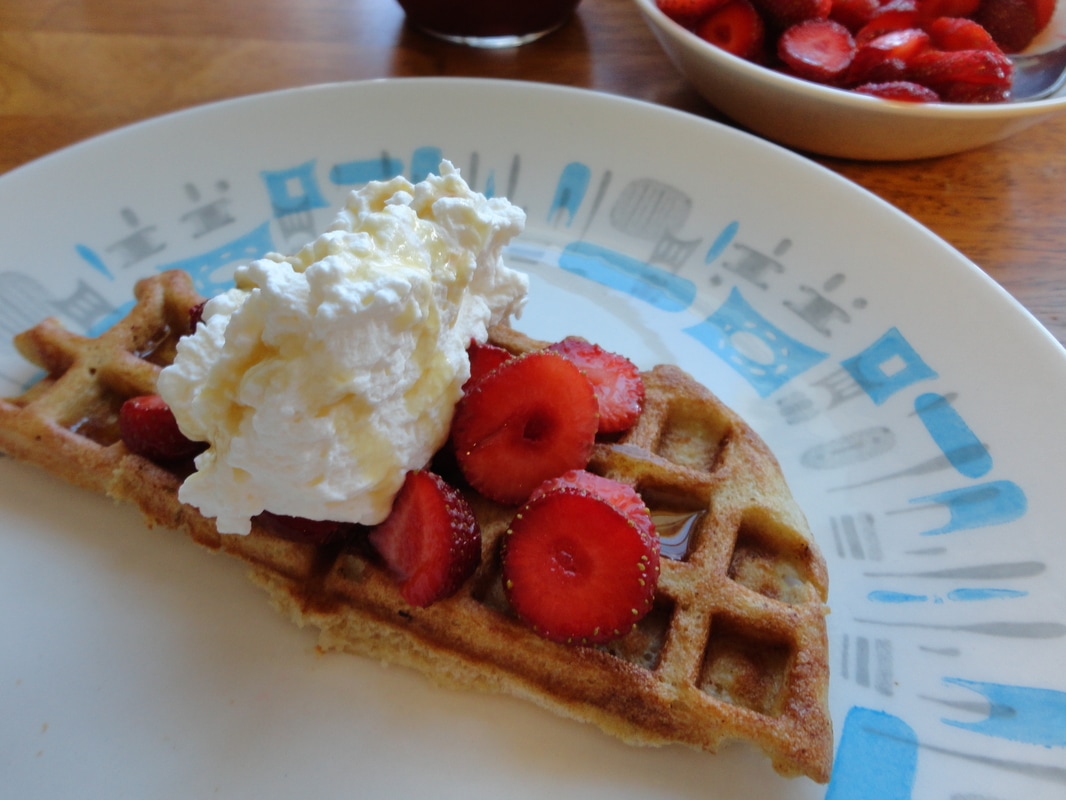
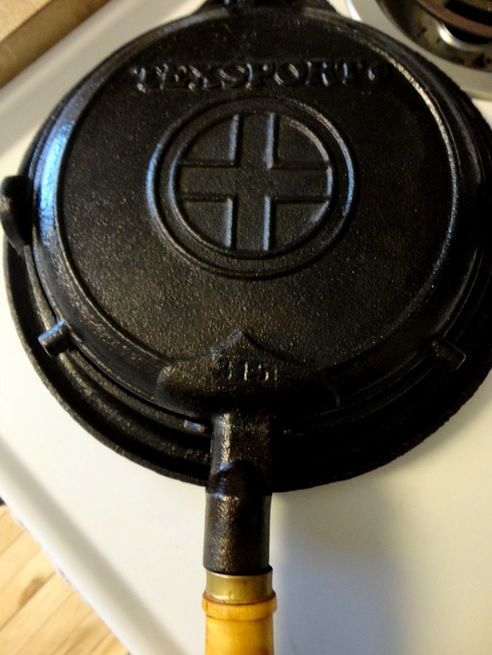
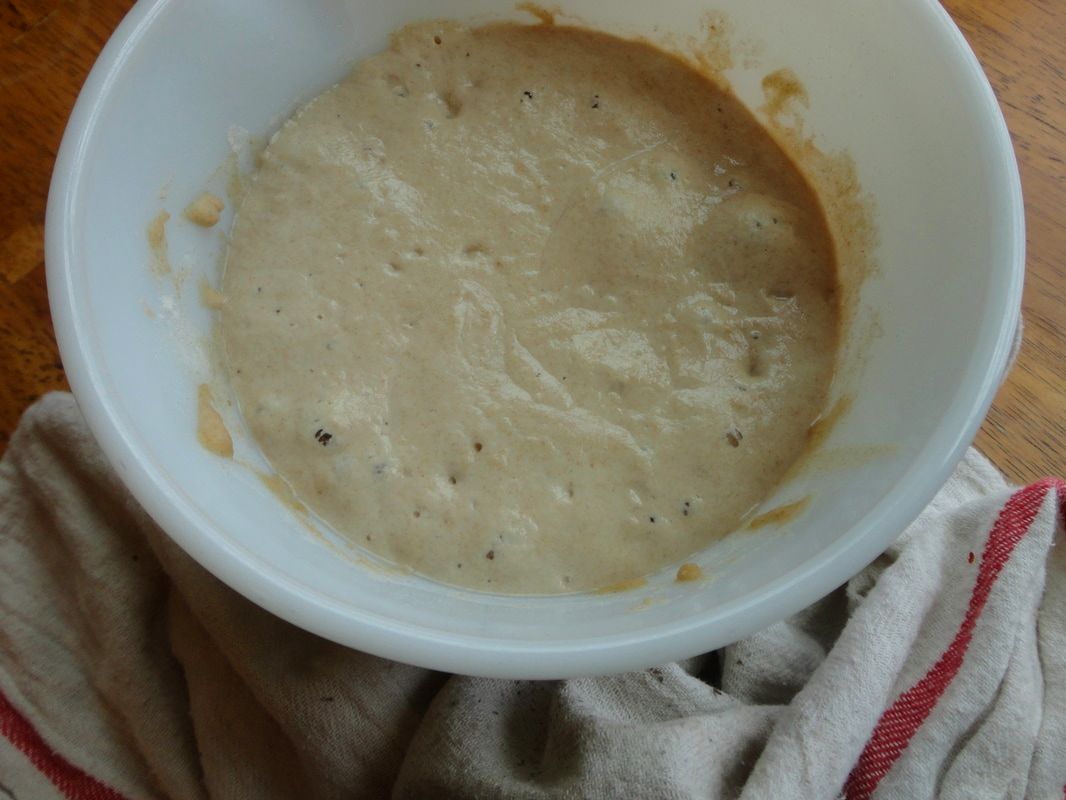
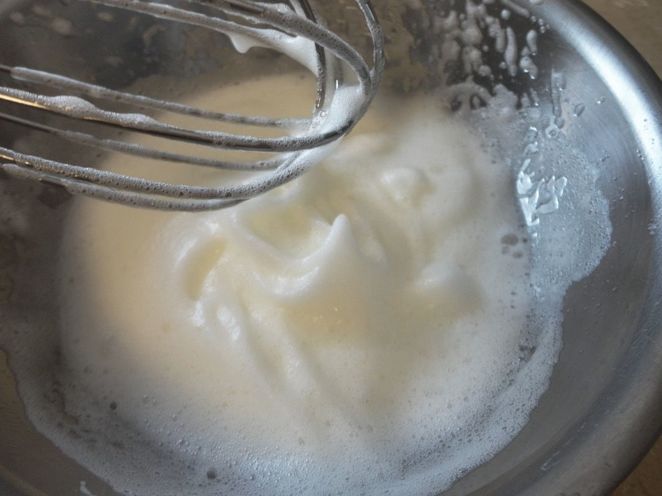
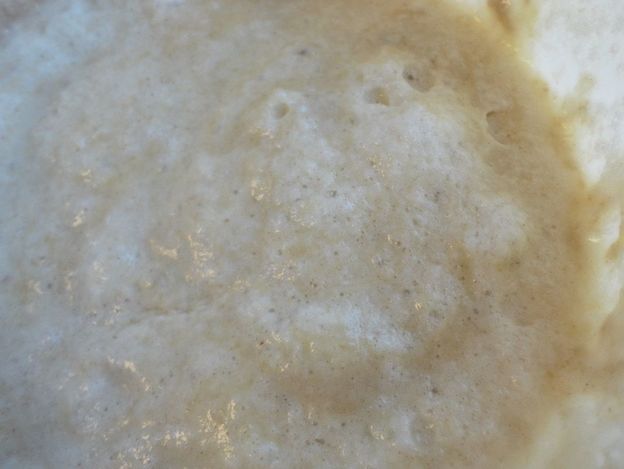
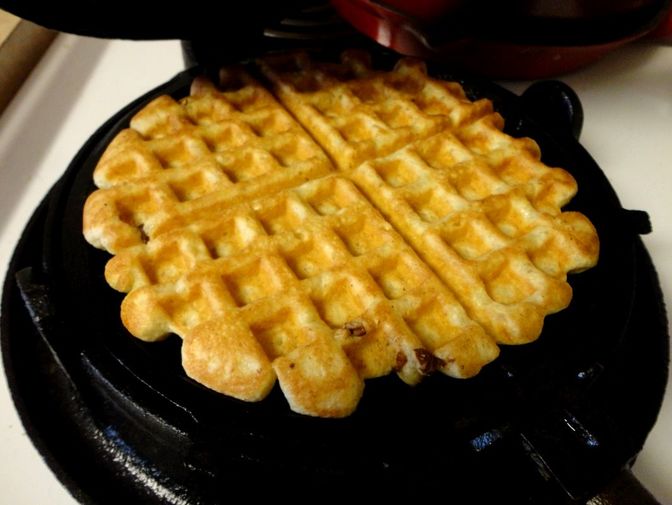
I think I am firmly in the waffle camp when it comes to pancakes versus waffles, or at least I am today. When done right, they are both chewy on the inside and crispy on the outside, with perfect little craters to fill with maple syrup. They might even be the perfect breakfast food, although having them at lunch or dinner is also totally acceptable. This recipe came about when I needed to use up extra levain from making sourdough bread. The addition of active, bubbly sourdough starter creates a light waffle that has a very slight tang to it to balance out the sweet syrup. These are naturally leavened, with no baking soda or powder added, and the only flour in the mixture is already fermented in the levain. So, this is a great bready treat to make that is also nutritious and easy to digest. The batter can be put together pretty quickly, but making the waffles really well may take some practice, especially in a stove top waffle iron like I have. This recipe lends itself well to tasty additions like chopped pecans (my favorite), and certainly all of the butter you can cram into the crevices after cooking. We opted for some fresh Amish-grown strawberries and homemade whipped cream, as well as some local maple syrup, so it was perfectly summery and satisfying. Crispy, Chewy Sourdough Waffles Makes ~6 For the levain: 1-2 Tbs active sourdough starter 200 g flour 200 g warm water The night before you plan to make waffles, or ~8 hours before you make them, combine your active, bubbly starter with the flour and water, and mix well to combine. Cover with a cloth and let sit at room temperature until ready to use. When ready, it will appear bubbly and light, and have a pleasant, fruity smell. Alternatively, you can use levain from making bread that you would otherwise be discarding. Simply begin with your levain and make the following recipe. For the waffles: 400 g levain 3 Tbs melted butter 3 large eggs, separated 3/4 tsp sea salt 1 tsp vanilla 2-3 Tbs maple syrup, to taste 2 Tbs heavy cream or whole milk Optional: 1/2 tsp cinnamon Extra butter for greasing the waffle iron Heat your waffle iron while you prepare your batter. In a medium bowl, whisk the egg whites until they form soft peaks. Combine the levain, melted butter, egg yolks, salt, vanilla, maple syrup and cream. Stir well to combine. Gently fold in the whipped egg whites, being careful not to deflate them. This helps keep the waffles light and crispy. There may still be some visible pieces of egg white, which is totally fine. Using about 2/3 cup of batter per waffle (depending on your waffle iron, but this should be pretty standard), add the batter to a preheated, buttered waffle iron and cook until crispy and golden brown on each side. For my cast iron waffle maker, this is usually about 3-5 minutes per side.
Repeat with the remaining batter, top with your favorite waffle fixings and enjoy! You could make these ahead of time and freeze them, then pop in the toaster when the mood strikes. But hot and fresh is the way to go if you can! |
Brine & Broth
I am a gut health-focused nutritionist and online health coach based in Southwest Wisconsin. My recipes and philosophies center around traditional, nutrient-dense foods that support robust gut health. Archives
May 2022
Categories |

 RSS Feed
