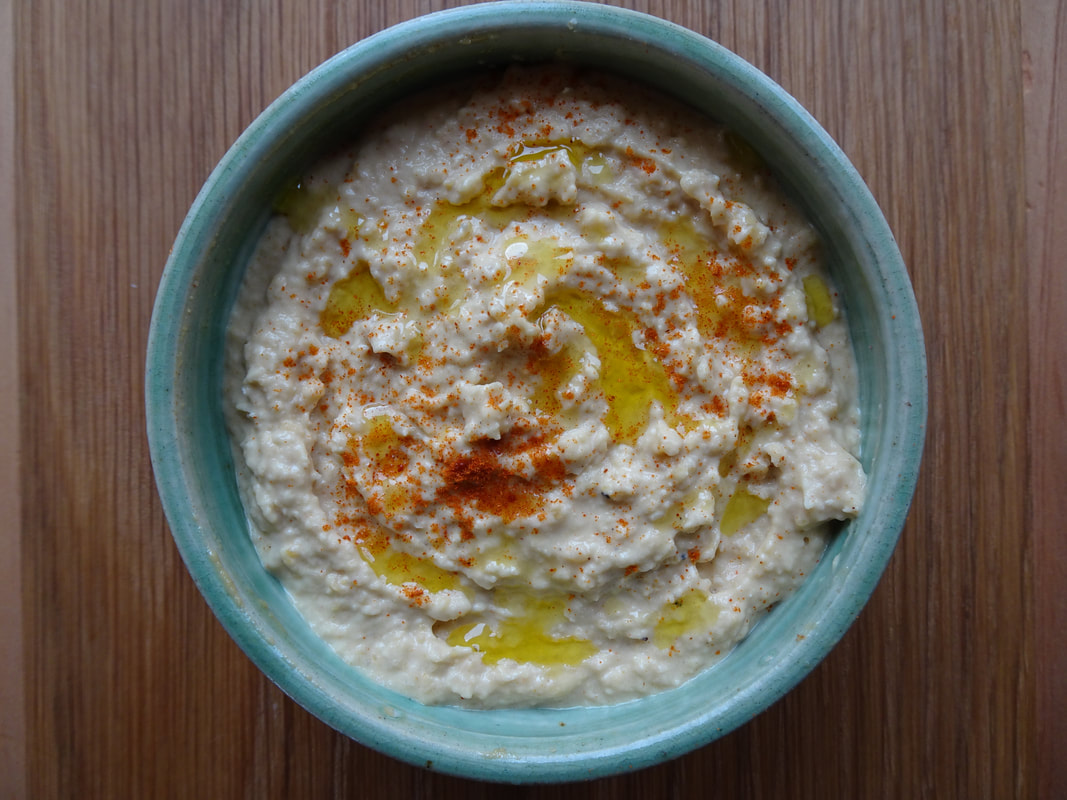
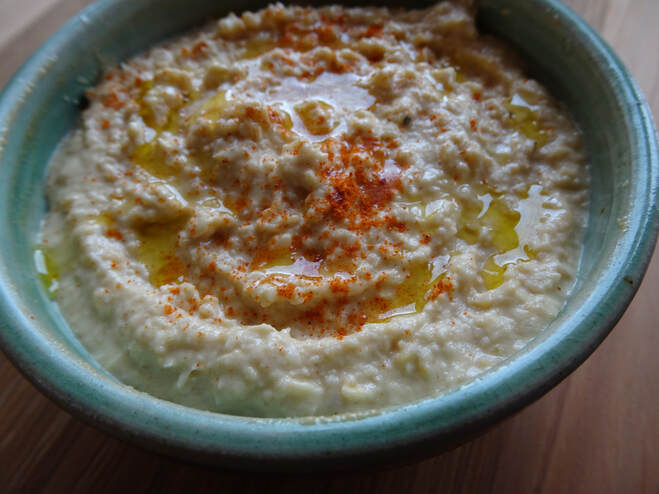
Chickpeas: A Pantry Staple for a Healthy Gut There is just something crave-able about hummus...it's creamy, savory, and I can hardly find anything I wouldn't dip in it. A staple of Middle Eastern cuisine, hummus is chickpea- and tahini-based puree that is an all-around perfect spread. My recipe, which I have been riffing off of since college, is basic but totally hits the spot and I always like to keep a batch in the fridge for a quick lunch or snack. There are so many different versions of hummus out there--such as the multitude of beautiful hummus recipes from Middle Eastern food icons Yotam Ottolenghi and Sami Tamimi, who have written some of my favorite cookbooks--but my version keeps it simple. My recipe stands out, especially from the store-bought stuff, because it emphasizes properly-prepared chickpeas as the base, turning the chickpea from low-cost pantry staple to nutritional superstar. Why Should You Soak Your Beans Before Cooking?Beans, like most plant foods--and especially the seeds of plants (think beans, grains, nuts, and seeds)--contain anti-nutrients. Anti-nutrients are compounds found in plants to protect them from predators, but they also bind the nutrients in beans so they are not well-absorbed in our bodies. The main offenders in chickpeas and other beans are phytic acid and lectins. Many people actually avoid beans because of these anti-nutrients, but that may not be necessary. Proper preparation of beans (and other seed foods) before cooking helps decrease the content of these anti-nutrients, increasing the bioavailability of minerals like zinc and magnesium, while also making the beans more digestible. If you have ever eaten beans, either cooked yourself or from a can, and experienced digestive distress afterward, then soaking your beans before cooking will likely benefit you. The process of soaking in water before cooking--also called germination--helps break down the starches in beans to increase digestibility and lower the glycemic index. Preparation methods like soaking actually lower the FODMAP content of the beans as well, making them easier on the GI tract and less likely to cause gas, bloating or discomfort after eating for those that are FODMAP-sensitive. Besides soaking, other forms of prepping beans or other seed foods before cooking include souring and sprouting, all which help to improve digestibility and bioavailability of these nutritious plant foods. Cooking itself actually decreases the content of some anti-nutrients as well, but I still like to take the extra steps before cooking to decrease them even further. The tahini in hummus is made from sesame seeds, which contain some of the same anti-nutrients as the chickpeas; for this reason, and for a richer flavor, I like to use a tahini made from roasted sesame seeds and do not recommend raw tahini here. You could go the extra steps of making your own tahini by soaking, toasting and grinding sesame seeds into a paste, if you want a gold star for super-soaked hummus! Does this mean that no un-soaked or un-sprouted bean or grain should ever touch your lips? Definitely not. But it does mean that, if you are striving to have the most nutrient-dense diet possible, have digestive issues or are needing more vitamins and minerals in your diet, then preparing your beans before cooking is something to seriously consider. If you do your best to soak, sprout, or sour most of your seed foods before consuming, then you will be making big strides toward better nutrition. How to Soak Beans Before Cooking Even though it is an extra step, soaking beans is super easy, so don't let it deter you. Sure, it takes some planning, as you need an extra couple of days, but it is worth it for all of the nutritional reasons--and less gas!--as mentioned above. To soak your chickpeas for making hummus--or any bean prior to using in a recipe--simply check your beans for rocks or hardened beans to discard and rinse. Place in a bowl and cover with water; you should use enough water to leave plenty of room for expansion as the beans soak, which is typically several inches above the top of the beans. Add a big pinch of salt to the water and leave at room temperature to soak for at least 1 day, up to 2-3 days. While they soak, you may see some bubbles or signs of fermentation beginning in your beans. I typically strain and rinse my beans every 24 hours while soaking to keep my soaking water clear. Smaller beans, like lentils, will take less time, while larger beans will take longer, both for soaking and cooking times. Once you are ready to cook the beans, drain and rinse from the soaking water. Add to your pot and cover with double the volume in water that you have in beans, and season with another big pinch of salt. Bring to a boil and let them cook for about 1-2 hours (depending on the bean) until extremely tender. If you are cooking beans in a recipe rather than alone, avoid putting anything acidic in the pot, which will toughen the beans and slow down cook time. Instead, add any acidic ingredients after the beans are cooked. If you want, beans can be cooked them for about one full day in the slow cooker rather than the stove top, if you want a more hands-off approach. Once tender, drain off the cooking water and use beans according to your recipe. Or, if you like to meal prep, make a big batch and let them cool, then store in the fridge to use throughout the week in various recipes. This is a great way to have beans to throw into any meal to make meal prep quick and easy, especially since these are a bit labor intensive. Finally, Onto the Hummus (No more excuses for store-bought!) Use your tasty Soaked Chickpea Hummus as a dip for veggies, sprouted grain crackers, avocado oil chips, as a spread on a sandwich or as a bed to top with roasted meats and veggies--anywhere you want to add a pop of flavor, creamy texture, and a boost of nutrition!
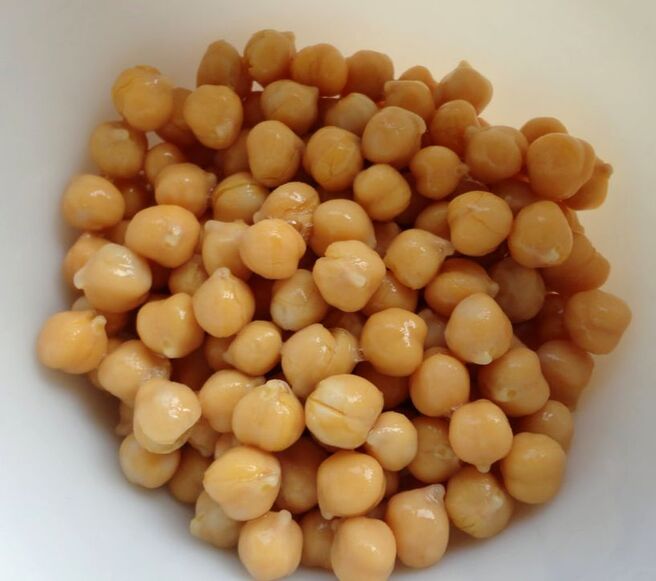
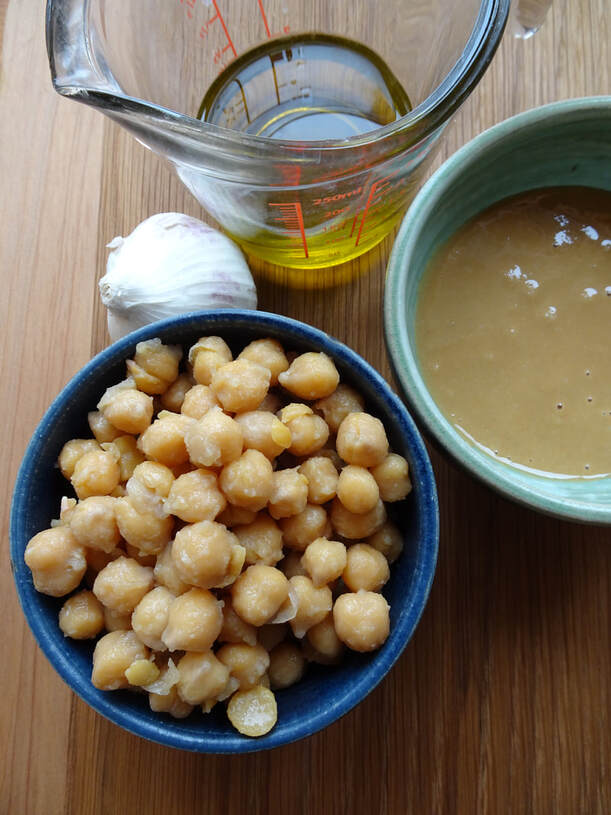
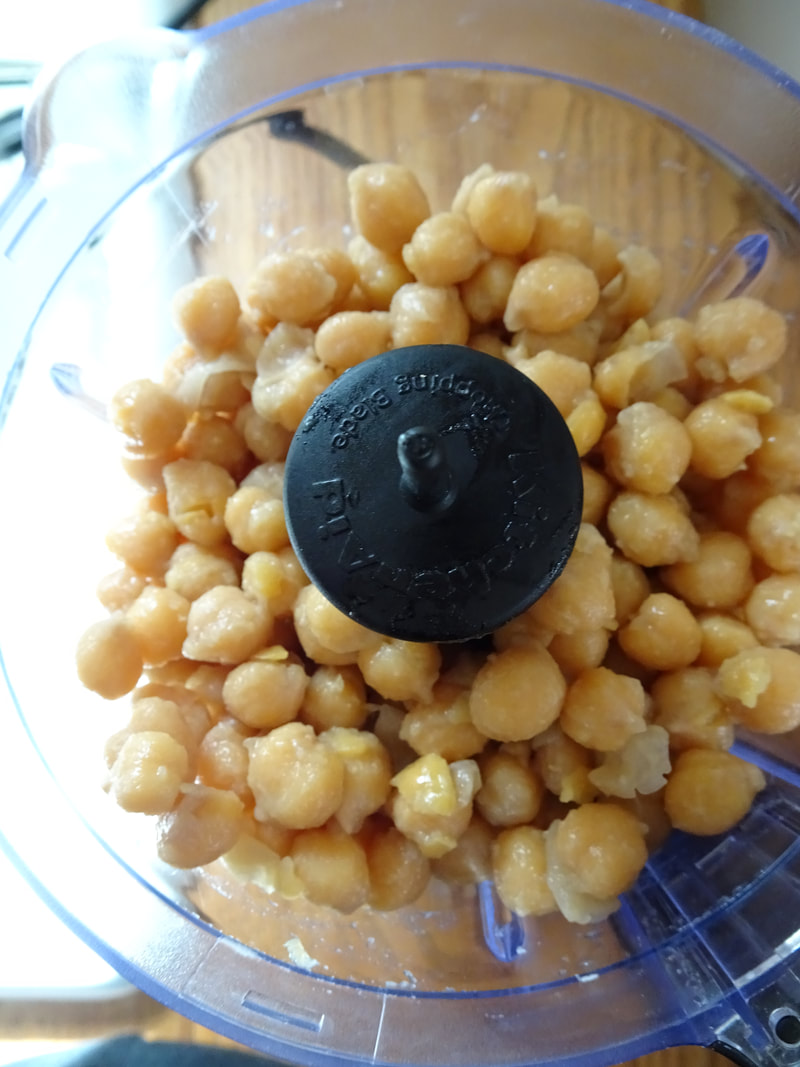
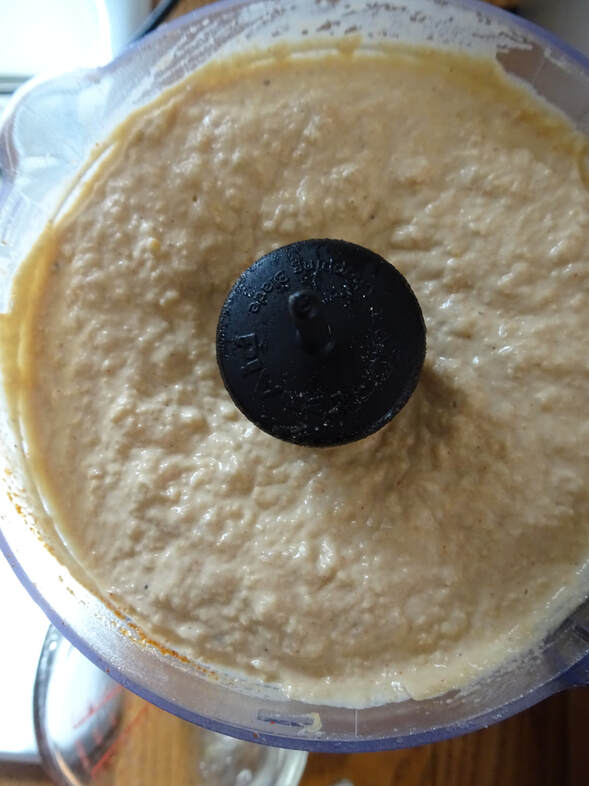
Soaked Chickpea Hummus Makes 1 quart Prep time: 1-2 days for soaking; 1-2 hours for cooking beans; 15 minutes for hummus For the chickpeas: 2 cups dried chickpeas Sea salt For the hummus: 3 cups cooked and slightly cooled chickpeas (from the soaked and cooked chickpeas above) 1/2 cup tahini 1/4 cup good quality olive oil 1/4-1/2 cup water (amount needed will vary based on thickness desired) 2 Tbs lemon juice 4 cloves garlic, chopped 1/2 tsp sea salt 1/4 tsp paprika 1/4 tsp cumin Pinch pinch ground black pepper Directions: 1. To soak the chickpeas: First, rinse the dried chickpeas and cover with water, leaving room for expansion. Add a pinch of salt to the water. Let sit at room temperature, covered with a cloth for at least 1 day to soak. If letting your beans soak for an extra day or two, drain and refresh the soaking water daily. 2. To cook the chickpeas: Once soaked, drain and rinse the soaking water. Add to a stock pot and cover with double the volume of water as you have beans. Add a pinch of salt. Bring to a boil and let cook for at least 1 hour, stirring often and adding more water as needed if too much boils off--there should always be plenty of water in your cooking pot. Once cooked until very tender, drain the beans and set aside to cool--they can still be warm when making your hummus, but they should not be extremely hot. 3. To make the hummus: In a food processor, place all of the ingredients except for the water. Pulse several times to break up the large pieces. 4. Begin to puree for a few seconds then add in 1/4 cup of the water as the food processor is running. Let the hummus blend until it becomes smooth, adding more water (up to the full 1/2 cup) if you like a thinner hummus. If you like a thicker hummus, feel free to leave it at just 1/4 cup water. 5. Taste and adjust seasoning as needed. Distribute into storage containers, where it will keep for 1-2 weeks in the fridge or a month or two in the freezer (you can totally make a big batch of hummus to freeze for later use!).
0 Comments
Bitter Medicine for Good DigestionOne missing component of modern diets that is so crucial for good digestion is the bitter taste. I have written about bitters before, because I am so passionate about them, but I wanted to dig in a bit more today and give a recipe you can make at home, too! The increase in processed foods over the past century or so, paired with a decreased intake of wild plant foods, has made the consumption of bitter foods today extremely low compared to traditional diets. Our ancestors had robust, diverse palates and bitter-tasting plant foods were commonplace and even desirable to them for their health benefits. By contrast, most people today are so limited in what foods and flavors they seek, that now bitter foods are not as appealing. Modern eaters are mostly seeking out sweet and savory flavors above all, leaving bitter behind. There are a few areas in which bitter has not only remained in the modern diet, but has even thrived in recent years: alcohol (think hoppy IPA's or bitter liqueurs for cocktails), chocolate (love that 80% dark chocolate!), and coffee (Starbucks is doing just fine). The acceptance of these foods, even if they shouldn't be staples in the diet, does give me hope that people may be ready to enjoy more bitter foods again. Why is this change in bitter food consumption important? This shift matters because foods that offer these bitter flavors, and even the bitter taste itself, are important in supporting gut health. So many people struggle with poor digestion now, because of the assault on our bodies from modern foods, stress, pollution, and more, and we need to look to traditional wisdom to turn this trend around. I like to emphasize adding in what is missing in the modern diet in order to promote better digestive, and overall, health, rather than focus too much on elimination. Along with probiotic-rich fermented foods and collagen-rich bone broths, adding in more bitter foods is the perfect way to add balance to the modern diet and get us back to our wild food roots. What Are Bitters? How Do They Benefit Digestion?The bitter taste is found mostly (but not exclusively) in plant foods, and this notable flavor comes from various chemical compounds, such as alkaloids, that are present in the plants. These compounds are detected by the bitter taste receptors, signaling digestion and movement throughout the body. "Bitter" is the only taste with receptors throughout the digestive system, not just on the tongue in taste buds. These compounds work by signaling stimulation, increasing efficiency in metabolic processes and detoxification. By challenging the body, especially the liver, bitters increase resilience against toxins and other assaults from the outside world. The bitter taste is heralded for promoting digestion, helping to decrease bloating, gas, nausea, and heartburn, improve liver detoxification, balance the microbiome, and promote regular bowel movements. Besides its benefit to digestion, the bitter flavor has also been associated with regulating blood sugar and increasing satiety after meals, which can help promote weight management. The bitter taste can be incorporated into the diet either through foods, beverages, or herbs. These can range from mildly bitter, such as ginger, chamomile or fennel, to strongly bitter, such as radicchio, orange peel or dandelion root. The peels of many fruits and vegetables offer bitterness, so leaving these on whenever possible is an easy way to add more bitter to the diet. Both in cooking and herbal remedies, the bitter taste is often balanced with other flavors--such as sweet, acidic, or aromatic-to increase palatability but also to provide other benefits these different herbs may offer. What Are Digestive Bitters and How Do You Make Them?Many foods and herbs offer us the digestive benefit of the bitter taste, but the term "bitters," or "digestive bitters" is typically used to describe an herbal extract made from bitter herbs. This is usually in the form of a tincture, where the herbs are extracted in alcohol, which is then used medicinally to soothe and improve digestion. You may see them under the names "bitters, "digestive bitters," or "Swedish bitters" on store shelves. While there are many great store-bought bitters out there, such as the brand Urban Moonshine, I am all about DIY herbal medicine. Making your own tincture from dried herbs is really easy and can be done with many herbal remedies, not just bitters. If you follow a basic formula, you can make extracts from a variety of herbs, empowering yourself to improve and protect your own health. I use a basic tincture formula for my bitters, which I learned from various sources, including Richo Cech's book "Making Plant Medicine." There are other methods out there, such as the "folk method," which doesn't use exact measurements, but I prefer the method I will outline below that uses weight and volume measurements for more precision. The formula I use to make tinctures from dried herbs is this: weigh out dried, cut and sifted herbs (not powders, fresh herbs or large pieces of dried herbs) in grams; use a ratio of 1 part dried herbs (in grams) to 5 parts alcohol (in mL) to figure out how much alcohol you need for extraction; measure your alcohol by volume in milliliters; cover your herbs with the alcohol in a jar, shake regularly to macerate and let sit to extract for about 1 month; once extracted, strain the herbs and use the tincture. I use a simple kitchen scale to weigh my herbs and, other than some dropper bottles for storing the prepared tincture, that is about the only special equipment you really need. For the alcohol menstruum (extracting liquid), you can use good quality vodka or a 50/50 blend of high-proof grain alcohol (around 190 proof alcohol such as Everclear). Alcohol, and not just water, is necessary to use for the menstruum, as many of the bitter compounds are fat-soluble, and must be extracted using alcohol. Some of my other favorite herbs to use in bitters formulas (other than the ones in my recipe below) include:
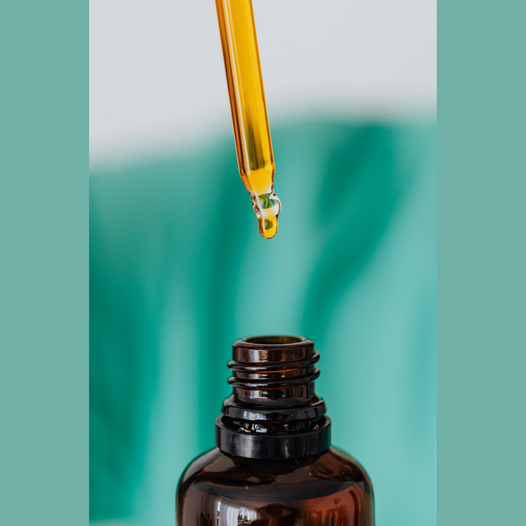
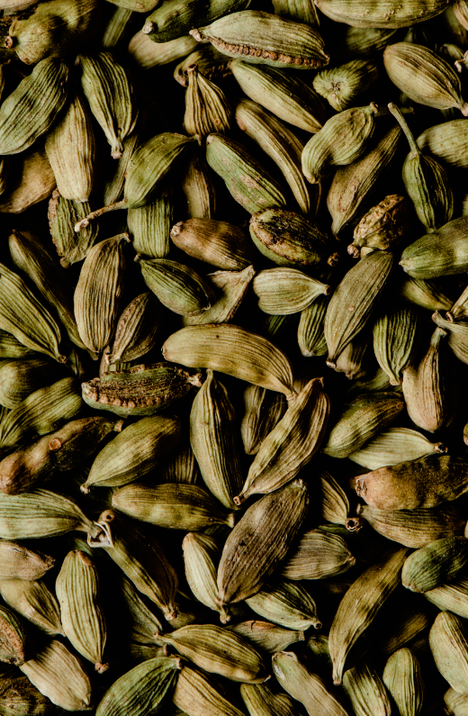
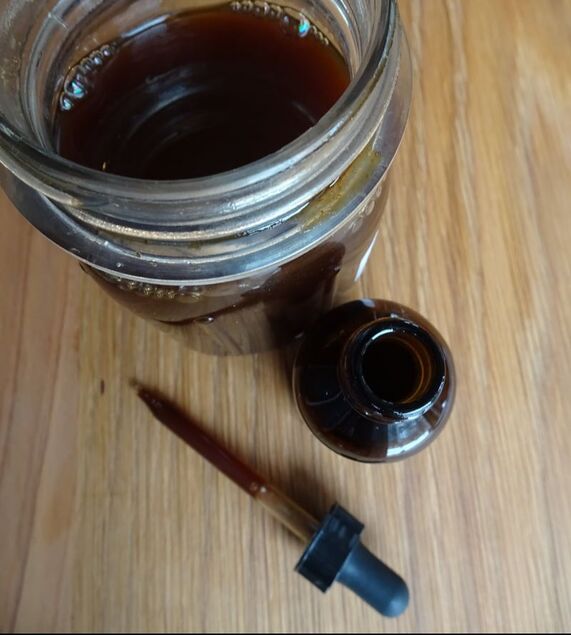
How to Make Cardamom-Black Pepper Digestive BittersThe particular blend of herbs in my Cardamom-Black Pepper Bitters is amazing because it combines sweet and spicy, along with the decidedly bitter flavor, for the perfect flavor balance. This formula is great to use as-is whenever digestive upset or discomfort arises, but also goes great in cocktails or mocktails, adding a burst of bitter and aromatic flavors to your favorite beverage. Even just a few drops in sparkling mineral water makes quick digestif for any time of the day. To use these bitters medicinally (or as otherwise advised by herbalist or healthcare provider), take 10-30 drops directly on the tongue or dissolved in a few ounces of water. To add to a beverage, add 1/2-1 dropper-full of bitters to a cocktail or other beverage for a bitter flavor bomb. Recipe: Cardamom-Black Pepper Digestive Bitters Makes about 1 quart of tincture Herbs: 28 grams whole cardamom pods, crushed 28 grams whole black peppercorns 28 grams dried orange peel 28 grams Oregon grape root 28 grams gentian root 28 grams cinnamon bark (can be in chips or whole sticks) 28 grams yarrow, aerial parts not roots Menstruum (alcohol-based extracting liquid): 980 milliliters vodka (or 490 mL each 190-proof grain alcohol and water for a 50/50 blend) Directions: 1. Place the dried herbs in a half gallon-sized glass jar. 2. Pour the alcohol or alcohol/water mixture over the herbs. Tightly screw on the jar lid. Shake the mixture for several minutes to combine and macerate. Label with the ingredients and date, then set on the counter or in a cabinet, away from direct sunlight. 3. Shake the container daily (or at least every couple of days, whenever you remember to do it!) for a few minutes, to macerate and infuse your liquid with the herbal constituents. Let the herbs infuse, shaking daily, for at least 1 month. You can let it sit longer if you prefer. 4. When ready to strain and use, shake vigorously one last time. Pour the mixture through a mesh strainer to collect the liquid and separate out the used herbs. Use a gloved hand to gently squeeze the herbs, releasing any liquid they may have stored in them. Discard the herbs (compost, etc.) after pressing. 5. Cover the jar of liquid (your tincture) and let sit overnight. Then, pour this mixture through a coffee filter, tea towel you don't mind staining, or fine mesh strainer; this removes any more solids or "sludge" that may have settled. This step is not totally necessary, but will result in a tincture with very little solid residue left behind and a nice, clear liquid. 6. This final tincture can be stored in a glass jar or decanted into individual amber dropper bottles, making it easy to use whenever needed. Clearly label your vessels, whichever you choose to use for storage, with the contents and date. Tinctures made in this way will keep for several years. Want to Dig Deeper?If you are interested in learning more about gut health and even need a little help on your gut-healing journey, go to my online health coaching and nutrition counseling website, www.laurapoerd.com, where you can schedule a free 15-minute discovery call or book a package to work with me!
If you are wanting to nerd out more about bitters and herbal medicine, I highly suggest the work of Guido Mase. His books "The Wild Medicine Solution" and "DIY Bitters" (the latter written with herbalist Jovial King) both go in-depth into the science of bitters, characteristics of various bitter herbs and offer many recipes for making your own bitters at home. Here's a toast to both the bitter and the sweet that life (and foods) have to offer! |
Brine & Broth
I am a gut health-focused nutritionist and online health coach based in Southwest Wisconsin. My recipes and philosophies center around traditional, nutrient-dense foods that support robust gut health. Archives
May 2022
Categories |

 RSS Feed
