|
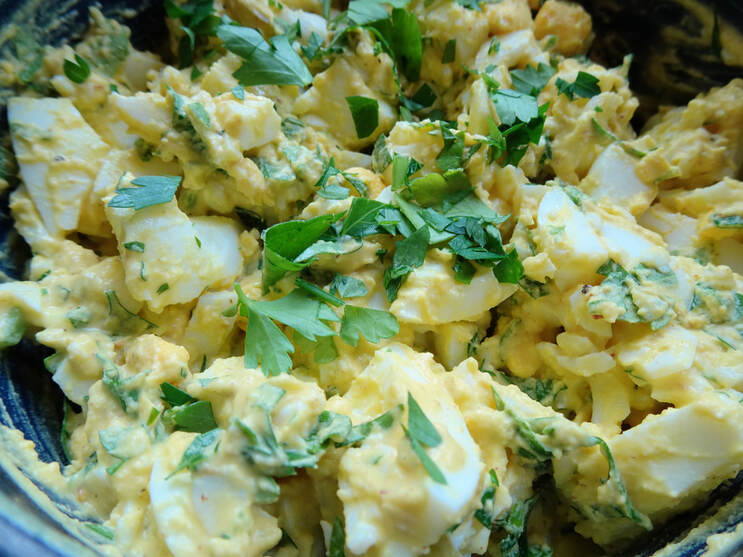
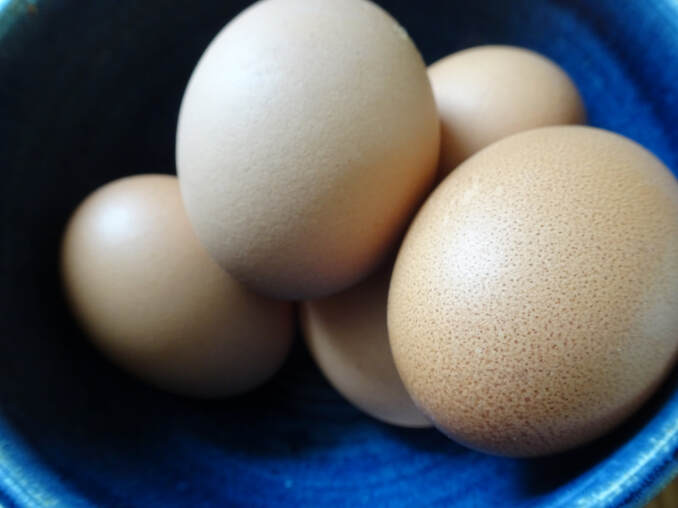
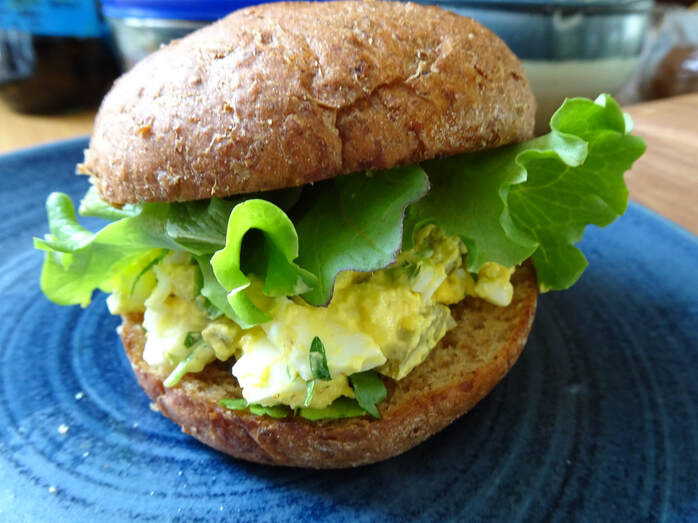
Our lovely chickens are doing their jobs, giving us countless opportunities to figure out ways to use more eggs in our cooking. Pretty much every meal has to have some eggs in it, or we get seriously backlogged on our inventory. While this egg salad may not be a necessarily new or creative way to use up lots of eggs, it certainly has become on of our lunchtime favorites. And, now that almost all of our lunches are eaten at home these days, I am always looking for something different and delicious to serve. With that, here is my version of egg salad. I have said it many times and will again...I love any mayo-based salad and they continue to be some of my most crave-able foods. This version of egg salad may be a bit different than what you are used to. Instead of a fairly uniform, smooth texture, my style is chunky with plenty of texture from roughly chopped eggs, plus a super creamy dressing and plenty of fresh herbs to balance out all of the richness from the mayonnaise. I like mine schmeared on toasted sourdough served open-faced or as a sandwich on a soft, sprouted wheat bun. This also makes a great dip for whole grain crackers or veggie sticks, but would also go well served on a heaping pile of salad greens or straight up out of a bowl. Use whatever fresh herbs you like and/or have on hand and, of course, use the best quality eggs possible for the most nutrient-density in this tasty lunchtime favorite. Chunky, Herby Egg Salad
Serves 3-4 6 eggs (use pastured, organic eggs for the most nutrition possible) 3-4 Tbs mayonnaise (use a good quality mayo, such as one with avocado oil, or homemade) 2 Tbs plain, whole milk yogurt or sour cream 2 tsp dijon mustard 1 tsp lemon juice 1 tsp pickle juice 1 dill pickle, finely diced--about 2 Tbs 2 Tbs chives or scallions, finely chopped 1/4 cup fresh flat-leaf parsley (or other herbs), roughly chopped 1 clove garlic, minced 1/2 tsp sea salt, or to taste Big pinch black pepper To make the eggs: The first step in making egg salad is to properly hard-boil your eggs. What I have found to work the best is to put the eggs in the pan with cold water and a big pinch of salt. Bring the water to a boil, then cover the pan and turn off the heat. Let sit for 12 minutes in the hot water. While this sits, prepare an ice bath (lots of ice with enough water to make it submerge-able) for the eggs. After 12 minutes, drain the eggs and toss them into the prepared ice bath. Let sit until cooled. Gently peel and rinse the eggs. To prepare the egg salad: Cut the hard boiled eggs in half lengthwise, and then roughly chop them. I like my egg salad with big, chunky pieces in it, but if you prefer egg salad with a smoother texture, feel free to chop away. In a mixing bowl, whisk together the mayo, yogurt, mustard, lemon juice and pickle juice. Add the chopped eggs, pickle, chives/scallions, parsley, garlic, salt and pepper to the sauce. Mix well to combine, lightly mashing the yolks as you stir to thicken the mixture. Taste and adjust salt and/or pepper as needed. Refrigerate to chill before serving. This will keep for 2-3 days in the fridge.
0 Comments
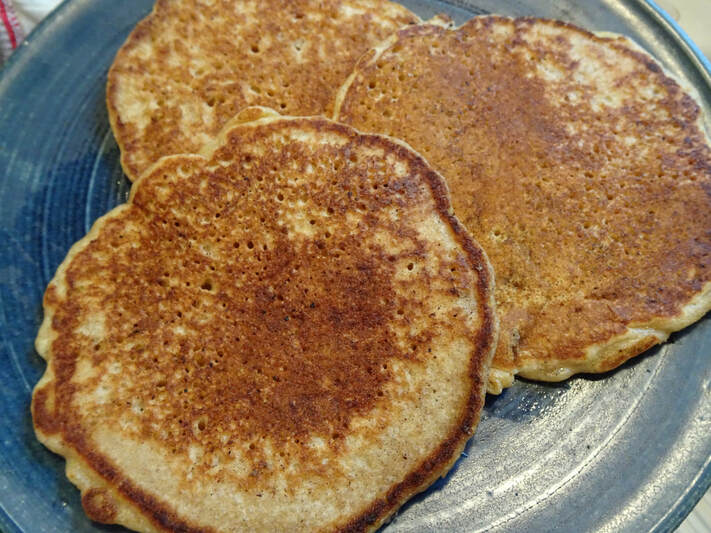
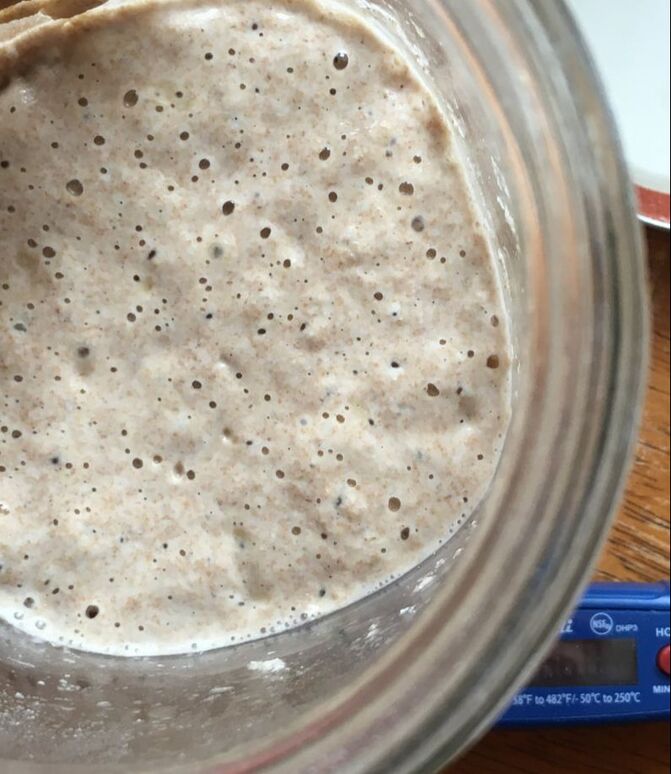
With folks staying at home with more time to cook and experiment in the kitchen, many are turning to sourdough bread baking as their new hobby. I am thrilled about this, as I think sourdough bread is the most nutritious form of bread we have available and making things yourself is an important value to me. With this renewed interest in traditionally-leavened bread, however, comes the issue of what to do with the sourdough discard. If you have cared for a sourdough starter before, then you are likely familiar with the feeding process of your little sourdough pet: you discard half of the starter, then feed it equal parts flour and water. This can be done daily for regular bakers or, in my case, one to times per week for less frequent baking. For the rest of the time, the starter is stored in the refrigerator until I am ready to feed it and bake with it. The discarding prior to feeding is done to keep your starter at a reasonable size (if you never discarded and did not bake with large amounts of starter, it would just get bigger and bigger!) and to keep microbial balance in the starter as well. If you are going through the steps of discarding and feeding daily, then you are going to be finding yourself tossing out quite a bit of sourdough starter. Not only is this unnecessary, but is also incredibly wasteful, which nobody wants, especially right now. My strategies to reduce this food waste and continue to use as much of what I can from all of my kitchen projects are these: 1) Keep the starter in the fridge for the majority of the time, as mentioned above. Unless you bake bread daily or every other day, you do not need to keep your starter at room temperature and feed it everyday. Refrigerating the starter between bread bakes helps reduce the waste of regular discarding and feeding, plus it helps save on flour costs and helps keep it alive for longer in case you forget to feed it or need to leave for a few days. To "wake up" the starter before baking with it, simply feed it a bit of flour and water until it becomes bubbly and active, then it is ready to be used as leavening. 2) Keep a smaller amount of starter on hand. You really only need a small amount of starter at any given time to keep in your "reserves," at least for most home bakers. I typically have 1/4 to 1/2 cup of happy, healthy starter at any given time. Then, I feed it equal parts flour and water a few hours before use and any discard created will only be a small amount. 3) Save your discard to give away to others to start their own sourdough bread baking. I love the tradition of passing on starters and SCOBYs from one person to another, carrying on the magic of fermentation and keeping folks connected through food, which is important for us humans! I always like to keep a bit of extra starter on hand, as I always have people asking me for some, and now is the perfect time to keep up this tradition. 4) Use that discard in a delicious recipe! This is the most important strategy, I believe, because some amount of discard is always going to happen with regular sourdough feeding and baking. Instead of tossing that (even small amount of) discard in the trash or compost, save it in its own jar in the fridge to be used later. You can keep adding to this with each feeding and, when you get enough, use it in a recipe where a strong, active starter, such as you would use in bread baking, is not necessarily needed. You could also use the discard right away in a recipe, making it just after feeding your starter, instead of storing it in the fridge. If storing in the fridge, I like to let the discard warm up to room temperature before using in a recipe. Examples of recipes that are perfect for discard include: waffles, quick breads (such as banana bread or cornbread), cakes and cookies, scones and biscuits, and pancakes, both sweet and savory. I have also heard of folks who use the discard in a batter for deep-frying, but I have not ventured into that wonderland...yet. With so many different ways to use your leftover starter (and so much time to cook right now), I am hopeful that you are inspired to never toss out perfectly good sourdough starter again. Might I suggest your first discard recipe be pancakes...to inspire you even further, below is my recipe for Sourdough Pancakes that I think you will love. Sourdough Pancakes
Serves ~4** For the overnight build: 1/2 cup sourdough starter discard--can be active or straight from the fridge 1 cup warm water (about 75 F) 1 1/2 cups flour (can be whole wheat, white, spelt, or a combination of flours) For the batter: 3 eggs, whisked lightly 1/4 cup milk 4 Tbs melted butter, cooled 1/2 tsp vanilla extract 2 Tbs real maple syrup 1/2 tsp fine sea salt 1/2 tsp baking powder 1/2 tsp baking soda Pinch of cinnamon 2 tsp apple cider vinegar or lemon juice Optional add-ins: berries, chopped nuts, bananas, dark chocolate chips Butter for cooking the pancakes 1. The night before you plan to make pancakes (if making them for breakfast; otherwise, do this 4-8 hours before pancake time): Stir together the starter, water, and flour in a bowl. Cover with a cloth and let sit on the counter overnight. 2. In the morning, or just prior to making the cakes: In a large bowl, whisk together the eggs, milk, melted butter, vanilla, and maple syrup. This mixture should look creamy and smooth. 3. Gently fold in the flour/starter mix, being careful not to deflate the air bubbles built up in the overnight fermentation. 4. Sprinkle in the salt, baking powder and soda, and the cinnamon. Gently stir into the batter. 5. Just prior to making the pancakes, stir in the vinegar or lemon juice. 6. Heat a skillet to medium-high heat. Add butter to grease the pan. 7. Using a 1/3 measuring cup, ladle the batter onto the hot pan. Cook on the first side until the pancake is covered in small bubbles, about 2 minutes. (If using add-ins, dot these evenly across the top of the pancake just prior to flipping to the second side.) 8. Flip the pancake and cook another minute or so, until the middle is cooked through but not overcooked or burnt. 9. Remove from the pan and keep warm until serving. Continue with the rest of the batter until all of it is used. 10. Serve with plenty of butter and maple syrup, of course, or your favorite pancake fixings. **Feel free to double or triple this recipe to serve a bigger crowd or to freeze and serve anytime you get the hankering for a pancake. Simply heat up in a skillet for a few minutes before serving and you are good to go. |
Brine & Broth
I am a gut health-focused nutritionist and online health coach based in Southwest Wisconsin. My recipes and philosophies center around traditional, nutrient-dense foods that support robust gut health. Archives
May 2022
Categories |

 RSS Feed
