|
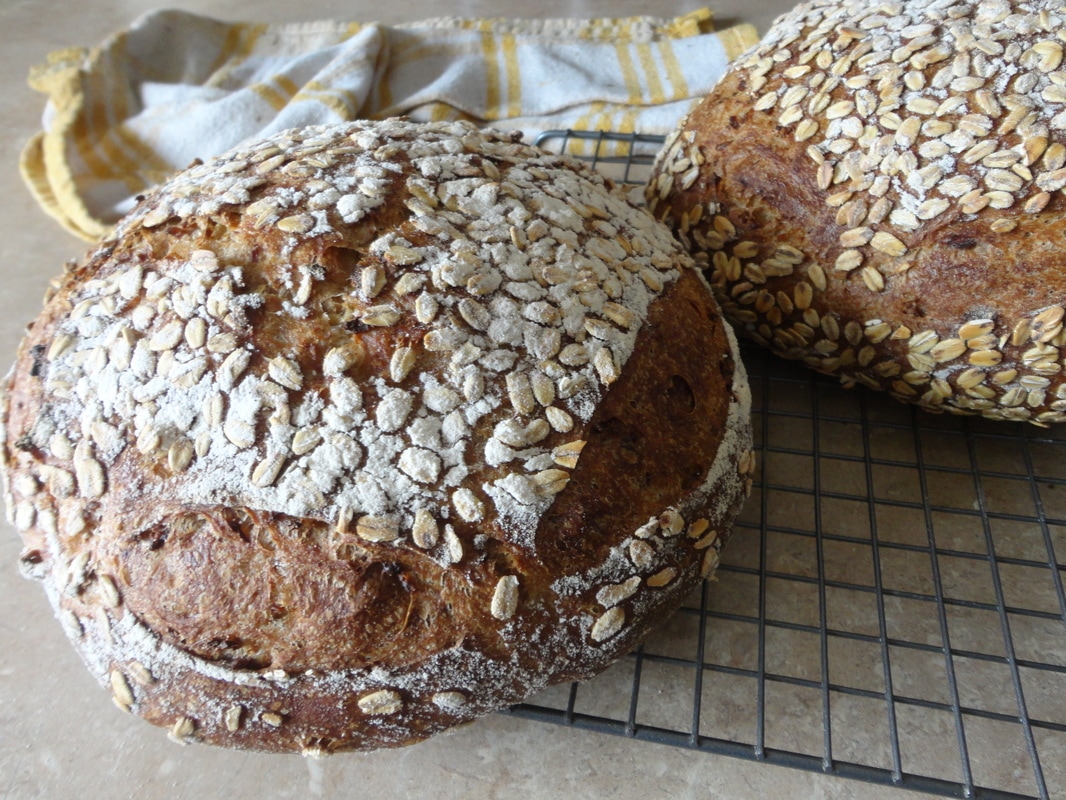
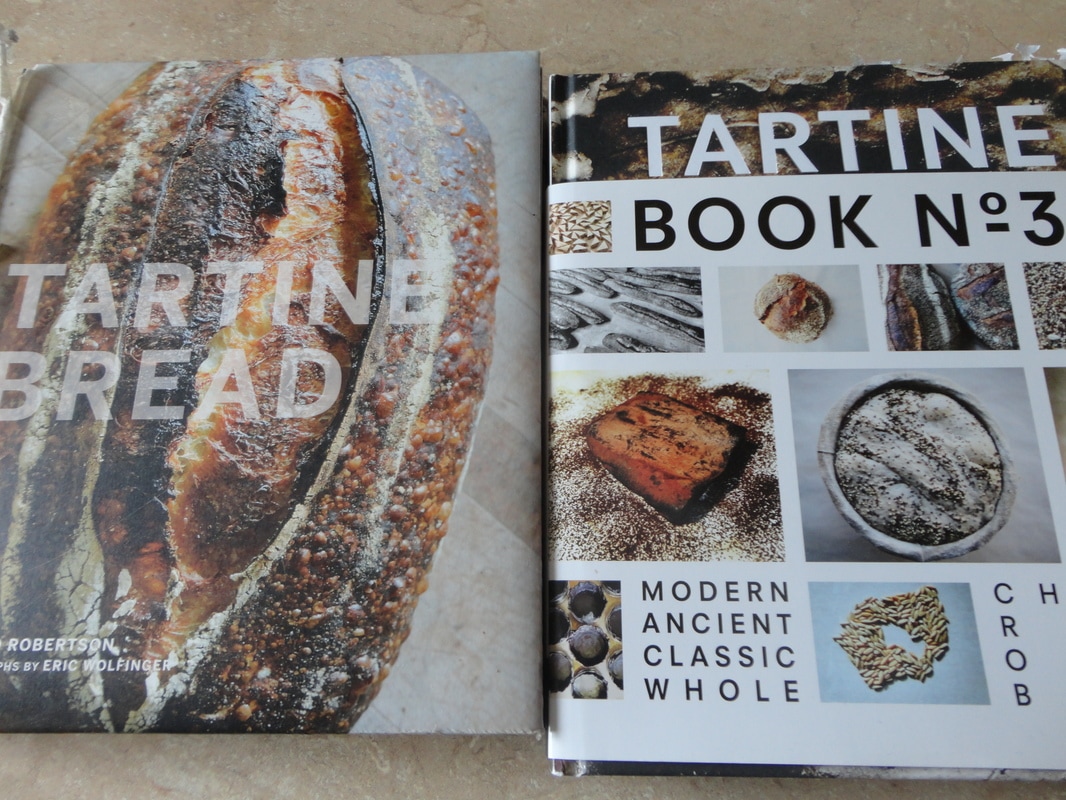
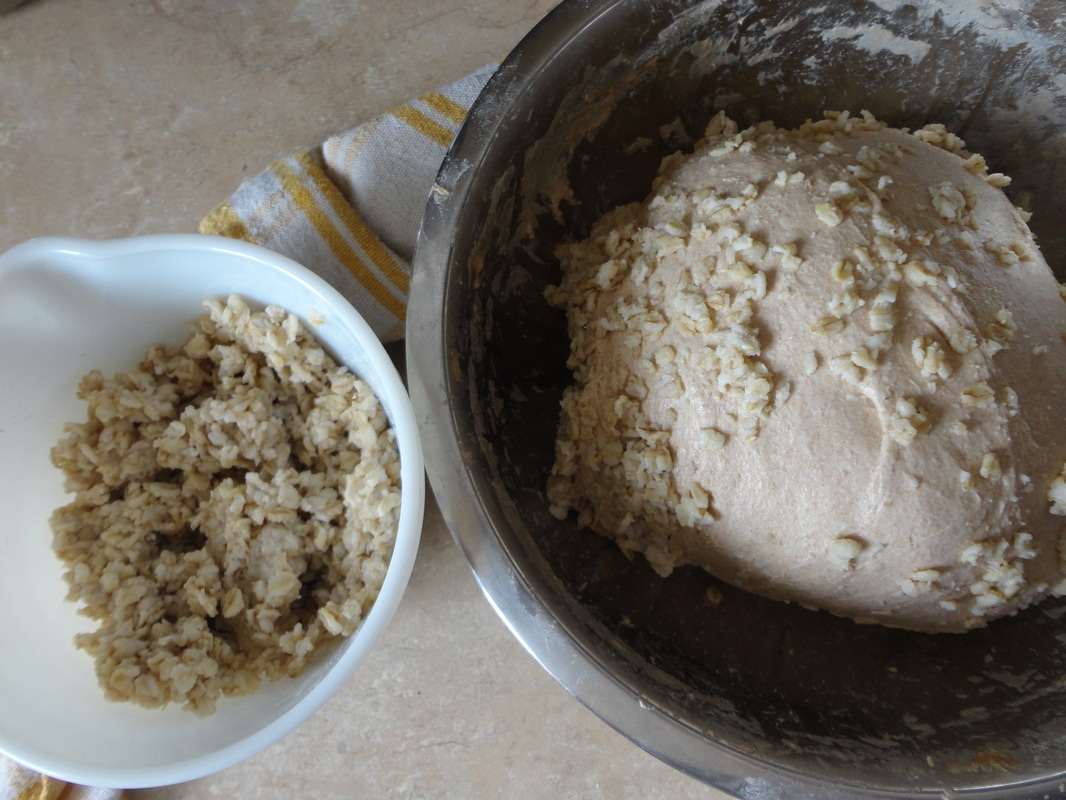
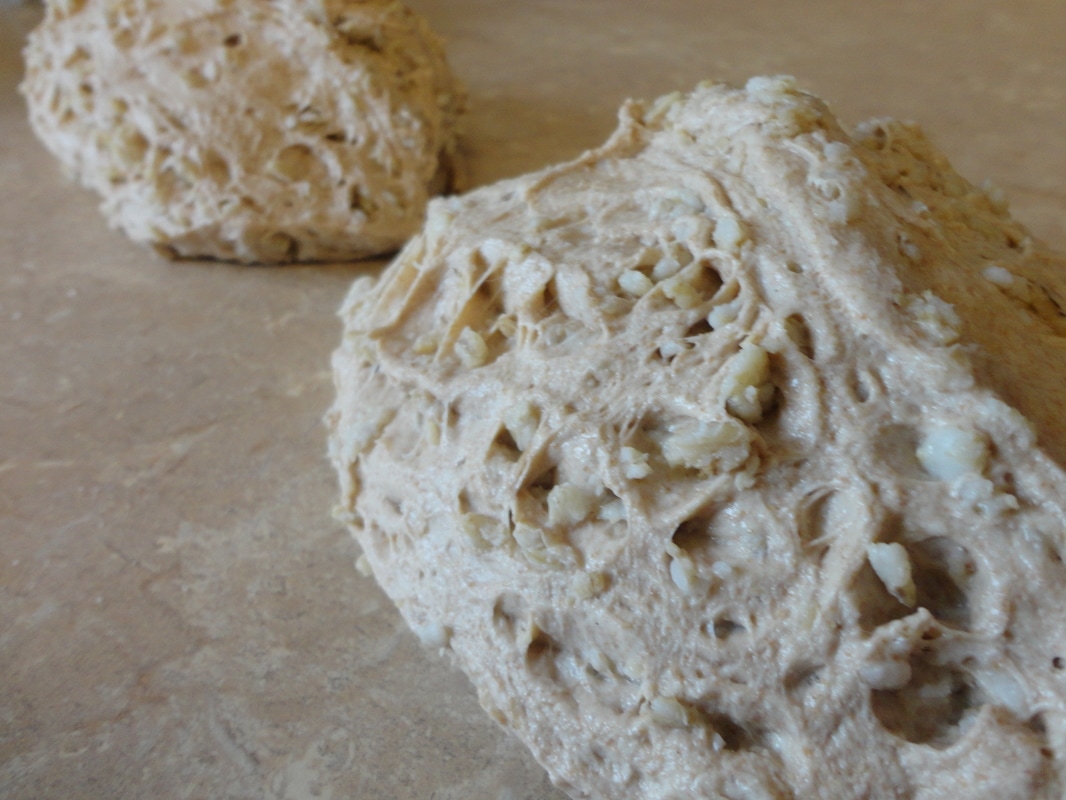
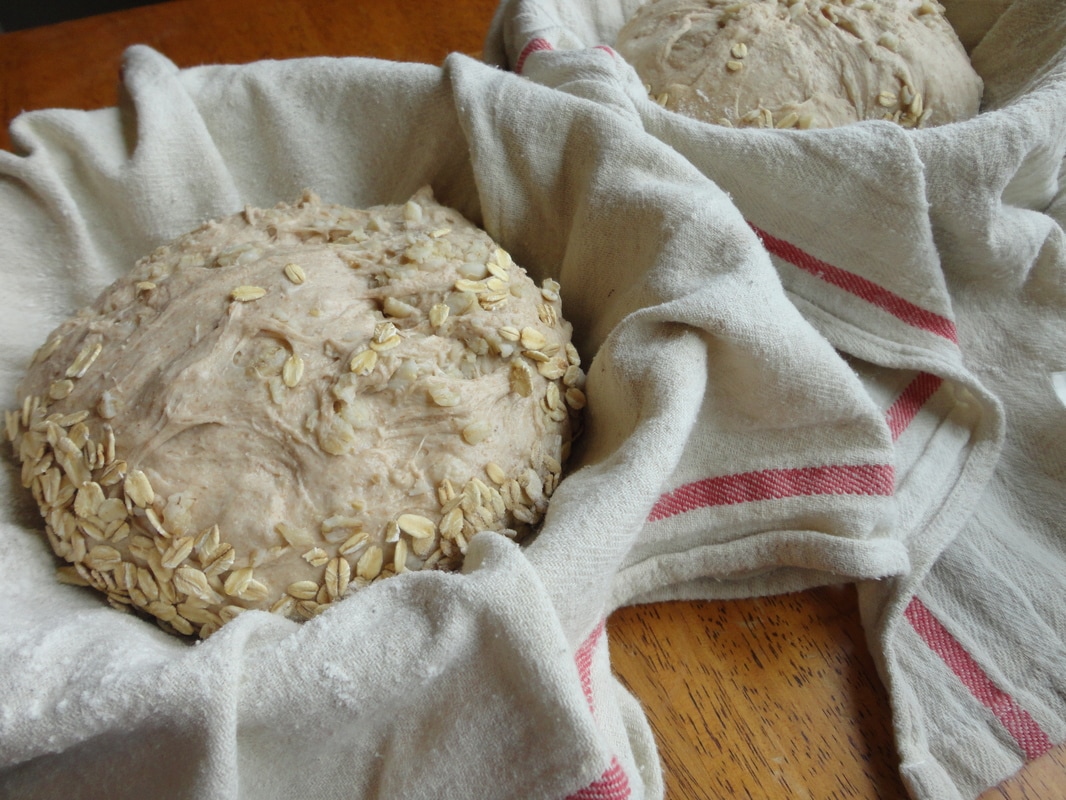
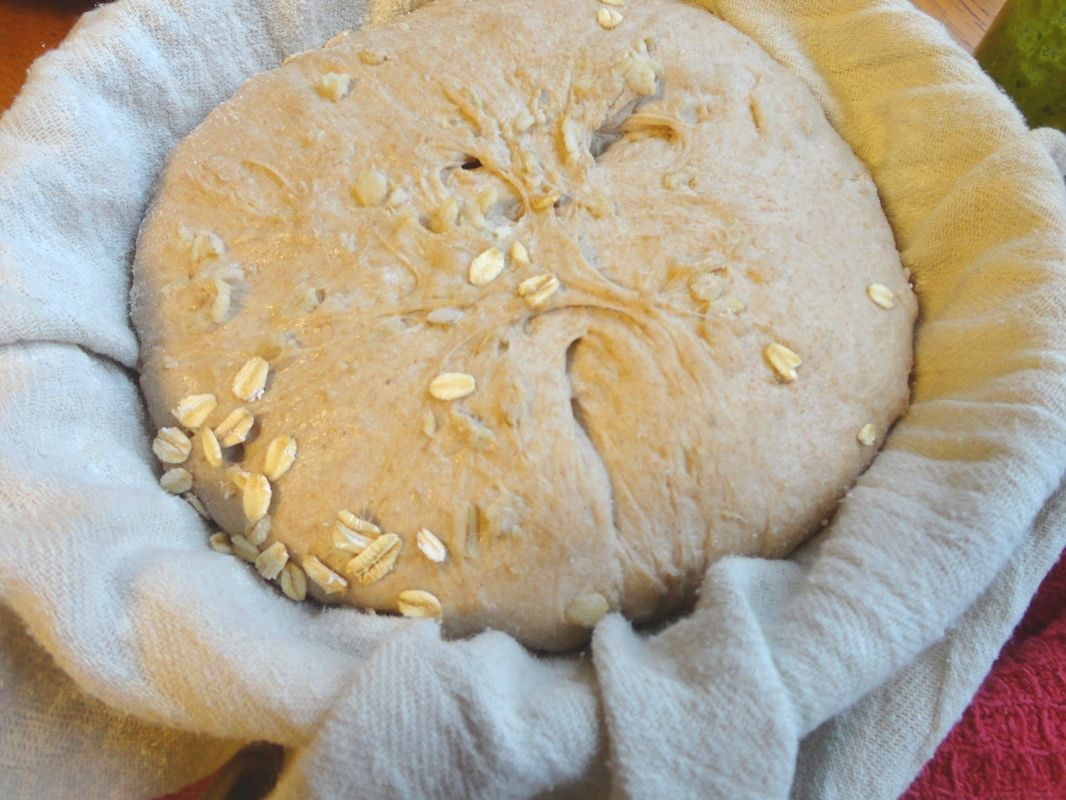
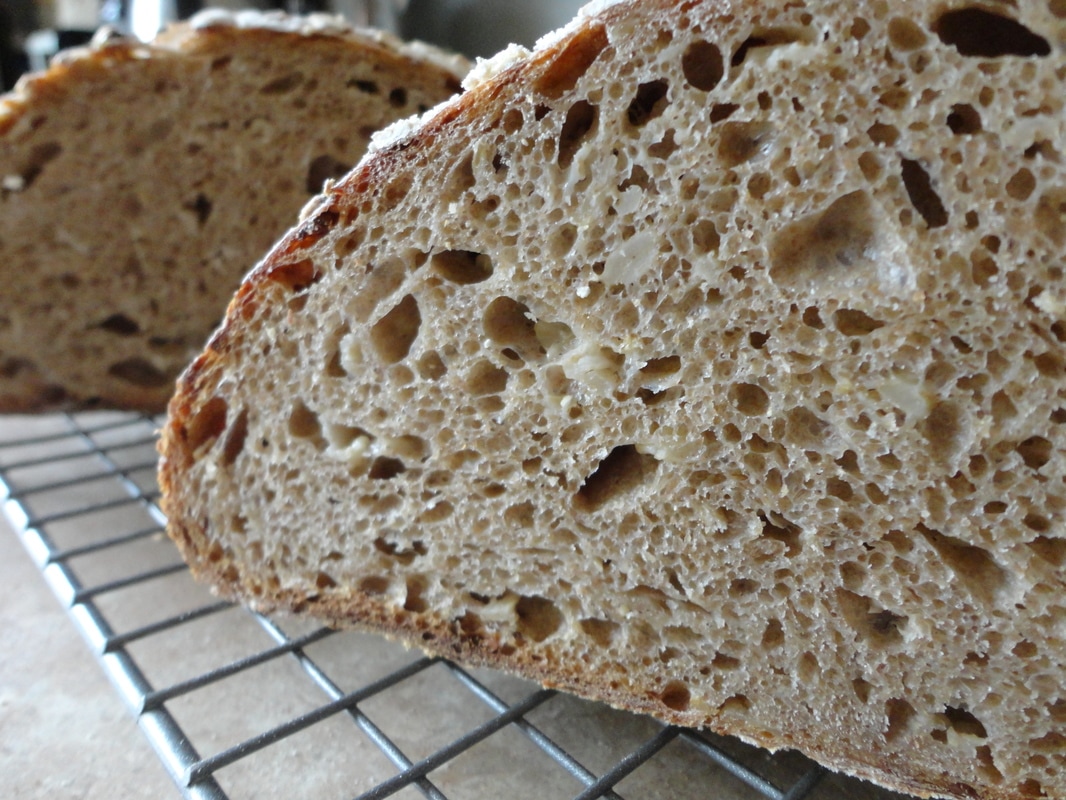
In the past year I have become somewhat of a Tartine fangirl. I was a bit behind the curve in finding this gem of a book, but now that I have, my whole bread game has changed. I have been baking sourdough bread for about 3 years now, which was a natural progression from my other fermentation pursuits such as sauerkraut, kefir and kombucha. Now it has become a pet project of mine, pouring over bread blogs, books, and even Instagram accounts, experimenting with different flours each week, and dreaming of one day visiting the famed Tartine Bakery in San Francisco. My partner turned me on to to the Tartine bread making method last year, as he had previously gone through a bread-and-pizza-nerd phase, and my bread has gotten exponentially better. Now I have begun to practice some new methods and recipes from another of Chad Robertson's books, Tartine No. 3. In this book, he explores ancient grain varieties, and baking using sprouted grains as well. From the health, sustainable agriculture, and culinary perspectives, reviving these traditions is extremely important, so I am excited to learn more and become skilled with these methods. This recipe is the Oat Porridge Bread from this cookbook, where half of the volume of the bread comes from cooked oat porridge instead of just flour. I will not go extremely into detail or dive into the original Tartine Country Bread method...Chad's books are the best place to go for that information, as well as gorgeous pictures...but here is a brief explanation of how I did things, and the bread that resulted. If you are just getting started with sourdough bread baking, I suggest you get a copy of Tartine and practice making the Country Bread before moving on to any breads in Tartine No. 3. It is a unique method and takes some getting used to before adding in more complicated steps. It can take some time to gain the skill, but once you get it, you will never want to make bread a different way again! Oat Porridge Bread from Tartine No. 3 Baker's Percentages, based on 1000g recipe: 500 g high extraction wheat flour 50% 500 g strong bread flour (whole wheat) 50% 750 g warm water 75% 25 g fine sea salt 2.5% 150 g levain 15% 500 g cooked and cooled oat porridge 50% Optional: wheat germ; toasted, chopped almonds and almond oil, which I omitted The day before you plan to bake: Feed your sourdough starter in the morning so it is fully activated in the evening. Depending on how active your starter already is, the temperature and humidity of your house, etc., you may need to feed it twice before making the levain in the evening. I use a 100% hydration starter, usually with Gold and White Flour, or rye flour if I'm making rye bread. For a porridge bread, I make the cooked grain porridge the day before as well, so it can fully cool before adding it into the dough. This also gets one more step out of the way for bread baking day. This bread uses oat porridge (oatmeal), and I cooked thick cut oats, 2 parts water to 1 part oats, for about 30-45 minutes until fully cooked and very soft. These are then cooled to room temperature and then put in the fridge until the next day for baking. The night before baking, make the levain. By this time, the starter culture should be very active and bubbly before making your levain. Do this before you go to bed, and you should be ready to start making the dough first thing in the morning. To make levain, combine 1 Tbs active starter culture to 100 g flour and 100 g warm water. Cover and let sit at room temperature overnight. The morning of Baking Day: In the morning, start the dough by adding 150 g of the bubbly, active levain to 500 g whole wheat breead flour, 500 g high extraction (such as Gold and White) flour and 700 g warm water. Mix well with a wooden spoon or stand mixer until all of the flour is incorporated. Let sit for at least 30 minutes or more--I will usually do 1-2 hours--for the autolyse. During this time, the starch will absorb the water and the gluten will begin to develop. Bulk Fermentation: Next, add the 25 g salt and 50 more g of warm water. Mix well until fully incorporated. Now begins the bulk fermentation. Every 30 minutes for the next 3-4 hours, you will do a series of folds instead of kneading the bread for a longer period of time all at once. You will stretch and fold the dough to develop the gluten, and the dough stays in the mixing bowl the entire time. For the porridge bread, you add in 500 g of the cooked and cooled oatmeal after the first hour of the bulk fermentation. The original recipe in the book also has the option of adding toasted, chopped almonds and a touch of almond oil for more flavor and texture, but I did not for this batch. Once the bread has doubled in volume and has become light and less sticky, you are ready to move on to the next phase. Initial Shaping and Bench Rest: Turn the dough out onto your unfloured countertop. Cut the dough into two pieces using a bench scraper. Sprinkle a small amount of flour on top of the dough, then flip it over using a bench scraper to have the flour side down. Form each piece into a nice, tight ball, then cover with a cloth and let rest (bench rest) for about 20-30 minutes. Final Shaping and Rise: Lightly flour the top of one dough ball, then gently flip over to have the floured side down. Stretch and fold all 4 sides of the ball to create an envelope-like shape that will be tight and well-formed. Repeat with the other piece of dough. Flour two cloth-lined proofing baskets (I use a tea towel but you could use flax cloth specifically for bread making) and transfer the dough into the baskets, seam side up. For this particular bread, roll the top of the loaves in thick cut rolled oats before placing into the basket, so when you bake them the oats will be on top. Cover with a cloth and let sit at room temperature for another 2-4 hours, to increase in volume again about 30%. Baking: Preheat oven to 500 F, with your dutch oven in the oven to preheat it as well. When the oven is preheated--do this part extremely carefully to prevent burning yourself!-- lightly flour the dough on the top (seam side) and turn out onto the shallow side of the preheated dutch oven. Cover with the deeper half and return to the oven quickly. Lower the temperature to 450 F and bake for 20 minutes. This will allow the bread to steam in a regular home oven, keeping it soft and moist on the inside. After 20 minutes, remove the top of the dutch oven, being careful to avoid steam burns, and return the loaf to the oven for 20-25 minutes to finish cooking and to create a nice golden crust. Remove from the dutch oven and transfer carefully to a cooling rack. Return both sides of the dutch oven to the oven and return heat to 500F. When preheated again, repeat with the second loaf. Cool both loaves completely before slicing. Will keep for several days at room temperature, or you can freeze one of the loaves if you don't go through bread quickly. This loaf is ideal for smearing with butter, rhubarb preserves or crunchy almond butter. For more information and techniques on sourdough bread check out the Tartine books suggested above, or get exploring on the internet...there is so much to learn!
0 Comments
|
Brine & Broth
I am a gut health-focused nutritionist and online health coach based in Southwest Wisconsin. My recipes and philosophies center around traditional, nutrient-dense foods that support robust gut health. Archives
May 2022
Categories |

 RSS Feed
