|
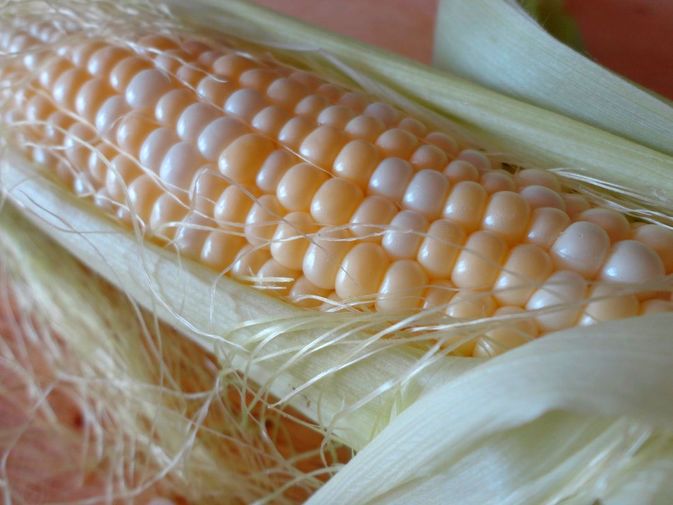
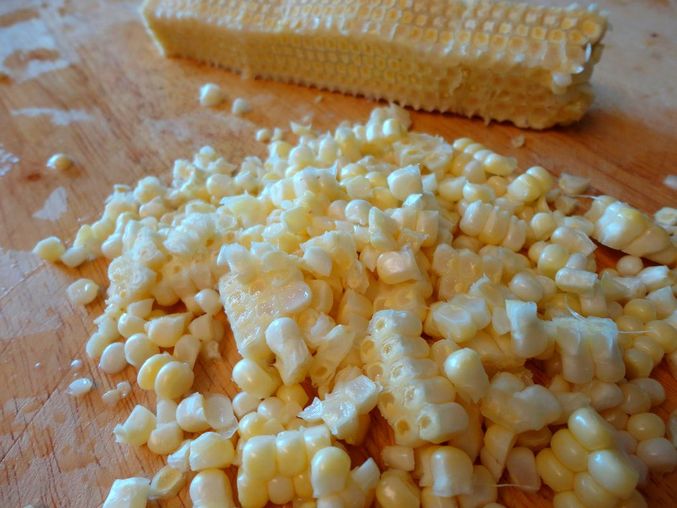
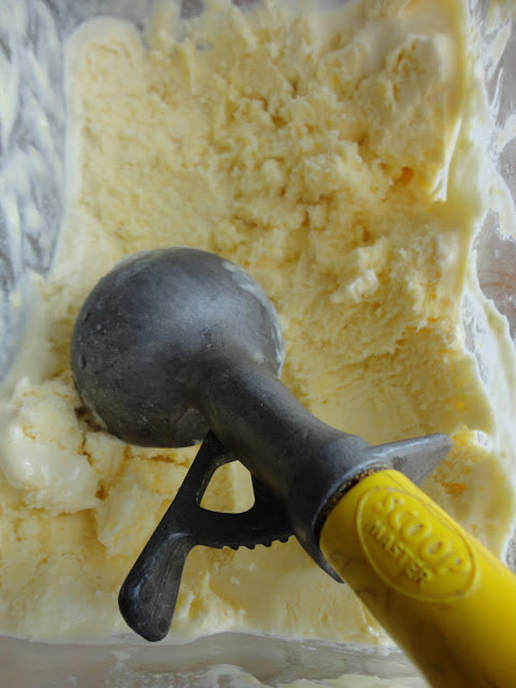
I have recently come to the conclusion that ice cream is my favorite dessert. Especially in the summer, there are few other sweet treats I desire more than ice cream, especially of the homemade variety. And at my house, Sweet Corn Ice Cream is the favorite flavor. There is something magical about the cream and corn and cinnamon that makes the perfect flavor of ice cream. This recipe is inspired by a popular Mexican ice cream flavor, which is where the hint of cinnamon to compliment the corn comes in. Combined with local sweet corn, which adds a little texture along with the amazing taste, this seasonal flavor is really hard to beat. This is my favorite way to celebrate the late summer gift that is sweet corn. Here in rural Wisconsin, it can be found at the farmer's market and Amish farm stands, as well as at our co-op, and there are so many wonderful ways to prepare it. But there is something special about turning sweet corn into ice cream, and it is a great way to say goodbye to summer. Made with whole, raw milk and heavy cream, as well as raw egg yolks, this dessert almost borderlines on a meal--breakfast, anyone? I sweeten mine with local maple syrup, but honey would also be a great sweetener as well. You can eat it soft serve-style as soon as it comes out of the ice cream maker, or let it firm up a bit in the freezer so it is set and scoopable, which is how I prefer it. I'm sure it would be amazing on a homemade waffle cone or as is in a dish! Sweet Corn Ice Cream
Makes 2 pints 2 cups heavy cream (raw if possible) 1 cup whole milk (raw if possible, or you could try buttermilk) 1/2 cup maple syrup 2 cups sweet corn kernels, cut from the cob 1/4 tsp sea salt 2-3 cinnamon sticks 4 egg yolks 1 tsp vanilla extract 1. In a medium sauce pan, combine the cream, milk, maple syrup, corn, cinnamon and sea salt. Bring to a simmer and turn down to low. Cover and let simmer 20 minutes, adding the vanilla in the last 5 minutes. Check regularly and stir to prevent boiling over or sticking. 2. Remove from heat and transfer to a glass container. Refrigerate overnight, or at least 6 hours until very cool. 3. Remove the cinnamon stick. Pour cream and corn mixture into a blender. 4. Add egg yolks (kept raw). Blend until very smooth. If you have a good blender, it should puree pretty much completely. If your blender is not as powerful, there still may be some chunks of corn in yours--which I love! You can strain these out if you aren't a fan. 5. Transfer mixture to your ice cream maker and proceed following manufacturer's directions. 6. Serve immediately after it is finished freezing, or transfer to a freezer-safe glass container and let freeze several hours to set and firm up and serve.
0 Comments
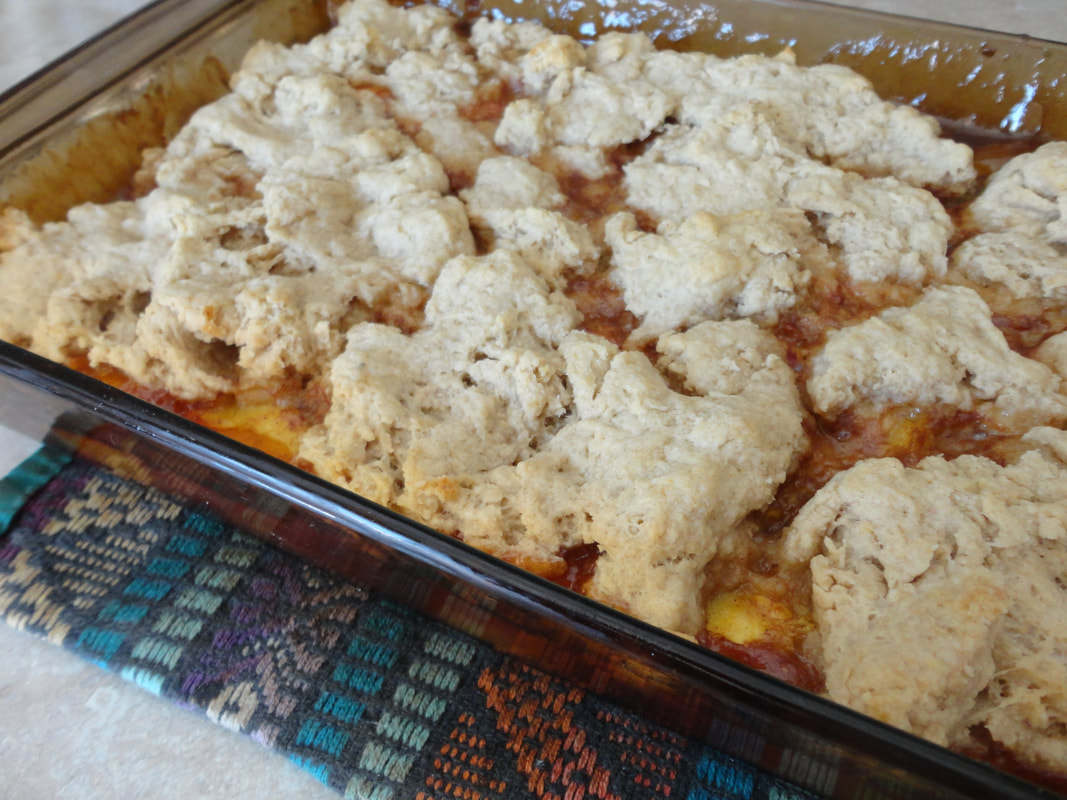
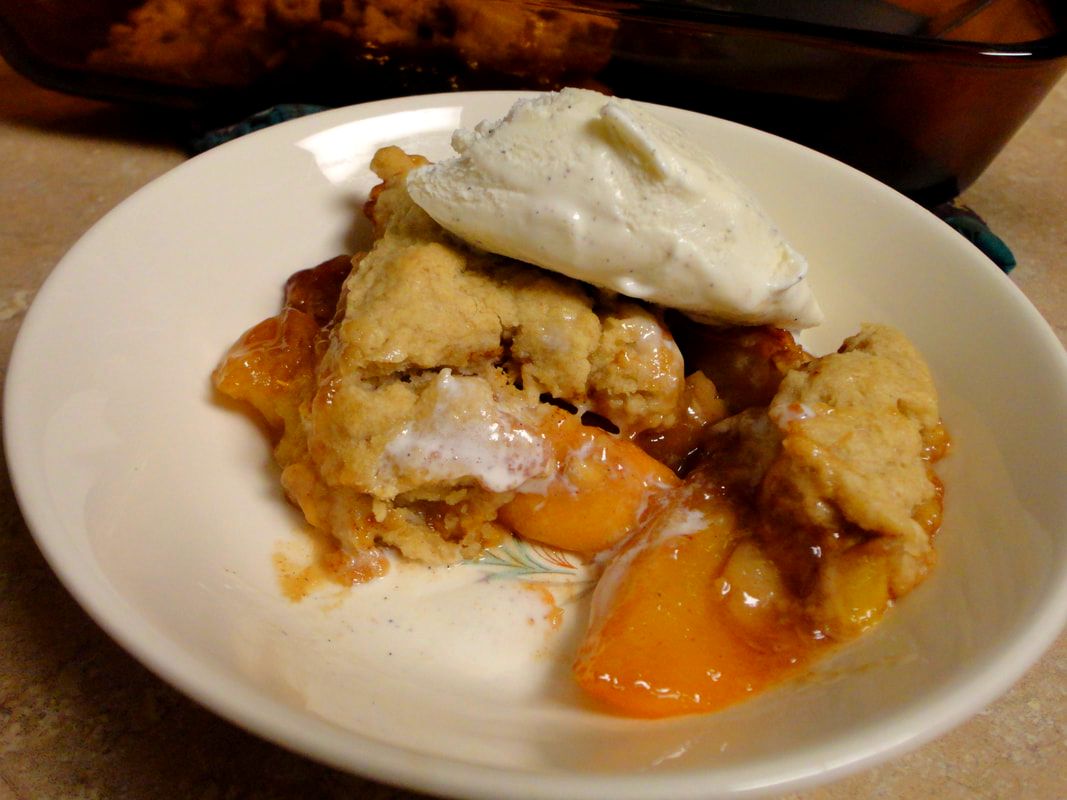
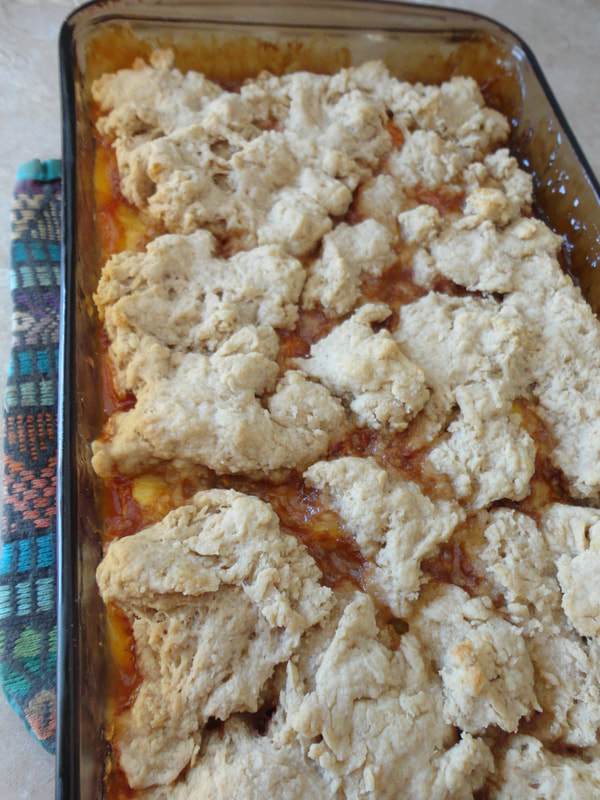
Peach season isn't very long up in Wisconsin, but there is a local farm that grows them in a greenhouse up here, and it is a glorious time when they arrive. I love fresh, juicy peaches and peach desserts of all kinds. When paired with a crust, be it pie, cobbler or crumble, peaches are hard to beat. This recipe spikes the peach filling with cinnamon and a hint of vanilla, and is topped with a biscuit-like cobbler crust that uses sourdough starter. If you make bread regularly and need a way to use up the extra starter, then this recipe is perfect. I love making cobblers because the crust doesn't have to look pretty and it comes together really quickly. You could use peaches that have been frozen and thawed if you put some up in the freezer, or any stone fruit would work great here. Either way, served warm with cardamom ice cream is our favorite way to eat it, and I think you'll agree if you give it a try. Peach Cobbler with Sourdough Crust
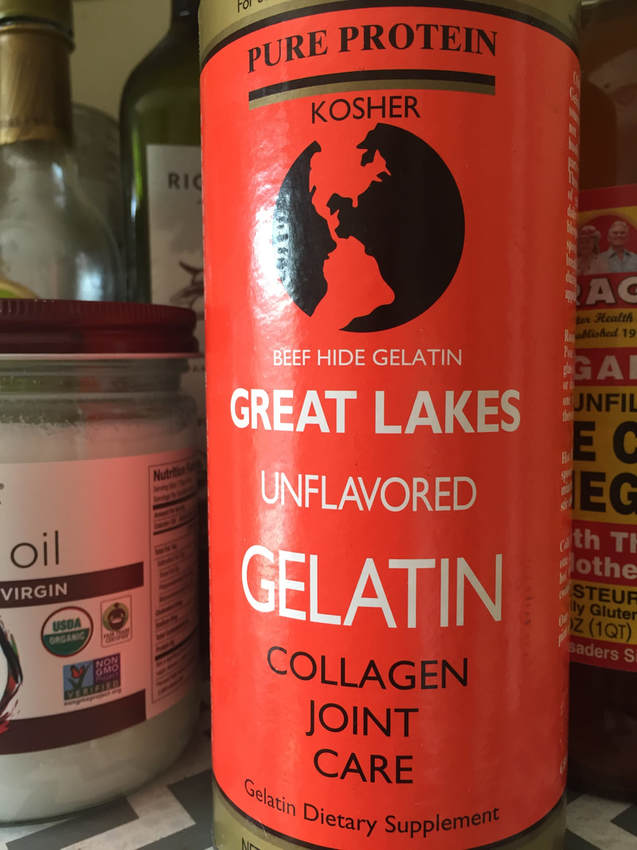
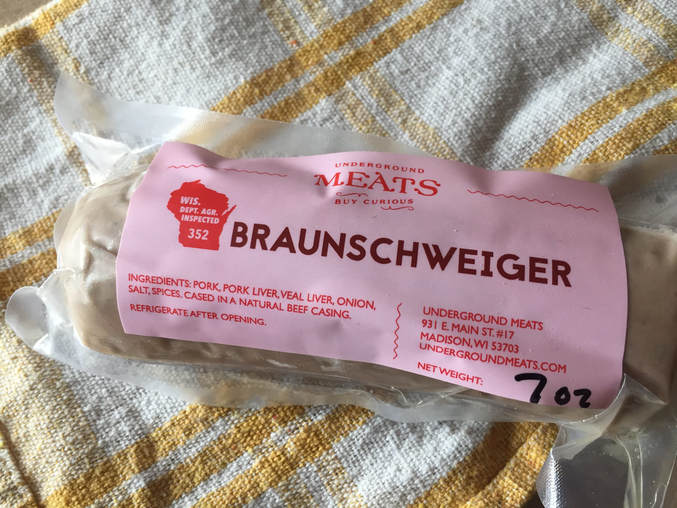
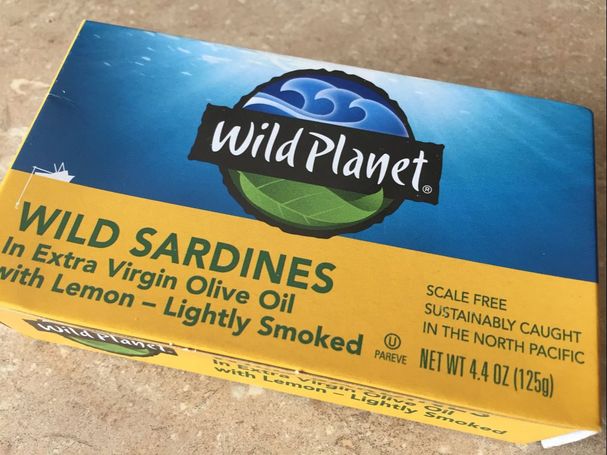
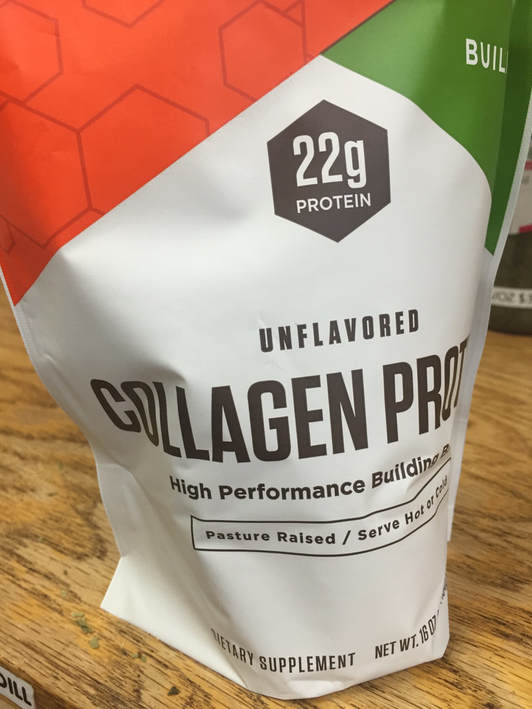
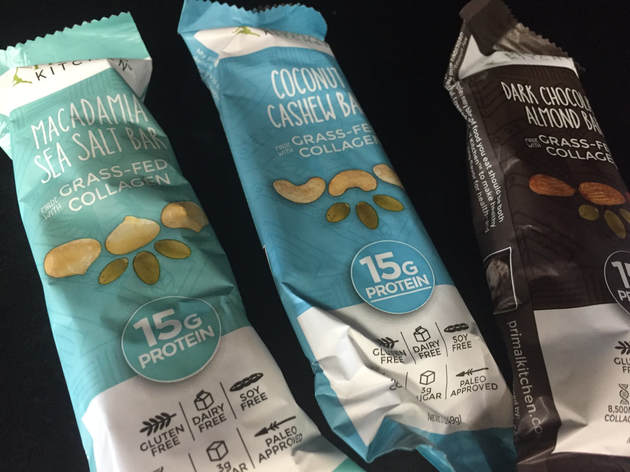
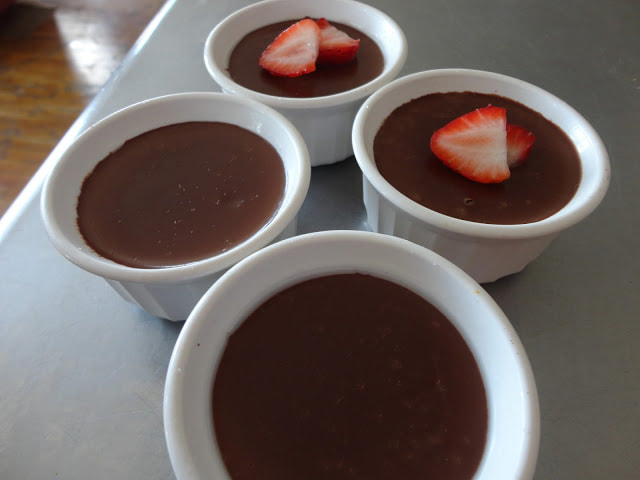
Serves 8 For the filling: 4 cups peaches, sliced 1 cup turbinado sugar or sweetener of your choice (maple syrup would work well I'm sure) Juice of 1 lemon 1/4 tsp sea salt 1 1/2 tsp cinnamon 1 tsp vanilla extract 1/2 cup arrowroot powder For the crust: 1 1/2 cups flour--a high-extraction flour like Gold 'n White or even a sprouted flour would work great 1 1/2 tsp baking powder 1/2 tsp sea salt 4 Tbs butter, cold and cut into small cubes 1 cup active sourdough starter 4 Tbs cream or whole milk 2 Tbs honey or turbinado sugar 1/2 tsp vanilla extract 1 1/2 tsp apple cider vinegar Preheat oven to 350 F. Lightly grease an 8 1/2" by 11" baking dish. To make the filling: Combine all of the filling ingredients in a medium bowl. Stir well to combine, then set aside while you make your topping. For the crust: Combine the flour, baking powder and salt in a medium bowl. Cut in the butter with a pastry cutter or your fingers until the butter is incorporated but still in small pieces. Do not overmix the butter with the flour or the crust will be tough. Add in the starter, cream, honey, vanilla and vinegar. Stir well to create a cohesive dough. Assemble and Bake: Pour the peach filling into the prepared dish. Spread the topping in clumps over the top; it is not necessary to have a completely even layer, the "cobbled" look is ideal. Keep in mind the thickness of the dough pieces, as you don't want any area to be too thick or it won't fully cook. Bake for 20 minutes then check for browning. If the crust is starting to get too dark, cover with foil for the rest of the baking time. Bake for 10 more minutes, then remove and let cool for 20-30 minutes so the filling sets. Serve warm with ice cream or fresh whipped cream and enjoy! Will keep 3-4 days covered in the fridge. I love summer because of the bounty of good food, especially produce from local farmers. But the heat just isn't for me. I get grumpy when it's too hot, and when that happens, the last thing I want to do is eat a bowl of soup. While bone broth is a staple of my diet, and is full of essential nutrients, I just can't bring myself to eat soup in the summertime. Luckily, there are other ways to get some of the goodness of broth, like the collagen, from a few other foods that work better in the hot weather. Many of them are picnic- and camping-friendly, too! 1. Jello and Gummies Getting collagen in the diet can be hard without broth, but making homemade jello and gummies is a fun alternative. They are made with gelatin powder, so you get the benefit of collagen, proline, glutamine and glycine like you would find in broth. For jello, I use 2 cups fruit juice or fruit puree, 2 cups water, 2 Tbs honey and 2 Tbs gelatin powder. Bring the water to a boil and add in the gelatin to dissolve. Stir in the juice and honey, then pour into a baking dish. Let cool slightly then transfer to the fridge to set. For gummies, increase the amount of gelatin for a firmer texture. Vital Proteins, which is one brand of gelatin I like, has plenty of recipes on their website here. I have a gummy bear mold to make perfect bite-sized treats full of collagen! Besides Vital Proteins, I also like Great Lakes Gelatin, which comes in beef or pork. 2. Picnic-Ready Organ Meats Bone broth is so great because it is a great source of the amino acid glycine, which can be hard to get in a modern diet. Luckily, organ meats like liver and heart are also sources. These organ meats are also higher in vitamins and minerals like folate, iron, B12, A and D than regular muscle meats, so they are overall more nutrient dense. But, in the summer, you can take the easy way with less cooking to get in your nutrient-dense organ meats. For a picnic or camping trip, you can pack some braunschweiger, summer sausage(the one I buy has beef heart in it!) or pate to take along and spread on crackers or crusty sourdough baguette. These are made with organ meats, getting you the vitamins and minerals you need, and often have a collagen casing for an added nutritional bonus. I get mine from a local butcher shop, Underground Meats, which uses local, pasture-raised animals for their meat treats. 3. Sardines with Skin and Bones Sardines are already one of my favorite go-to foods because they are easy to prepare and full of flavor. But in the summer, they stand in for warm broth and soups because of their nutritional content as well. The sardines themselves are high in protein, CoQ10, and minerals like iodine and selenium, but when the skin and bones are left on, you also get the benefit of the amino acid glutamine and glycine, as well as calcium from consuming the edible bones. If sardines aren't your bag, you can also use canned salmon that has skin and bones as well. Either way, throw them on a salad, mix with mayo for a spread or eat right out of the can for an easy summer meal full of nutrition. 4. Pork Rinds It may seem weird for health food blog to promote pork rinds, but I think it totally fits. Also known as chicharrones, they are essentially just crisped pork skin, which is obviously high in collagen and protein. You can get a similar benefit from eating chicken with the skin on, but these are more of a treat and great for summer road trips. Sometimes they are fried in unhealthy oils, so avoid those if you can, but often you can find them baked or cooked in lard. If you find a source of pastured pork you can make your own (here's my recipe), or look for brands at health food stores that source good pork, like Epic. These are a great snack or alternative to chips, and great for dipping into guacamole or fresh salsa! 5. Smoothies with Collagen I am not a big believer in smoothies, especially as a meal replacement. This is for many reasons, but like any of my food opinions, there are always exceptions to the rule. When you make a smoothie and add in a scoop of collagen hydrolysate (aka collagen peptides), you are bumping up the nutrition content of your smoothie, and making it a summertime substitute for some of the nutrients you would find in your cold weather broth. There is also bone broth powder out now, which you could also throw in your smoothie, but it might affect the flavor so keep that in mind. Vital Proteins, Great Lakes, Jarrow, Bulletproof, and Ancient Nutrition are all brands that make collagen and bone broth supplements, which unlike gelatin powder, can be tossed right in your smoothie with no heating required. I think this would also work well added in to homemade ice cream, for an amazing summer dessert. For an even easier collagen boost that requires no preparation on your part, companies like Primal Kitchen even make protein bars with collagen powder as the main source of protein, so you have an on-the-go option for getting in your collagen protein as well. 6. Desserts Made with Gelatin Powder The use of gelatin in the kitchen is not limited to jiggly jello or chewy gummies. There are plenty of other recipes, especially desserts, that traditionally use gelatin as a thickener, so making these in the summer can be another tasty way to get the gut-healing benefits of gelatin. One of my favorites is panna cotta, which a great summer dessert because you don't have to heat up your oven, and it can be topped with fresh berries that are in season. You could also make homemade fudgesicles with gelatin powder for a nice frozen treat. I absolutely love homemade marshmallows, which get their interesting texture in part from the gelatin. Of course, in the summer this is a hit because you can make the tastiest, most nutritious (yeah, I said it) s'mores ever. Some collagen-rich marshmallows, dark chocolate and organic graham crackers, and you are good to go--I use the recipe from the Urban Poser blog, which are sweetened with honey or maple syrup. 7. Fermented and Raw Dairy
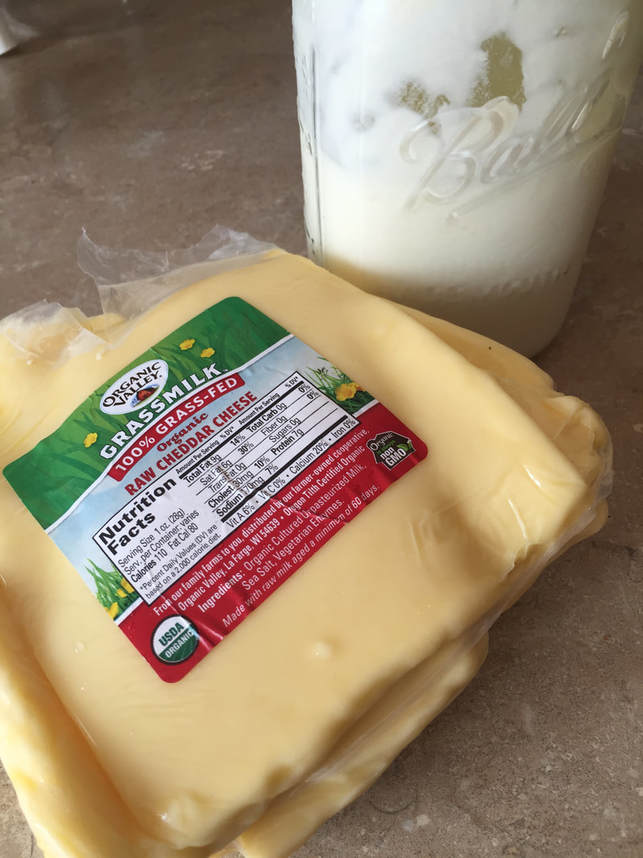
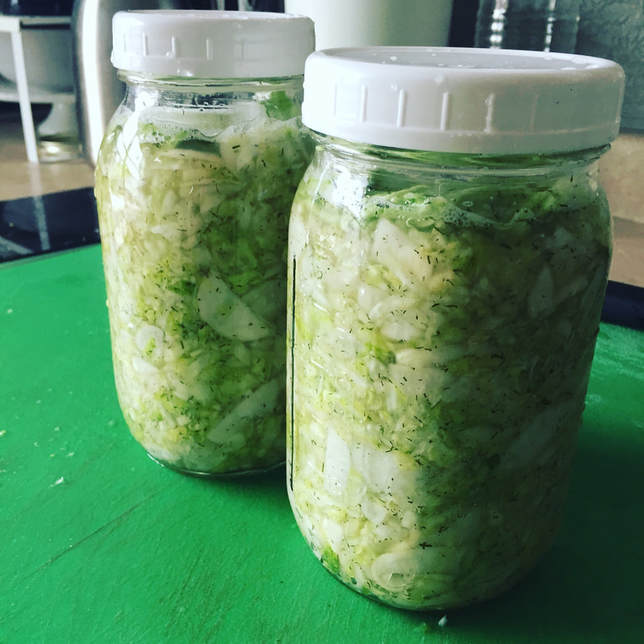
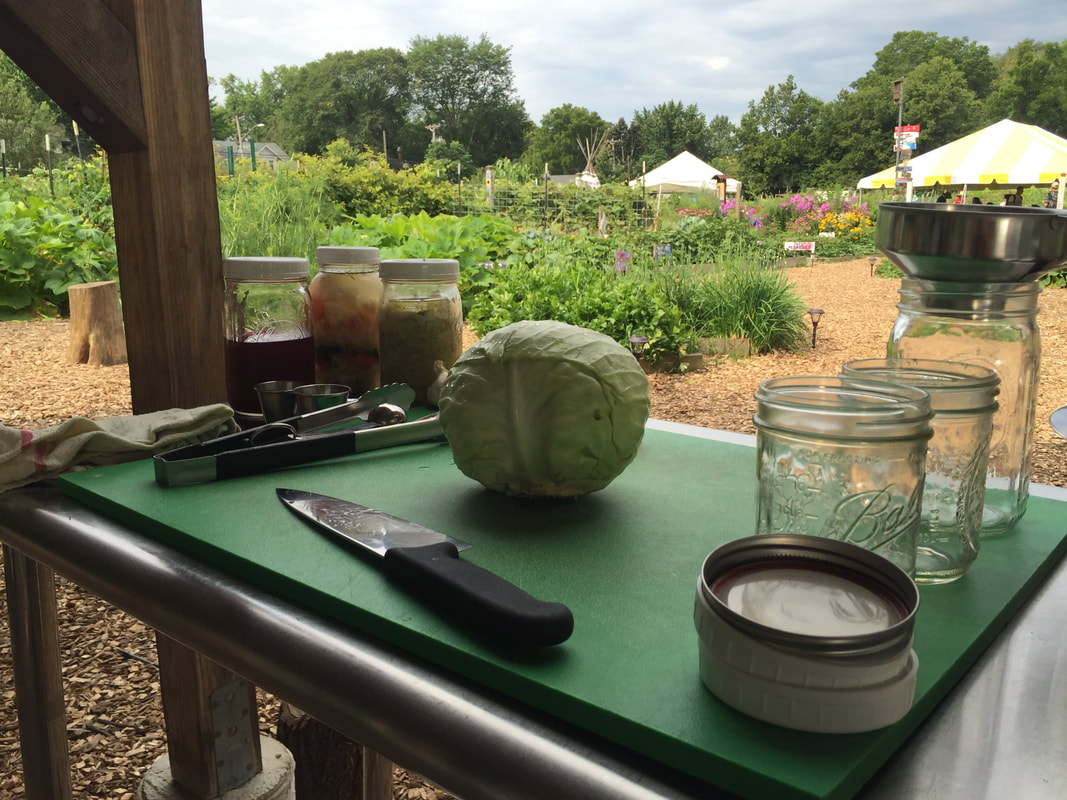
Bone broth is not just great because of the collagen, glycine and glutamine. but also because it is so high in minerals. Another way to get those bone-building minerals like calcium, magnesium and phosphorus is in fermented (or raw) dairy. Yogurt, kefir, aged cheese, cultured butter or raw milk are all mineral-rich foods and easier to digest than pasteurized milk. I like to make my ice cream with raw milk and cream, or even use some buttermilk if raw milk is unavailable. For dairy-free folks, use broccoli and other dark green calcium-rich veggies, sprouted nuts and seeds, avocado and mineral water like Gerolsteiner to get your mineral needs met. Cabbage is pretty much the perfect vegetable to ferment. It has a high water content to help create the brine, and it is fibrous enough to maintain its structure even when massaged, crushed, and compressed in the fermentation process. But cabbage isn't the only fermentation star: turnips also make a fantastic ferment. Sauerruben is sauerkraut's even stinkier cousin, made with either all or some turnips. I love the small white turnips that are tender and a little sweet. When combined with cabbage, some garlic and fresh dill, you get a delicious ferment that is packed with probiotics and flavor. I made this recipe for a workshop I taught this past weekend at the Wisconsin Permaculture Convergence. This annual conference of awesome folks was held this year at the Troy Community Gardens in Madison, Wisconsin. This sauerruben was a hit, and now you can make it, too! Feel free to use more or less turnips depending on what you've got and how much you like them. You could even try it with only turnips and see how that goes.
Sauerruben with Garlic and Fresh Dill Makes ~2 quarts 1 medium head cabbage, 2-3 lbs 2 lbs small white turnips, thinly sliced 6 cloves garlic, minced 1/2 cup fresh dill, chopped Unrefined sea salt--use 1 Tbs salt per 3 lbs vegetables Combine the shredded cabbage and sliced turnips in a large bowl. Add salt and massage into the vegetables until they become soften and release some of their water. Add in the garlic and dill, and mix well. Transfer the mixture into glass jars, or a ceramic fermenting crock, and pack tightly to remove all air and push the brine to the top. If desired, add a glass fermenting weight (I use Pickle Pebbles) to the top to ensure the vegetables stay submerged below the brine--this is what helps prevent mold and ensure proper lacto-fermentation, which is anaerobic. Put a lid on the jars, if using, and tighten just enough to close, but not too tightly. The ferment will produce CO2 as a by-product, so a too-tight lid could cause the jar to break or explode. Let sit at room temperature for 7-14 days, depending on how fermented and tangy you like your veggies. If your house is warmer, it will ferment faster, so keep an eye on it. Check regularly to ensure the veggies stay below the brine and that mold is not forming. Transfer to the fridge for long-term storage. This should keep at least 1 year under refrigeration. Local veggies are in full swing, and I am always looking for ways to pickle (aka lacto-ferment) produce from local farms in the summer. This recipe is based on the traditional Italian relish/condiment of pickled veggies, usually including cauliflower, carrots, onions, and spices. It is traditionally served with antipasto, salads or sandwiches (like the muffaletta or an Italian beef sandwich). I like this tangy, spicy version of giardiniera as a snack or fermented side dish that goes well with just about anything.
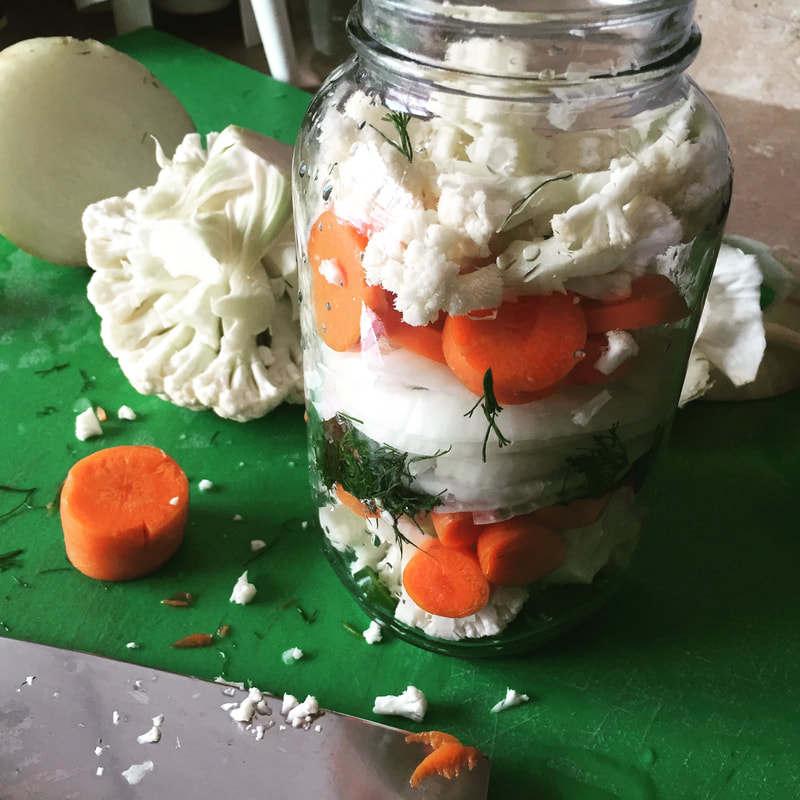
I love making fermented foods, full of probiotics and enzymes for improved nutrition, that taste amazing in addition to their healthy properties. This version is fermented in a brine, using liquid whey as a starter for the lacto-fermentation, instead of just a straight salt brine. Both methods boost the vitamin content of the veggies after fermenting, including B vitamins and vitamin K2, due to the action of the bacteria. If you are on a gut-healing protocol, wanting to improve digestive function, clear your skin, maintain a healthy weight or even suffer from auto-immune diseases, it is a good idea for you to get more fermented foods in your diet. 2-3 tablespoons of fermented foods, such as sauerkraut or pickled veggies is a great start towards getting the great health benefits everyday. This giardiniera recipe will make it easy and tasty for you to get your daily dose of food-based probiotics!! To obtain the liquid whey, simply strain a good quality, plain whole milk yogurt through a kitchen cloth into a glass bowl overnight. The liquid that drains through is the whey, and the solids left over are just like Greek yogurt and can be eaten plain or as a condiment like sour cream. Do not use powdered whey, like protein powder, as it is very different and not full of live bacteria like the fresh yogurt whey. If you are dairy-free, just omit the whey and add a few more days to your fermenting time. Lacto-Fermented Giardiniera (Pickled Cauliflower and Carrots) Makes 2 quarts 1 small head cauliflower (1 to 1 1/2 lbs), cut into florets 2 medium carrots, cut into sticks or coins 1 jalapeno or serrano pepper, sliced 1/4 cup yellow onion, thinly-sliced 6-8 cloves garlic, crushed 1/2 Tbs dried basil 1/2 Tbs dried oregano 1/2 Tbs dried dill or 1/4 cup fresh dill, chopped 2 Tbs sea salt 4 Tbs liquid whey, drained from yogurt--see above Filtered water Chop veggies and place into one 2 quart jar or two 1 quart jars. Add spices, salt and whey. Fill the jars to the top, until the veggies are covered, with filtered water. It is important that the water is filtered, as chlorinated water can have an ill effect on the fermentation process, as it is anti-microbial. Seal tightly with a lid and shake well to incorporate the salt. Slightly un-tighten to lid so the seal is not too tight. Set jars in a dry and room temperature spot in the house where they won't be hit by a lot of direct sunlight. Let sit 5 to 7 days and taste the cauliflower. You may refrigerate and begin to eat at this point. If you like your fermented veggies a little more tangy and "pickled" tasting, let sit another day or two. Every 2-3 days, "burp" the jar(s) by opening the lid and taking it off, then putting it right back on. This lets any extra CO2 build up out, so the jars don't burst. The bacterial waste product is CO2, so there can be lots of this in the jar if you don't burp them periodically. Place in the refrigerator to slow down the fermentation process for storage. These will keep for months in the fridge, but you'll likely eat them up before that. If you eat all the veggies out of the brine, you can reuse it with new veggies for one more batch. Then you can sip the brine as a digestive tonic or discard. |
Brine & Broth
I am a gut health-focused nutritionist and online health coach based in Southwest Wisconsin. My recipes and philosophies center around traditional, nutrient-dense foods that support robust gut health. Archives
May 2022
Categories |



 RSS Feed
