|
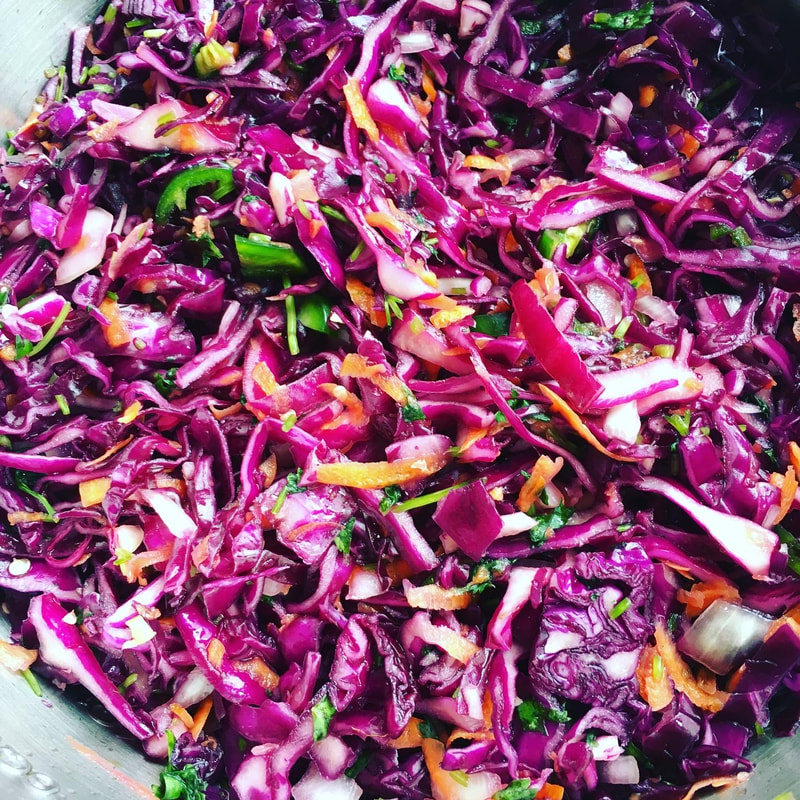
Curtido is a fermented cabbage slaw in the style of sauerkraut, but hailing from El Salvador rather than Europe. I love that so many traditional foodways included different forms of fermented cabbage...not only does it unite us, but they are all so tasty and easy to make! Besides the typical shredded cabbage, this ferment also contains lime, jalapeno, carrots, onion, garlic, cilantro, and oregano. This delicious blend of herbs and veggies add acidity, heat, and texture to the usual cabbage-based kraut, while still providing lots of probiotics and prebiotics to help improve the microbiome. Traditionally, curtido is served on pupusas, thick masa tortillas stuffed with meat and/or cheese. It is also wonderful on tacos or other Central American-inspired dishes, scrambled eggs, mixed in with salsa or sour cream for a chip dip, grilled meats, or salads. As always, this ferment is also perfect eaten straight out of the jar. Feel free to decrease or increase the amount of hot pepper or use a different pepper besides the jalapeno, depending on how much heat you like or what peppers you have on hand. I always use red cabbage for my curtido, but green cabbage will work just as well here. Once fermented, curtido will keep for about one year in the fridge, so you can make a big batch and eat it over several months. Curtido (Salvadoran-Style Sauerkraut) Makes about 3 quarts 1 large head red or green cabbage, shredded (about 3 lbs) *Save outer leaf aside, keeping whole to act as a carrier 1 large red onion, small diced 3 large or 6 small carrots, grated (about 1 lb) 6-8 cloves garlic, minced 1-3 jalapeno pepper, sliced (seeds removed to reduce heat if preferred) 1 bunch cilantro, stems included, minced Zest and juice of 1 lime 1 1/2 Tbs dried oregano 3-6 tsp fine sea salt, based on weight of vegetables Equipment needed: 3 quart-sized glass jars with plastic/non-reactive lids or 1 gallon ceramic crock Fermentation weights for each vessel, optional Cutting board and knife Canning funnel Wooden spoon or "kraut pounder" for packing jars Kitchen scale and measuring spoons 1. Place a large mixing bowl on a kitchen scale and tare to zero. 2. Place the shredded cabbage, onion, carrots, garlic, peppers, cilantro, lime, and oregano in the bowl. Stir to combine. 3. Add the sea salt, the amount depending on the weight of the vegetable mixture. Use 1 tsp sea salt per pound of vegetables; this should use about 2 Tbs of salt, but adjust to the exact amount you have. 4. Massage the salt into the vegetables, squeezing them to break the cell walls and release their stored water. I recommend wearing food-safe kitchen gloves for this, due to the hot peppers. If these are unavailable, follow the next step omitting the pepper, then add it after massaging to protect your hands. This softens them and allows them to be packed more tightly into jars for fermentation. This step may take up to 10 minutes; alternately, you can let the salted cabbage sit on the counter for a few hours to start to soften. This will help to minimize the amount of time spent massaging the cabbage. The vegetables are ready to pack into jars if you can easily squeeze liquid from them and the volume has reduced by about half. 5. Now we pack the salted, massaged veggies into jars or a crock for fermentation. I use 3 quart-sized jars for this recipe, but a ceramic crock will also work. For either method, fill your vessel with vegetables to the top, then use a wooden spoon or "kraut pounder" to pack the mixture tightly into the jar. This removes air bubbles and allows the brine to rise above the vegetables, keeping the fermentation anaerobic. Continue this process until your jar is filled to its "shoulders," where it begins to curve toward the mouth of the jar. Do not fill all the way to the top, or it will overflow as it expands during fermentation. 6. Press the vegetables down until a layer of brine rises to the top. Place the saved whole cabbage leaf over the top to keep smaller pieces of vegetables from floating and possibly molding. Put a fermentation weight, if using, on top of this, which helps to keep the vegetables submerged in the brine throughout the fermentation process, also preventing molding and promoting anaerobic fermentation. Cover with a non-reactive (such as plastic) lid, not screwed on too tightly. Repeat with two more jars, or until all of the vegetables are packed and ready to ferment. 7. Let sit at room temperature for 5-14 days to ferment. It is "ready" when it has fermented to your liking. It will become more sour and "fermented" tasting the longer you let it sit, so adjust the time to your taste preferences. I find the sweet spot to be 14 days for taste and probiotic content, with an ambient temperature of about 68 degrees. It will ferment more quickly the warmer your kitchen, so keep this in mind when fermenting. There is no right number of days for fermentation, it is ready when you are; taste it after a week or so and see if you like it as is or want to ferment longer. Some people let it go up to 21 days, but 14 days is about where I usually stop the fermentation process. 8. Remove the weight and transfer to the fridge, where it will keep for about one year.
0 Comments
Leave a Reply. |
Brine & Broth
I am a gut health-focused nutritionist and online health coach based in Southwest Wisconsin. My recipes and philosophies center around traditional, nutrient-dense foods that support robust gut health. Archives
May 2022
Categories |


 RSS Feed
