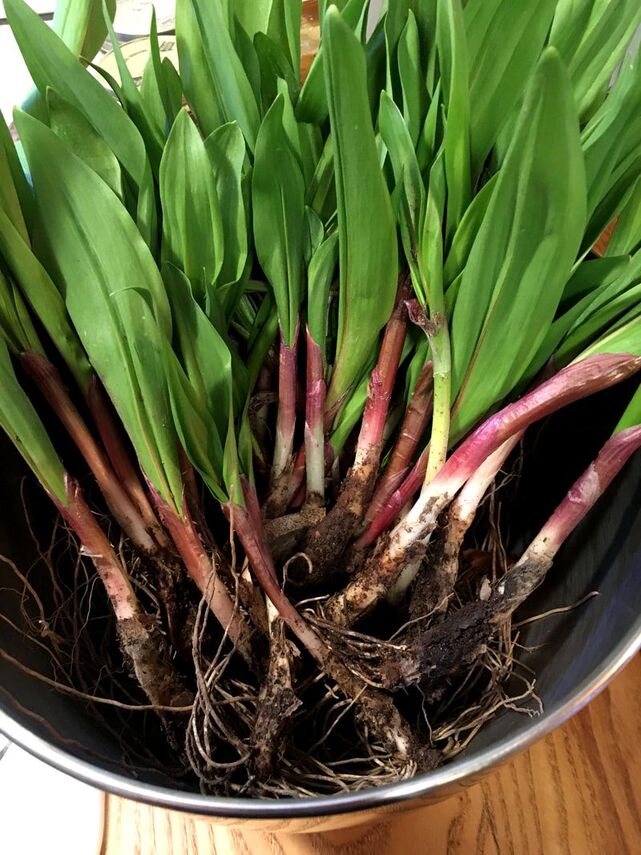
 One of my favorite things about spring is the start of foraging season here in Southwest Wisconsin, where you can really connect to place and season by gathering your own food. Once maple syrup season, the true beginning of the foraging time, has passed, it is time for some of the green plants to start emerging. One of the very first wild foods that becomes abundant in this area in early Spring is ramps. Their season is short, starting in early April to about mid-May, so these are a special food that we greet with much anticipation. Ramps are a type of wild onion that tastes like a leek crossed with garlic, so think super allium-y, herby- flavor profile. These grow best in the woods where there is plenty of shade, often on a hillside. However, if you live in an urban area, you can often find these in the produce section of your favorite grocery store, especially those that carry wild-crafted items such as a health food store. Like all wild-crafted foods, ramps should be harvested with respect and a consideration towards sustainability and responsibility, only taking what you need and leaving plenty of plants to grow and thrive--both to preserve the plant species but also to ensure foraging can continue in seasons to come. You can choose to harvest only the greens or, if you are not taking very much, you can harvest the whole plant if done correctly. If you are unfamiliar with wild-harvesting for ramps or any wild plant, please do your research on plant identification ahead of time (I like Samuel Thayer's books for this!) to ensure your safety. We have been carefully harvesting small amounts of ramps from heavy forest patches both for eating and and for transplanting them to our land to have our own wild ramp source right at home, letting the species proliferate even more. For more on respectfully harvesting ramp (yes, even sometimes with the bulb), read this article from Alan of Forager Chef. 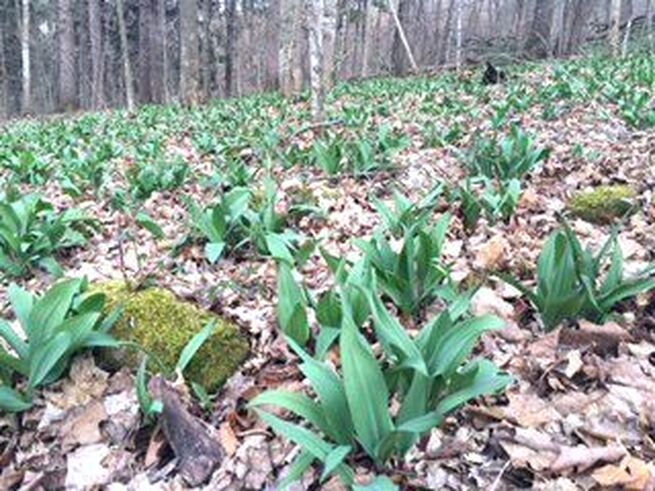 Much like garlic, onion and other alliums, ramps can be added to so many dishes this time of year. Some of my favorite ways to incorporate them into meals is in scrambled eggs, frittatas, stir fries, meatballs, and even on burgers. I also love to put these flavorful plants into some of my favorite sauces, like pesto, chimmichurri, chutney and zhoug, replacing the onion or garlic in standard recipes for a unique yet familiar flavor. Being an avid fermentationist, I of course have to find a way to ferment these beauties as well, both to prolong their appearance in my kitchen and to add a special (read: strong and funky) flavor to my ferments. The leafy green tops work well in a sauce or saute and, if using the bulb (the white part similar to those found on scallions), you can ferment these in a brine for pickled ramp bulbs. My favorite ferment using ramps is a sauerkraut that captures the goodness of early spring: Ramp and Nettle Sauerkraut. The onion/garlic flavor of the ramps with the green, mineral-y flavor of the nettles are a perfect way to liven up traditional sauerkraut. You are adding a lot of nutrition as well, with the mineral boost from nutrient-dense wild greens and creating a probiotic-rich way to preserve these great spring treats as long as you like. 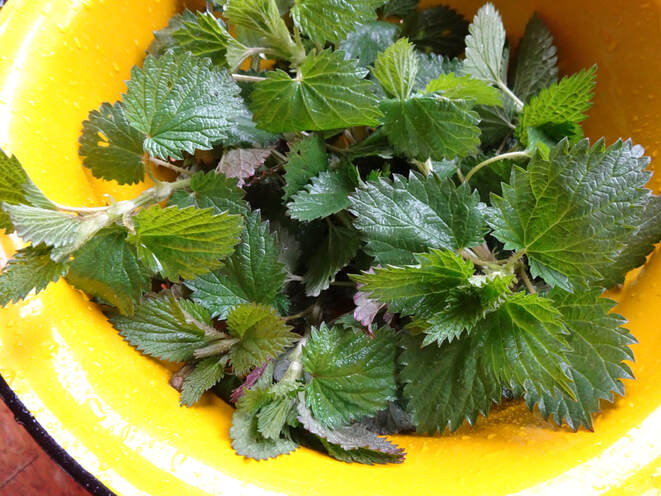 Ramp and Nettle Sauerkraut Makes 1 gallon This recipe makes 1 gallon of kraut, but can easily be modified to make a bigger or smaller batch. Ingredients: 6 lbs green cabbage, finely shredded--usually 2-3 heads depending on size and density 2 cups ramps, coarsely chopped--green leaves only or whole, cleaned ramps trimmed of roots 4 cups young nettle leaves, loosely packed and chopped (can wild harvest if you have access and knowledge, but you may be able to find at a grocery store when in-season, or substitute other dark, leafy green instead) **You will need to wear gloves when handling the nettles, as they will sting when raw and unprocessed. The act of chopping and pounding in the kraut will get rid of the sting, so it will be fine to eat these raw after the kraut is finished with no sting!** 2-3 Tbs sea salt, or as needed based on weight of vegetables, using ratio of 1 tsp salt per pound of vegetables Directions: 1. Combine the cabbage, ramps, and nettles in a large bowl. 2. Add salt based on weight of vegetables, using ratio above. Use a fine-grain sea salt with no additives, iodine, etc. 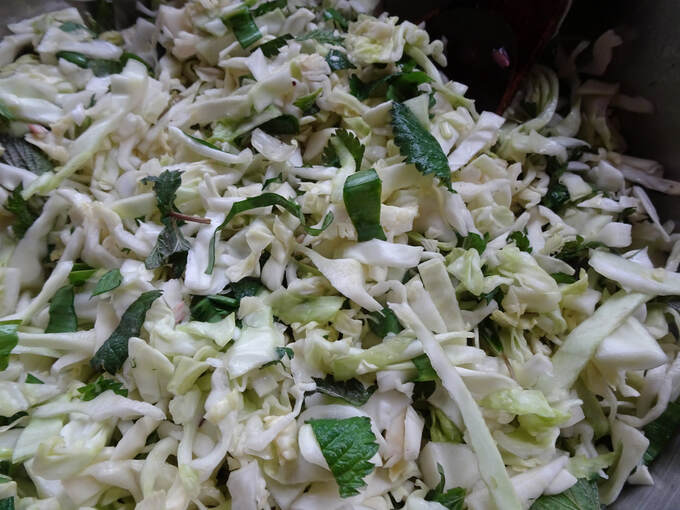 3. Using gloved hands, massage the salt into the vegetables, squeezing and crushing as you go. This will help to break the cell wall of the cabbage and release its water, combining with the salt to make a brine--this method is known as dry-salting. Massage together for several minutes (5-10 typically) until the cabbage has become softened and some water has been released, taking breaks and coming back to the kraut as needed. 4. Transfer the mixture into a glass jar or fermentation crock. I use a canning funnel to make this part easier and less messy. Do this step in batches, pounding the mixture into the jar as you go to make room for the whole batch of veggies. Press the mixture down firmly using a wooden spoon (or special kraut pounder) as a tamper to get as much air out of the vessel as possible. You can also use your hand to compress the vegetables a bit more and make room for the rest of the vegetable mix, continuing this tamping/compacting process until all of the mixture is in the jar or crock. 5. Press down with gloved hands one final time after all of the veggies are in, attempting to remove as much air as possible and pushing up as much brine as you can. Place a weight on top of the mixture and cover with a lid or cloth. 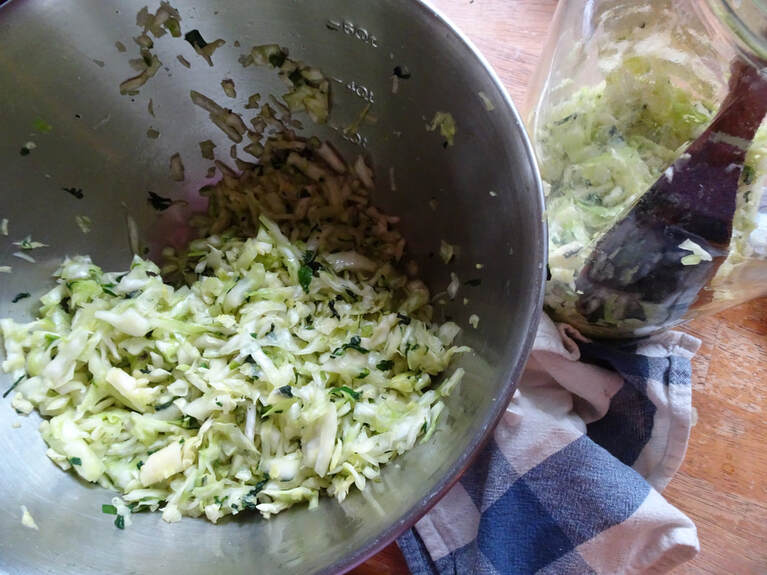 6. Let the kraut sit to ferment on the counter at room temperature for approximately 14 days. If your kitchen is warmer than room temp, this will go a bit faster (around 10 or so days), or it will take longer if you keep your kitchen cooler than room temp (closer to 18 days). Check your kraut regularly through the fermentation process to ensure the veggies stay submerged in brine. If they expand and rise above the weight/water line, simply press them down with a clean hand to submerge them again. Check regularly for mold and discard the batch if any forms. **Your kraut is "ready" when it has a tart, tangy flavor, softened texture, and a slight effervescence from the fermentation process. If you like a milder-flavored kraut, you can stop the fermentation sooner, or let it go up to 21 days for a stronger-flavored kraut. ** 7. Once your kraut is done fermenting, remove the weight and transfer to the fridge for long term storage. This will keep for about 1 year in the fridge (or cool root cellar), as long as the vegetables are kept well submerged below the brine. 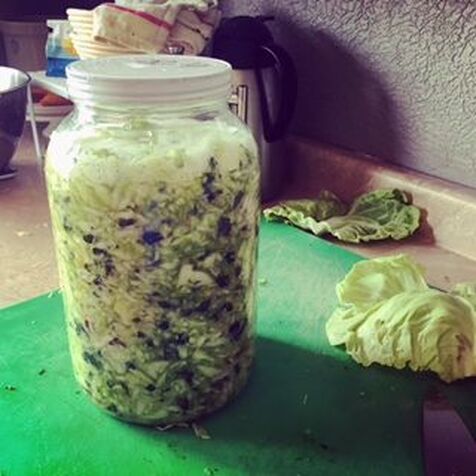 Serve your Ramp and Nettle Sauerkraut as you would any other kraut, as a topping for brats, burgers, or sandwiches. We love this flavor combination on eggs, green salads, mixed into coleslaw, or stirred into rice just before serving for a flavor and acidity boost. Or, find your favorite way to serve this funky ferment, adding not only flavor but probiotics, enzymes and extra vitamins to any meal it accompanies!
0 Comments
Leave a Reply. |

Brine & Broth
I am a gut health-focused nutritionist and online health coach based in Southwest Wisconsin. My recipes and philosophies center around traditional, nutrient-dense foods that support robust gut health. Archives
May 2022
Categories |
 RSS Feed
