|
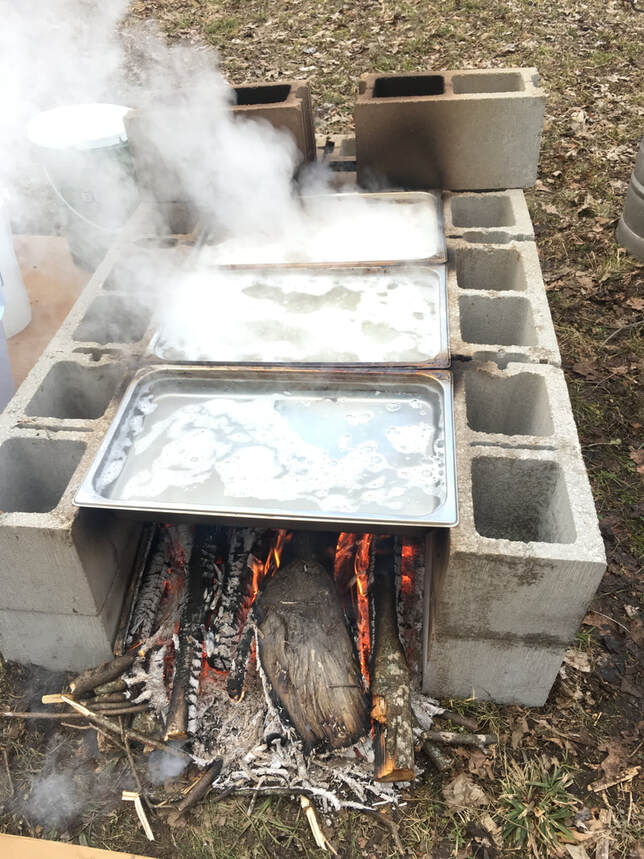
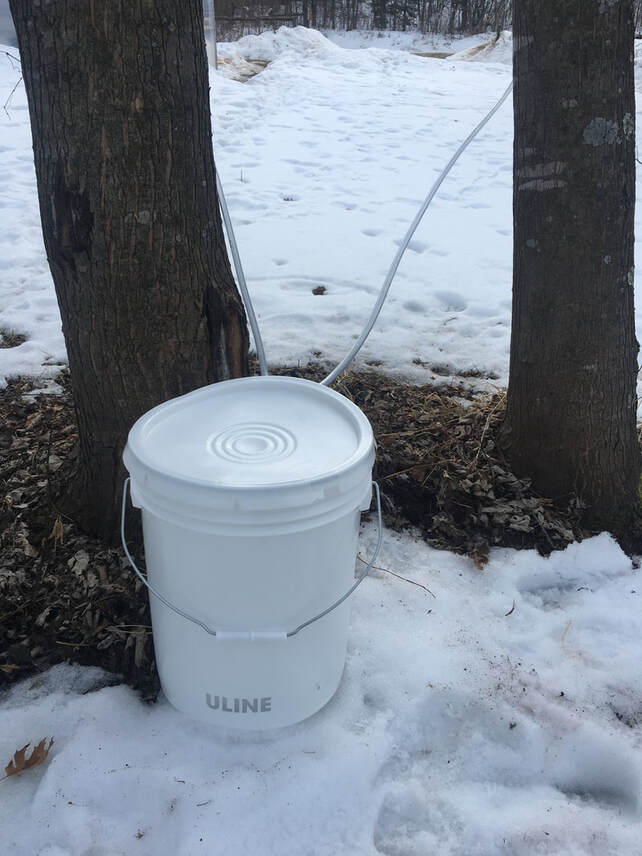
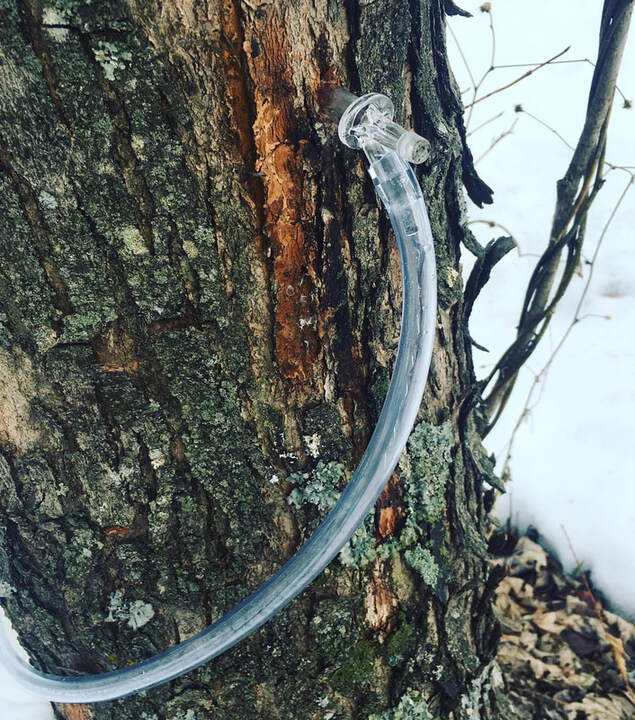
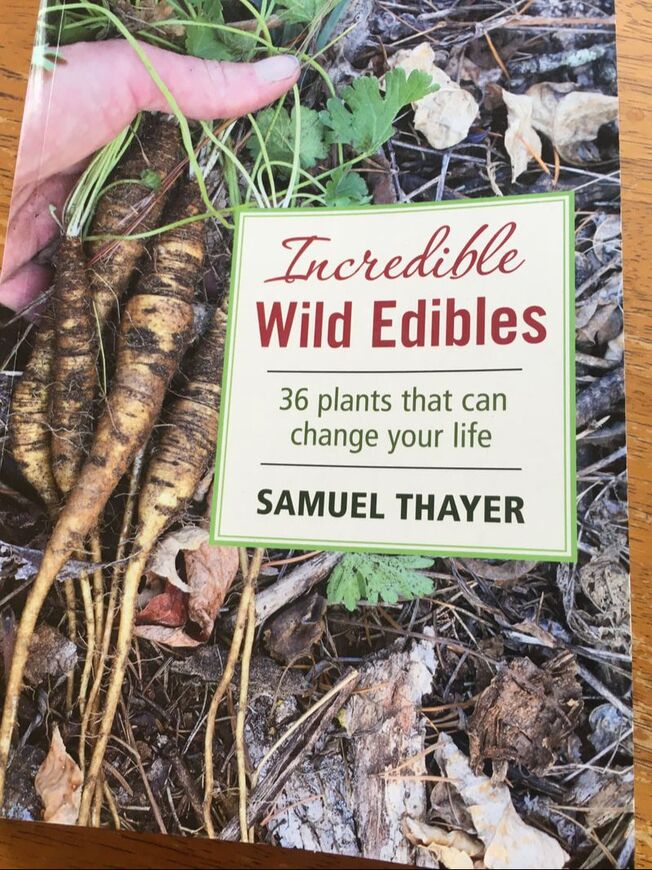
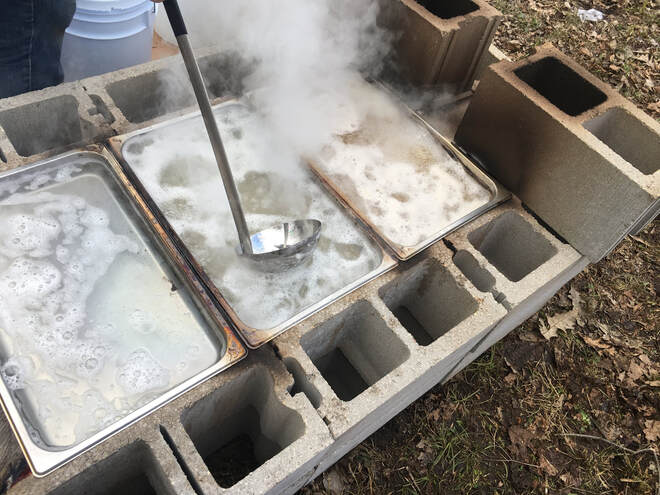
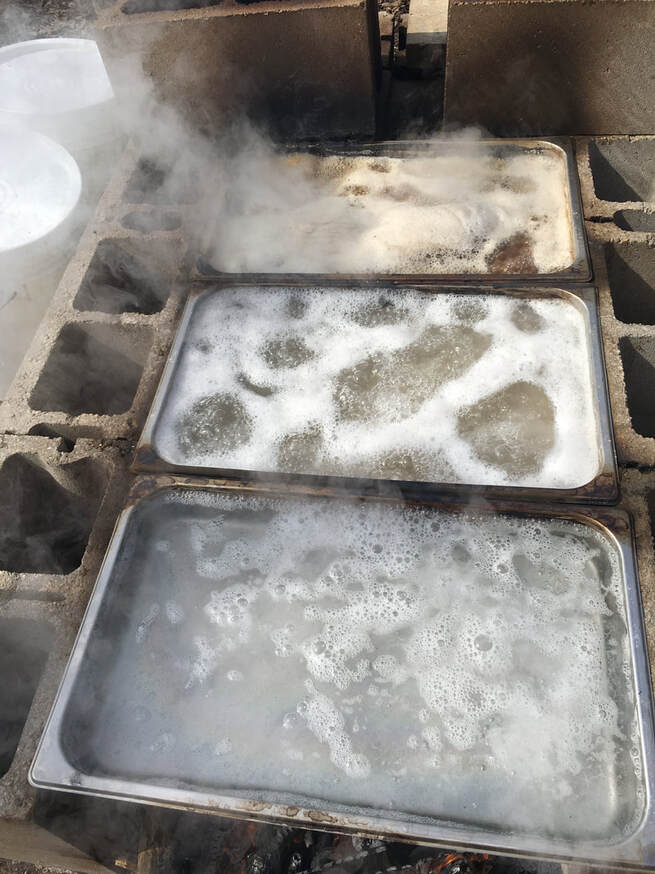
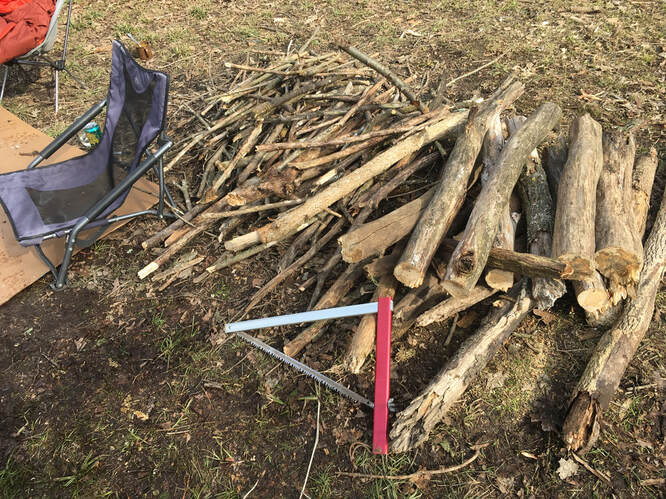
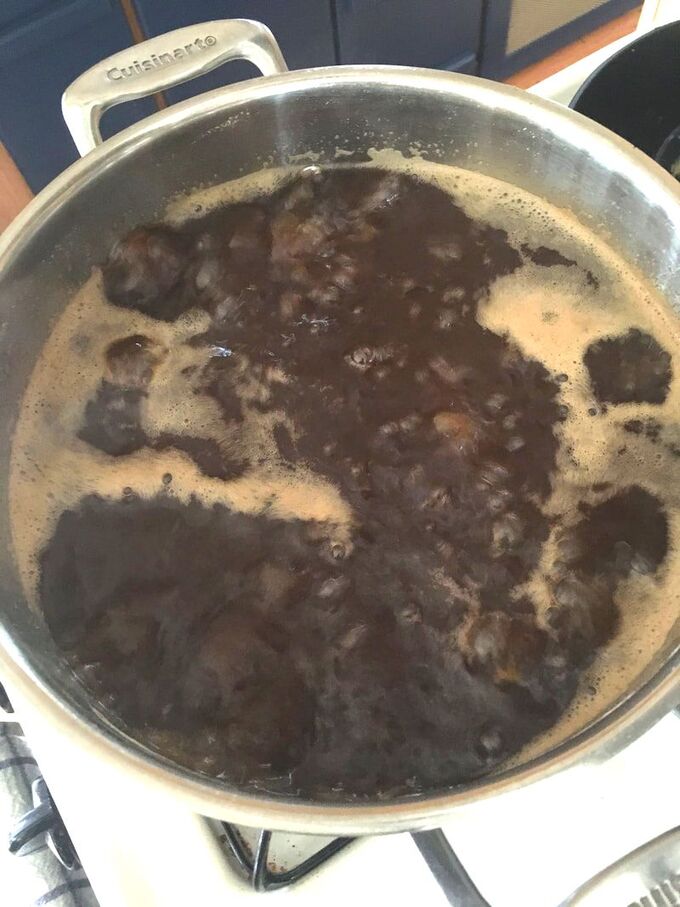
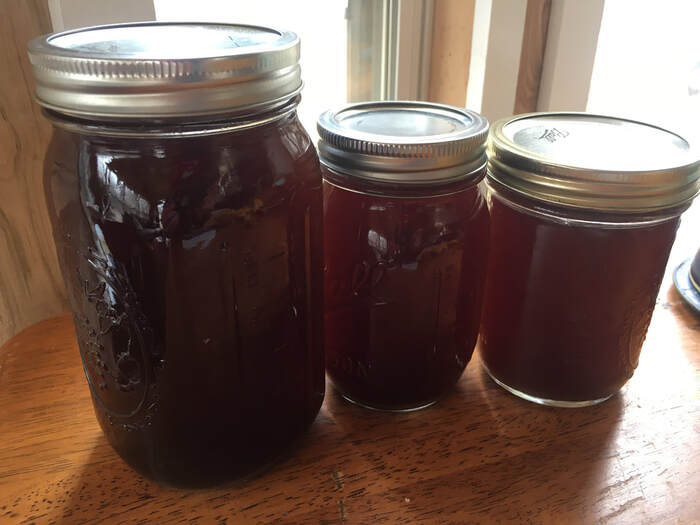
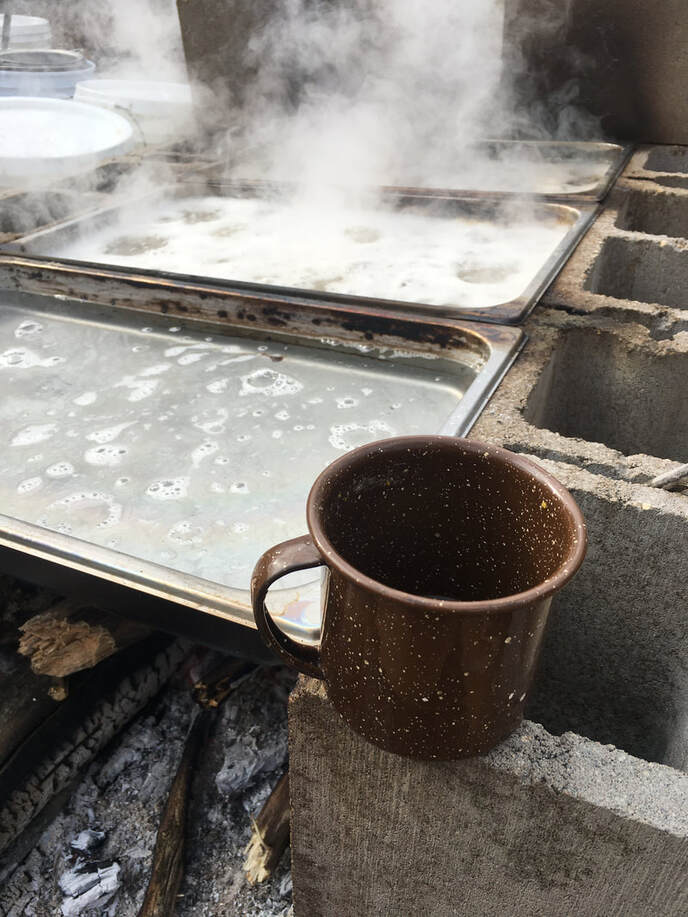
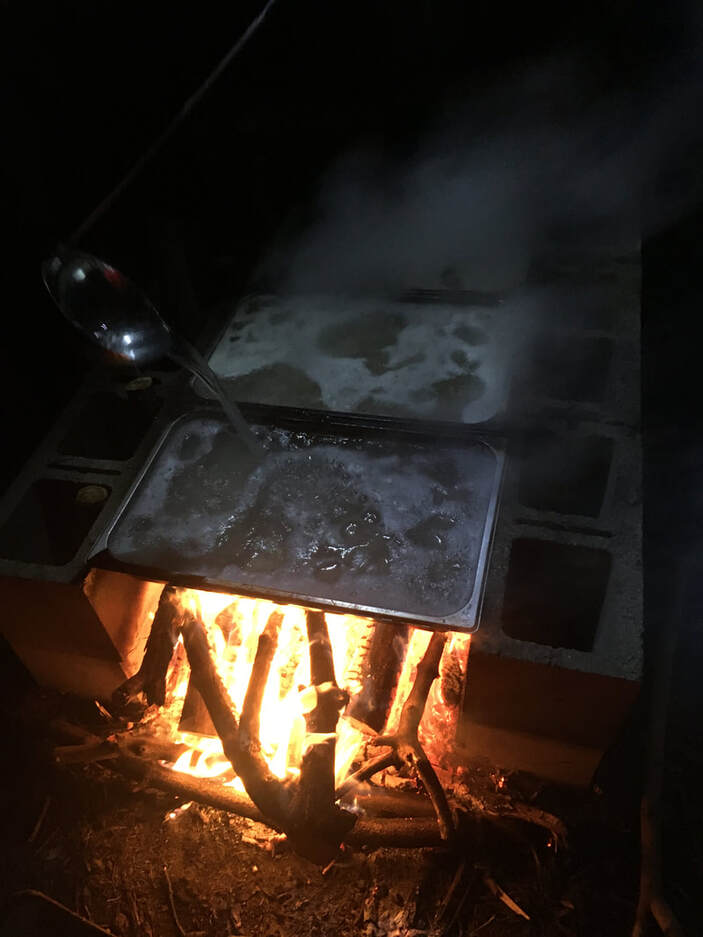
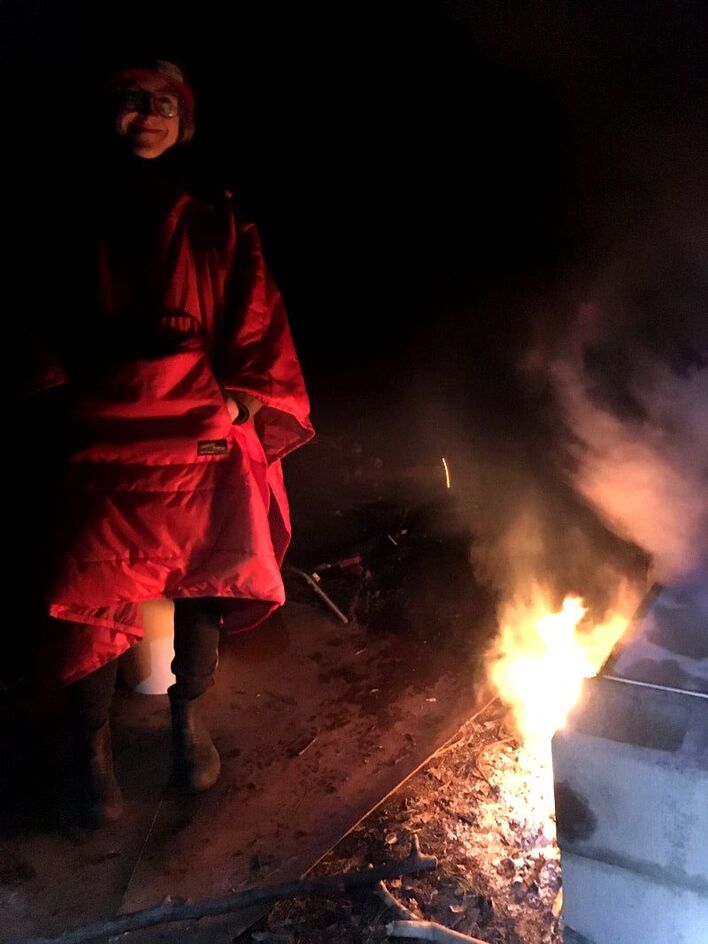
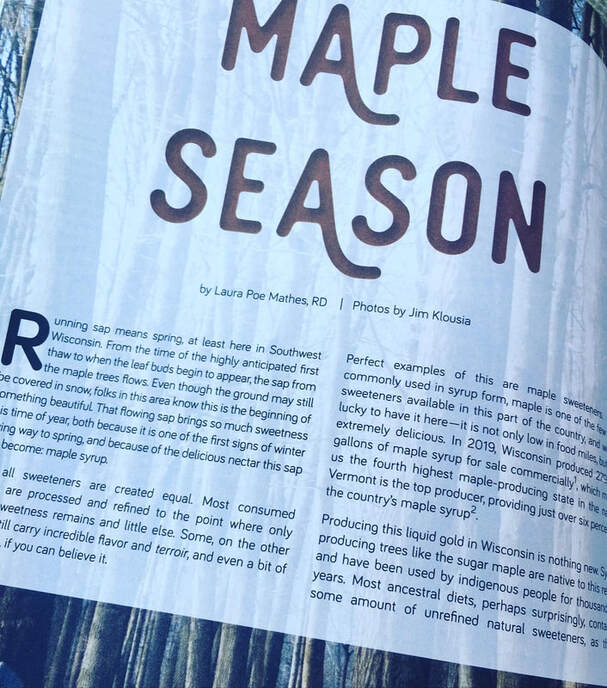
This past week or so has been really weird. With the COVID-19 scare and folks staying at home more to prevent contact with others, it has been stressful and just plain old different around here. Working from home, seeing clients virtually more often and home schooling have all changed our rhythm, but it has not been all bad. I have certainly slept more, gotten more chores and home/farm projects done than I usually do, and I can appreciate those things. What I really needed, though, was something to ground me and keep me occupied to remind me of the most important things to me, which are time in nature and with my people. Right now, the circle of "my people" is much smaller, but we sure made the most of our time together this weekend, out in nature, making maple syrup. This helped to remind and anchor me to what is important and to step away from media and technology to experience real life again, feeling more resilient and capable than I did just a few days ago. Sap season and spring could not have come at a better time, as it turns out. Weather-wise we finally had some decently sunny and warm-ish (ok, it was in the 40's) days that lent themselves well to being outside all day long. Limiting time in public spaces and with friends also made this the perfect time to spend two full days boiling down sap and just living in the present, facing tasks that need to be done. Plus, it was so fun and rewarding, which were much appreciated gifts right now. Besides the seasonal and current cultural reasons to spend such an enormous amount of time on a project, there are plenty of other reasons why we wanted to make our own maple syrup. We live in a part of the country where maple trees are native here, and the people native to this land made maple sugar to provide quick energy and a high concentration of minerals for longer than we know. Maple trees release their sap only for a short time each year, as the thaw begins in the transition from winter to spring. When nights are below freezing and days are above, the freeze/thaw cycle causes the contraction and expansion in the tree's vascular system. This change in pressure pushes out the sap during the day; this sap can then be cooked down to remove enough water and caramelize the sap's sugar to become syrup. This period of time when sap is flowing, known as "sap season," only lasts from when the first freeze/thaw days start occurring until the leaf buds appear on the trees. That means it could be only a few weeks, up to a couple of months, where this sweet nectar can be harvested. By making our own maple syrup, we are part of a food tradition that is unique to only some areas of the country, connecting us to people who had the wisdom to use nature's gifts thousands of years before we were ever here. This is also part of our efforts toward becoming more independent as a household, as being able to make as much as we can from our own land helps us work toward more food security and the ability to feed ourselves as much as possible. Maple sugaring, besides all of that, is the true sign of spring arriving and life renewing once again, which is certainly something I want to celebrate and be a part of. While I have tapped maple trees in the past, I had never done the whole process of making maple syrup start-to-finish, and certainly not from trees that were on my land. Previously, I had tapped trees and brought it to others to cook down into syrup, as I did not have the land or resources to do all on my own. This was mine and my husband's first time venturing into this task, but we were excited to jump in and give it a try. We had twelve taps around our property, which we tapped using plastic taps with lines that flowed into 5 gallon buckets. Some home sappers (is that a word? you get my meaning) use metal taps, metal pails, or even special sap bags that hang directly from the taps, but this worked really well for us. Plus, the equipment was light enough for us to haul around by hand, even when filled with 5 gallons of sap. Needless to say, I got pretty strong doing all of this maple work! We collected sap from our tress over the last few weeks before deciding this was the perfect weekend, due to the upcoming weather, to cook it all down at once. Since our tapping efforts spanned a few weeks, we strained and pasteurized the sap right after collecting it each day, and then kept it outside to stay chilled (it is still cold here). We used an outdoor (homemade) rocket stove cooker to heat it to pasteurizing temperature, in order to prevent spoilage until we were ready to boil it down. We strained it through a stainless steel mesh strainer prior to this, as the bucket lids had a small opening and a few leaves or bugs would get in occasionally. Raw maple sap has the two things microbes love the most to cause food spoilage: water and sugar. So, we decided to heat it to keep it good for a few weeks so we would not lose any sap. We did not cook it down as soon as we got it, as the cooking part takes so much time and effort, we wanted to do it all at once and not have to spend so much time on the cooking throughout the last few weeks. Now that our sap season is mostly over here, and we collected about as much sap as we would like to spend the time cooking down, it was time to make syrup. Larger operations, such as commercial syrup companies, use reverse osmosis and electrically-powered evaporators to cook down their huge amounts of sap into syrup, but we used fire and muscles to get our (much smaller) job done. To cook down (aka evaporate) the sap into syrup, we used the homemade evaporator idea from Samuel Thayer's book, Incredible Wild Edibles. This is an outdoor smoker set-up made with cinder block frame, where the fire is housed between two rows of cinder blocks just wide enough for hotel pans to sit directly over the fire. A hotel pan is basically a large stainless steel chafing dish used in restaurants. We got ours, which were 2 1/2" deep, off of a restaurant supply website. In addition to the fire pit, there is also a chimney at the back of the pit, which you can see in the pictures. We are actually going to rearrange these blocks to turn this part of our yard into a bbq smoker, so we can enjoy cooking outdoors with fire and eating delicious smoked meats after this! The plans we intend to use look quite similar to this set up, so it should not be too difficult; I will of course write a post about that when we build it! Essentially, these shallow and wide pans sit over roaring fire to gradually evaporate as much water out of the sap as possible. There are multiple pans to increase efficiency, with the front pan having the least heat under it and containing the least cooked-down sap, to the back pan, which is over the hottest part of the fire and contains to most cooked-down, thickest sap. We started by making a roaring, super hot fire, with a few inches of sap in each pan to get it going. Then, we would ladle sap from the middle pan to the back pan and front pan to the back pan to continue cooking the sap down. Uncooked sap would be added to the front pan to start cooking down, and we just kept this process going for about 10 hours for two days until it was all cooked down. As we ladled from on pan to the next, we were straining the sap, as a very windy few days caused a lot of ash and debris to fall into the pans, and we did not want this to get in our syrup. We had to keep the fire blazing the whole time, which took a lot of tending, as we needed all of the pans to be at a rolling boil constantly. Since the goal is to evaporate all of water, a good, strong boil is necessary. The back pan with the most cooked sap only got emptied 4 times, twice per day, as it just kept cooking down and caramelizing more and more, so we could just keep adding sap from the middle pan to it and it did not overflow. We finished cooking it down into proper syrup inside at the end of the night, as we could control the temperature much better to get it to the last stage of caramelization. Since our main goals for those two days were to keep the fire fed enough for the pans to be boiling at all times and to keep the sap progressing through the sequence of pans to get more and more evaporated. All of this meant gathering wood and adding wood to the fire almost constantly. This truly took all day, as the evaporation does not happen quickly; it takes 40 or so gallons of sap to make 1 gallon of syrup, so a lot of water had to be lost. We were so tired at the end of those two days, plus we ended up going to bed at 1 in the morning after all of the cooking and jarring was done for the day. The long nights and chopping/hauling wood all day was exhausting, but it is truly the best kind of tired a person can be, after exerting your body, being outside all day and really accomplishing something. As mentioned above, we "finished" the syrup making on the stove top at the end of the day, as getting the sap to the exact right temperature to create syrup is key, and an open fire makes temperature control pretty difficult (especially when you are tired and not as sharp as you were in the morning!). Once the back pan was nearly full and had cooked for about 6-8 hours, always adding to it every 10 minutes or so front the second pan, we strained and ladled it into a stock pot, then finished it inside. The fire took it to about 210-214 degrees F outside, but "syrup stage" is at 217 F where we live (not at elevation). At that point, enough water has evaporated and the sugar has caramelized to make a sweet, viscous syrup. Some people use a syrup hydrometer to test the syrup's "done-ness," but we just went purely by temperature, measured with a digital kitchen thermometer. Once we brought it inside, it took about an hour at a rolling boil on the stove until the syrup hit 217 F. It had also reduced by about 1/3 in volume, and all of our windows were fogged up from all of the moisture that had evaporated over that time. The sap acted similarly to other candy making, where the temperature will hold in the 212-214 range for quite a while, in fact, for most of that hour on the stove, until just enough water is cooked out and then it hits 217 seemingly all of a sudden. We had to watch the boiling sap very carefully with our tired eyes to ensure it did not boil over or that we did not miss the exact point where it hit 217 F. If it got too much hotter it could turn into another candy-making stage after syrup, which we did not want. After it hit the syrup point, we let it cool a bit to 195 F, then transferred the syrup to glass jars and hot-packed them to seal the jars. This ensures the sap will be shelf-stable until opened, so it doesn't spoil; alternately, you could just refrigerate the syrup once made instead of canning it this way, but that would take an incredible amount of fridge space that we absolutely do not have. We can store these jars of syrup around to use all year, until next sap season, in our cupboard or root cellar for safe keeping. This syrup-making process was super hard work but was incredibly fun, spending time using our bodies outside to make something from our land to feed ourselves something so sweet and delicious. We totally thought we would be sitting casually, tending the sap and drinking beer, like it was a bonfire, but it was so much more work that we imagined. Next time, we plan to spend one whole day gathering the fire wood and setting up the fire box, then there can be two full days dedicated to just cooking the sap and tending the fire, so we don't have to run around so much while we cook. We definitely felt that this was a two-person job, even if one person was just getting water and snacks while the other cooked! While we cooked and worked our butts of, we also did lots of talking, drinking coffee, snacking, observing nature, breathing fresh air and appreciating our lives. With the still-cooking sap, we made hot tea to keep us warm and nourished during the day. Our tea was inspired by Indian golden milk, as we steeped herbs like turmeric and ginger in the hot sap, stealing a bit from the first two pans, then added a splash of coconut milk for some creaminess. Sipping this by the fire made the perfect wood chopping break. You can also just drink the hot sap plain for a delicious sap tea if you prefer, or splash a bit into your coffee or hot toddy as you tend the fire, depending on what time of day it is. Even though it was an exhausting weekend, I am grateful for all of it, especially after a long, hard sleep. Our lungs and sinuses are bit smoky and congested today, and our faces and hands are utterly cracked, dry, chapped and burned from the combination of cold, dry wind, more sunshine than we have been used to getting, and all the heat from stoking the fire, but it was totally worth it. Now, if I can scrub my body and clothes enough to get out the strong smell of smoke, that will be the real miracle in all this. For more information maple syrup, including a bit more history, nutrition and uses for this natural sweetener, check out my most recent article in the Spring edition of Edible Madison, from my column, "Digging In." I have included two recipes, one sweet and one savory, for using maple syrup as well. Whether you make your own or find some high-quality maple syrup (hopefully from a local producer, depending on where you live), I highly recommend maple as a staple sweetener in your kitchen. If you do ever get the chance to wild-harvest and/or cook down your own maple syrup, I could not encourage you more to take that opportunity...what a gift from the earth and what a delicious food you can help create!
0 Comments
Leave a Reply. |
Brine & Broth
I am a gut health-focused nutritionist and online health coach based in Southwest Wisconsin. My recipes and philosophies center around traditional, nutrient-dense foods that support robust gut health. Archives
May 2022
Categories |

 RSS Feed
