|
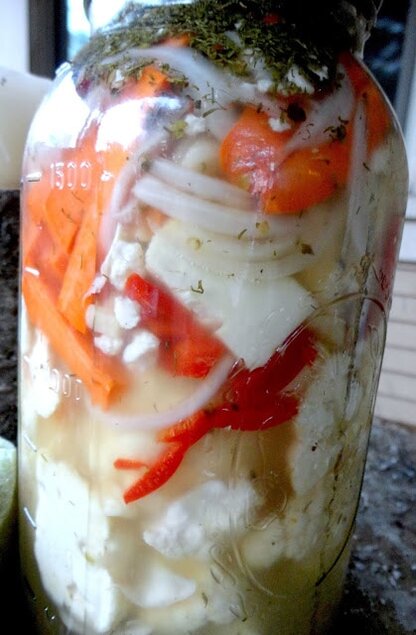
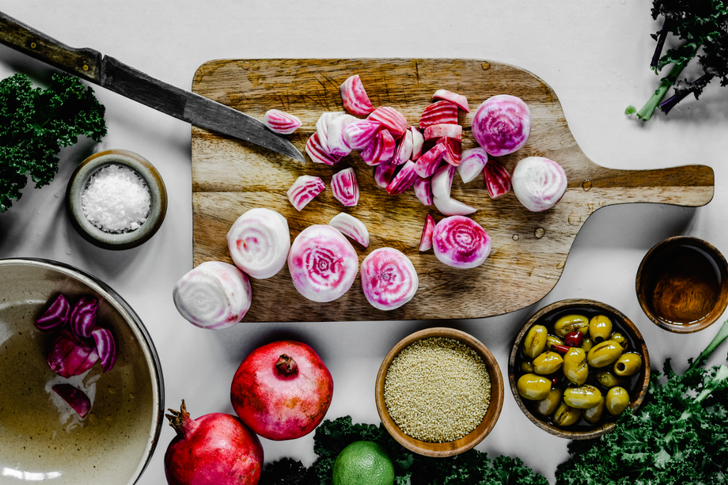
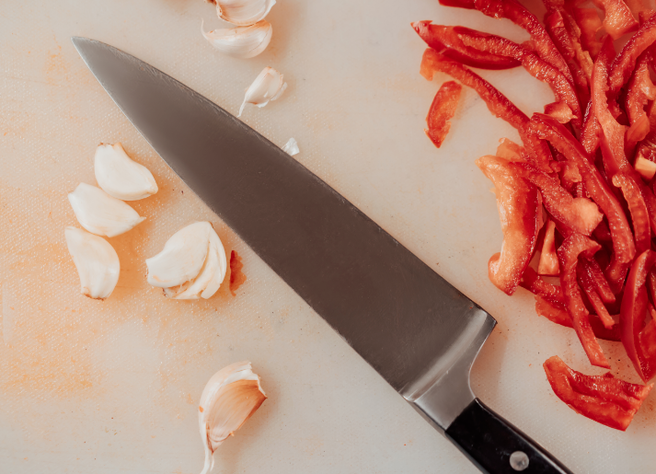
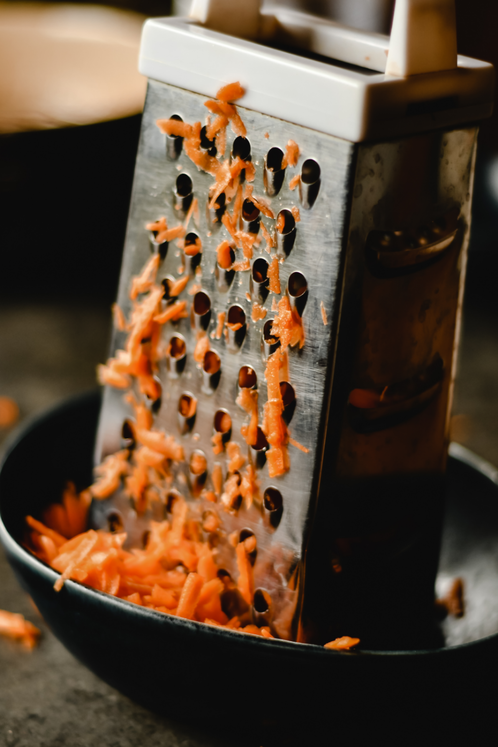
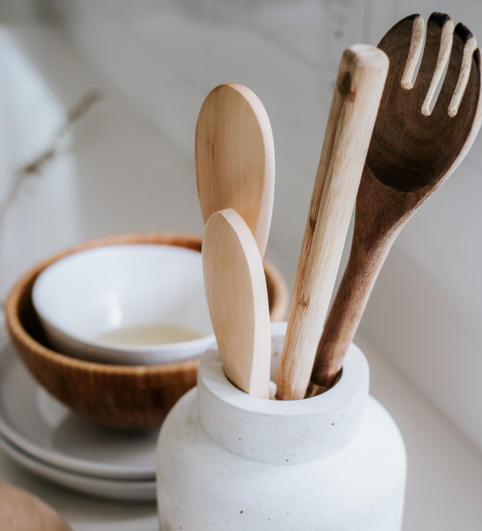
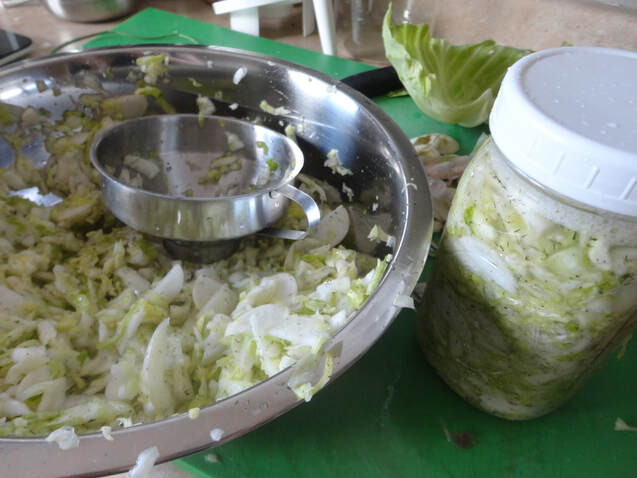
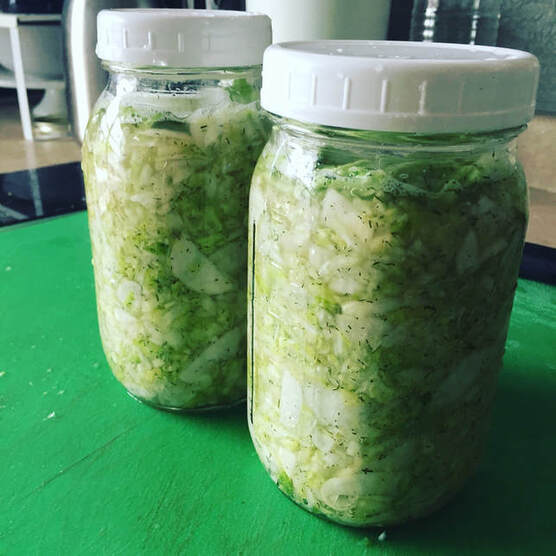
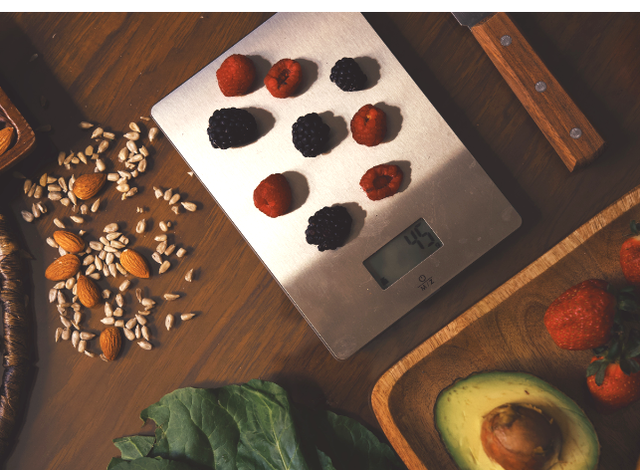
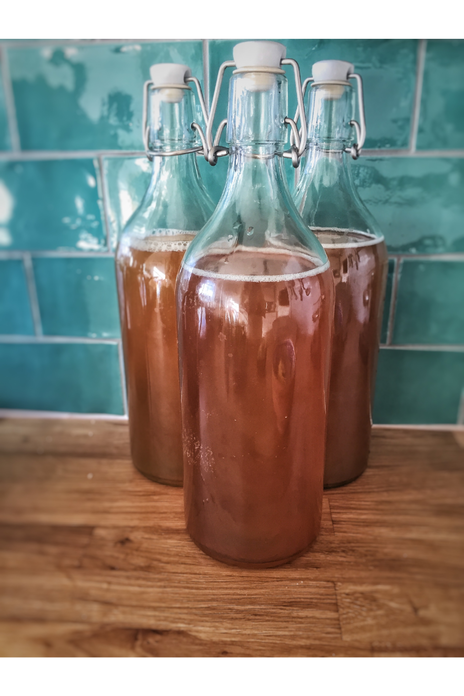
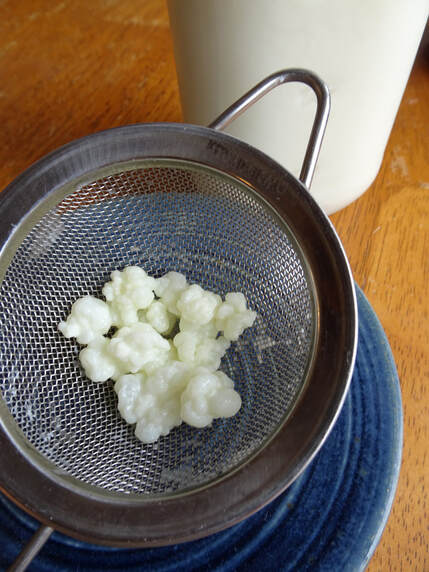
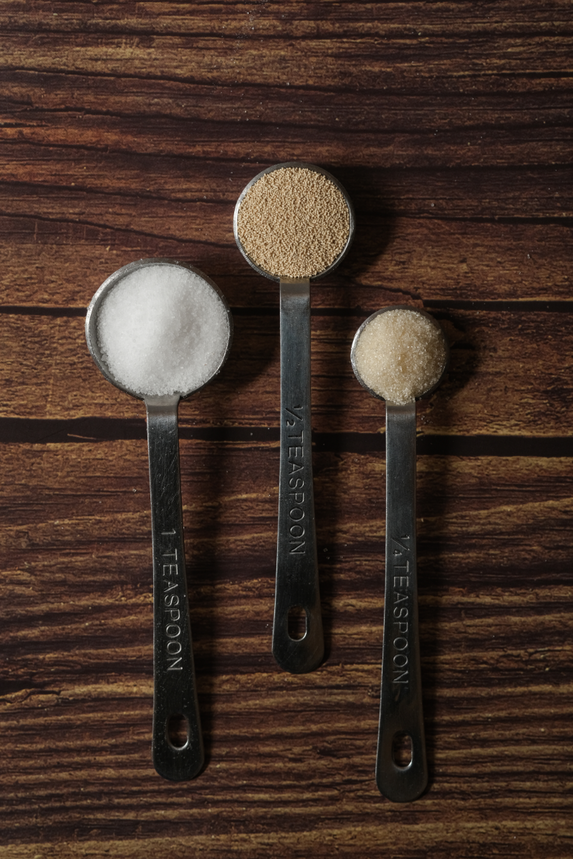
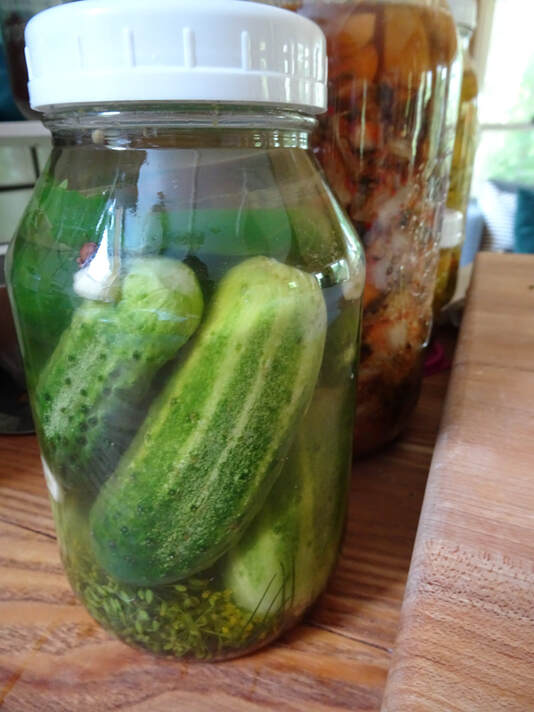
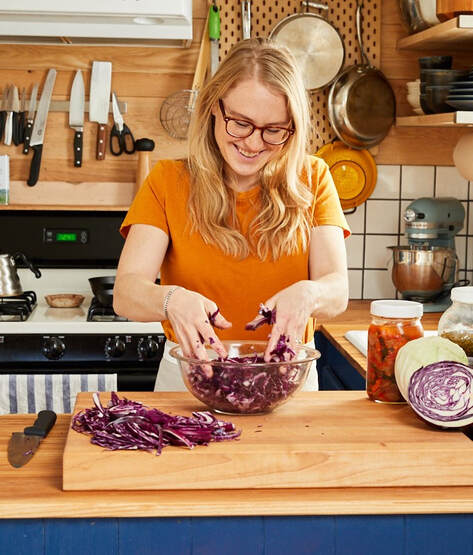
So you know fermented foods are a MUST for maintaining good gut health, and you want to make your own ferments at home but don't know where to start...then this is the post for you! The world of fermentation can be scary to dive into, but I promise it can be easy and fun! I have been fermenting my own foods at home for over twelve years, starting with home brew kombucha in my college apartment, so you know you don't need much extra tools or space to start fermenting. First, let's talk about the kitchen tools you'll need to get started. For the most part, the utensils and gadgets will you need are basic items you may already have on hand, with a few extra pieces to make your fermentation process ever better. With the list below, you can ferment almost anything, from kefir and kombucha to sauerkraut and yogurt--and with so little cost compared to buying pre-made ferments at the store. Pair these simple items with organic, seasonal produce and other high quality, whole-food ingredients and you are on your way to homemade, nutritious ferments. Here's my list of 12 fermentation essentials, plus a few extra fun gadgets if you want to get a little nerdy with it. 1. Big Cutting Board For vegetable fermentation projects like making sauerkraut or kim chi, you're going to need a nicely-sized cutting board to have room for all your chopped veggies. You can opt for a wooden or plastic cutting board, whichever you prefer, using one that is sturdy and durable. I like a big cutting board for these jobs, so I can spread out and make a big mess that stays (mostly) on the board. I prefer wooden cutting boards in general, but keep in mind that wooden cutting boards must be cleaned and sanitized before using for fermentation projects and remember that they can stain easily when you are chopping turmeric or beets, or hold odors like onions and garlic. I typically use a plastic board just for fermentation for these reasons, but stick to wooden for all my other cutting needs. 2. Chef's Knife (and something to keep it sharp) I like to chop my veggies by hand, so having a good, sharp chef's knife is key for vegetable ferments. You could certainly use a food processor to do the cutting for you, but I like interacting with the produce, adding in my own microbes while also getting some movement in instead of having a machine do it for me. See the "bonus" list for more on using a food processor. If you are making mega batches of kraut, I totally get not doing it by hand, but for smaller projects, a good chef's knife is a must. Be sure to keep it sharp both for ease of cutting and for safety, storing knives in a block or on a magnetic strip--never in the drawer!--to keep them sharp even longer. Depending on your fermentation project, you may want a small paring knife on hand as well, so keep that in mind when stocking your ferment-friendly kitchen. 3. Other Sharp Stuff: Graters and Peelers Like I said with the chef's knife, I like to do things by hand. This carries over to the box grater as well. Instead of using a food processor, I go for the four-sided box grater for shredding vegetables to go into my ferments, such as carrots or beets. One of the sides on mine is a zester, which works well for citrus peel and ginger, but if yours doesn't have this feature, you could purchase a separate zester to play with. Less crucial but somewhat helpful is a vegetable peeler. I typically keep my peels on for fermentation and cooking, but if you like or need to peel your veggies before using, keep a nice, sharp peeler on hand for your projects. 4. Wooden Spoons Whether for mixing vegetables with salt, stirring sugar into tea for kombucha or using the handle to press kraut into a jar, a sturdy wooden spoon is a must for fermenting. Wood is preferable over plastic or metals for utensils, as it is non-reactive so you can mix more acidic foods with it, and it will probably make its way into most of your kitchen projects anyway, so it is essential to have around. You could even carve your own if you were so inclined! 5. Large Mixing Bowls Big mixing bowls are great for filling with cabbage and salt, then massaging the heck out of it to make kraut. You can also use them for brining Napa cabbage for kim chi and making sourdough bread. I typically use stainless steel bowls as they are easy to clean and aren't breakable, but ceramic or glass bowls work well, too. Try to avoid using plastic bowls if possible and have a set of quality bowls as part of your fermenting kit. 6. Funnels of Varying Sizes To prevent making (more of) a mess when I am transferring my cabbage into jars for kraut and kim chi, I like to use a wide mouth canning funnel. I tend to use stainless steel, but if you have a plastic one that will do. I also like to have a smaller, more narrow-mouthed funnel for bottling kombucha, kefir or ginger ale for their second ferments. Using funnels not only keeps your kitchen tidier, but I find that I lose less to spillage, saving money and food, which I love. 7. Glass Jars and Plastic Lids Once your veggies are chopped, they need somewhere to ferment, and my go-to is the Mason jar. So many of my ferments are made in glass mason jars, so I have a lot on hand at all times. My krauts, kvass, pickles, yogurt, kefir and even my sourdough starter all live in glass jars, so these are essential if you want to do many different fermentation projects. Now, if I am looking to make a really big batch of something like pickles, I will go for my gallon-sized ceramic crock, but even then I will sometimes use two half gallon jars instead for ease of storage and to be able to check on the ferment's progress. For making kombucha or jun, I use a gallon-sized glass jar that works really well, so having multiple sizes of glass jars lets you ferment so many different things. I love that I can see in the jar to watch how my ferments change over time, and also to easily check for scum, mold and yeast on the surface. The pint and quart jars are nice for making small batches when you are experimenting with flavors or have a smaller amount of produce to use up. For lids, I use the BPA-free plastic lids when I ferment in jars because they don't rust or corrode like the metal ones do, and they are a single piece, making them easier to clean. I ensure that the lid doesn't touch the actual ferment by avoiding over-filling my jars. You can certainly use metal canning lids for fermentation, but be sure to place a piece of parchment paper between the jar and lid to prevent corrosion. 8. Kitchen Scale I measure almost everything in my kitchen by weight, as it is the most accurate way to measure. Maybe I am just being a food snob (likely), but I often find better results with weight than volume. For making sauerkraut, the amount of salt required is based on weight of vegetables, so using a scale is really important for successful and safe ferments in this case. If you are unsure about purchasing one, trust me, you will find many ways to use a kitchen scale in addition to fermentation, like making good coffee or bread, so it won't just take up space in the cabinet until you are ready to ferment. I like to use digital for better precision and more units of measure, but if you find a lovely vintage analog scale, go for it. 9. Swing-Top Bottles If you are going to be making fermented beverages and you want to safely carbonate them, then I really urge you to get a set of flip-top bottles, sometimes called "Grolsch" bottles. The seal that the swing-top provides lends itself to well-carbonated, bubbly beverages like kombucha, water kefir and ginger ale, as opposed to reusing other jars that don't have as tight of a seal. I use amber bottles that are round in shape because the amber glass prevents damage from light and the round shape of the bottles helps to prevent explosions when your ferments begin to bubble, making them safer to use. These are often used in home-brewing beer, so you can find these through brewery supply stores or online retailers. A set of a dozen will enable you to make many different fermented beverages, keeping you hydrated and full of probiotics, with very little cost up front. 10. Fine Strainers Fine mesh strainers are great for removing tea leaves when brewing kombucha or for removing kefir grains once a batch is done fermenting. I like to have a larger and a smaller size so I can tailor it to whatever project I am working on, but I find I use my small one a lot more when I am making fermented beverages. It can also be nice to keep cheesecloth on hand to strain yogurt or kefir for making thickened dairy products like Greek yogurt or labneh. 11. Mixing cups and spoons Precision is important in fermentation, both for safety and for quality. A set of measuring utensils for liquid and solid items is key for a ferment-friendly kitchen, as well as probably a million other kitchen uses. You'll need measuring cups for sugar in batches kombucha or water kefir and measuring spoons for starter cultures, salt in krauts, pickled veggies, and more. Liquid measuring cups are needed for making brine, useful in kvass, pickles, and kim chi. 12. Fermentation Weights To keep your veggies submerged in their brine and prevent molding, a weight can prove very useful. You can see one floating in the pickles in the above picture! There are several companies now, such as Pickle Pebbles, making glass weights that fit into both wide- and narrow-mouth glass jars, to ensure everything stays safely under the brine. I also use them to keep small pieces of kraut keep floating to the top of the jar, or with pickled veggies that are larger and like to float. If you don't want to purchase specialty fermentation weights, you can use a smaller jar fit into a larger jar as a makeshift weight; in this case, you'll need to cover the jar with a fine weave cloth in leiu of a lid. There you have it! The twelve items I use very regularly for fermenting vegetables, dairy, and beverages. These are all low tech, electricity-free items, so homesteaders off the grid and apartment dwellers alike can use them with ease. Ok, so you have all the basics, but maybe you want a few extra gadgets to make fermenting more fun or easier...here are 5 more items you could keep on hand for fermenting fun! Food Processor Many people bust out the food processor when prepping a large amount of veggies. As I said above, I prefer hand tools, but with a mega large batch of kraut, it would probably be smart to use a food processor to save you some time. More "power" to you! If you have arthritis or another level of ability that makes chopping difficult, a food processor would certainly make fermentation more accesible to you. making this an essential tool in that case. This can also be handy for making fermented herb pastes if you don't have a mortar and pestle or to puree beans for a lacto-fermented hummus. Kraut Pounder (aka a "pickle packer") This item has come back into popularity over the past few years as a tool for packing sauerkraut into crocks. It is really nice for packing kraut or kim chi into a bigger vessel, but since I tend to use glass jars for my ferments, I tend to use a wooden spoon for my packing. I do have one around for when I need or want to use it, but you can get along fine without it. A wooden cocktail muddler would also work for smaller-mouthed vessels like mason jars. Airlocks Airlocks, which allow CO2 to escape your jars but no air to come in, can make fermenting much easier and fool-proof. If you are new to making ferments, it may be helpful to use one of these on your jar to help prevent mold or yeast from forming. I have used them before with success, but don't use them on a regular basis. People fermented veggies almost forever without using airlocks, but they can be a useful tool for newbies or those nervous to ferment. Ceramic Crock Earthenware crocks are a very traditional way of making sauerkraut and other fermented foods, as glass is pretty new compared to pottery and ceramics. Kim chi is traditionally made in a special type of crock called an onggi, so you could search those out for an every more authentic kim chi method. Crocks are also great to use if you want to explore more advanced fermentation such as making miso. Crocks come in larger sizes, from one gallon to over ten or more gallons, so you can make a very big batch of pickles and store them in your root cellar for the whole year. Many even come with a ceramic weight to fit inside and even some with lids. Just be sure your crock is lead-free, especially if it is a vintage crock. I started out making sauerkraut in a gallon crock and have since moved to the glass jars, but that is purely preference. Even when making ferments in a crock, I transfer them to a glass jar for storage in the fridge, which is why the jars made the essential list and the crock didn't. They both are awesome to have around! Plus, having a big crock on your counter will give you major homesteader points. Food-Grade Gloves I very frequently find myself wearing gloves when making my ferments. Not for sanitary reasons, but for whenI am chopping and massing spicy peppers or hand-staining turmeric in batches of kraut or kim chi. Also, if you have a cut with a bandage on it, gloving up is usually a good idea. If you only ever make sauerkraut with cabbage and salt and no other ferments, perhaps you won't ever use these, but I hope you get wild and need gloves sometime. Now that you have stocked your kitchen properly, you are ready to ferment almost anything. Be prepared to heal your gut, nourish your family and impress your friends!
Have all the gear but need to learn some skills? I got you covered! If you want to learn how to ferment with me, check my website for upcoming fermentation workshops, both in-person and virtual! I teach classes on fermenting vegetables, beverages, cultured dairy, sourdough bread and more, so keep any eye on my website for classes that can help you reach your fermentation potentials...let's do this!
0 Comments
Leave a Reply. |
Brine & Broth
I am a gut health-focused nutritionist and online health coach based in Southwest Wisconsin. My recipes and philosophies center around traditional, nutrient-dense foods that support robust gut health. Archives
May 2022
Categories |

 RSS Feed
